OPERATION
APPLICATIONS
(Use only for the purposes listed below)
■Cross cutting wood and plastic.
■Cross cutting miters, joints, etc. for picture frames, moldings, and fine joinery.
NOTE: The crosscut blade provided is fine for most wood cutting operations, but for fine joinery cuts or cutting plastic, use one of the accessory blades available from your Ryobi dealer.
![]() WARNING:
WARNING:
Before starting any cutting operation, clamp or bolt your miter saw to a workbench. Never operate your miter saw on the floor or in a crouched position. Failure to heed this warning can result in serious personal injury.
CUTTING WITH YOUR MITER SAW
![]() WARNING:
WARNING:
When using the optional work clamp or
CROSSCUTTING
See Figure 25.
A crosscut is made by cutting across the grain of the workpiece. A straight crosscut is made with the miter table set at the zero degree position. Miter crosscuts are made with the miter table set at some angle other than zero.
TO CROSSCUT WITH YOUR MITER SAW:
■Pull out the lock pin and lift saw arm to its full height.
■Loosen the miter lock handle. Rotate the miter lock handle approximately
■Press the miter lock plate down with your thumb and hold.
■Rotate the control arm until the pointer aligns with the desired angle on the miter scale.
■Release the miter lock plate.
NOTE: You can quickly locate 0°, or 15°,
■Tighten the miter lock handle securely.
45 30 ![]()
15
| 31.62 | 30 | 22.5 |
45 |
|
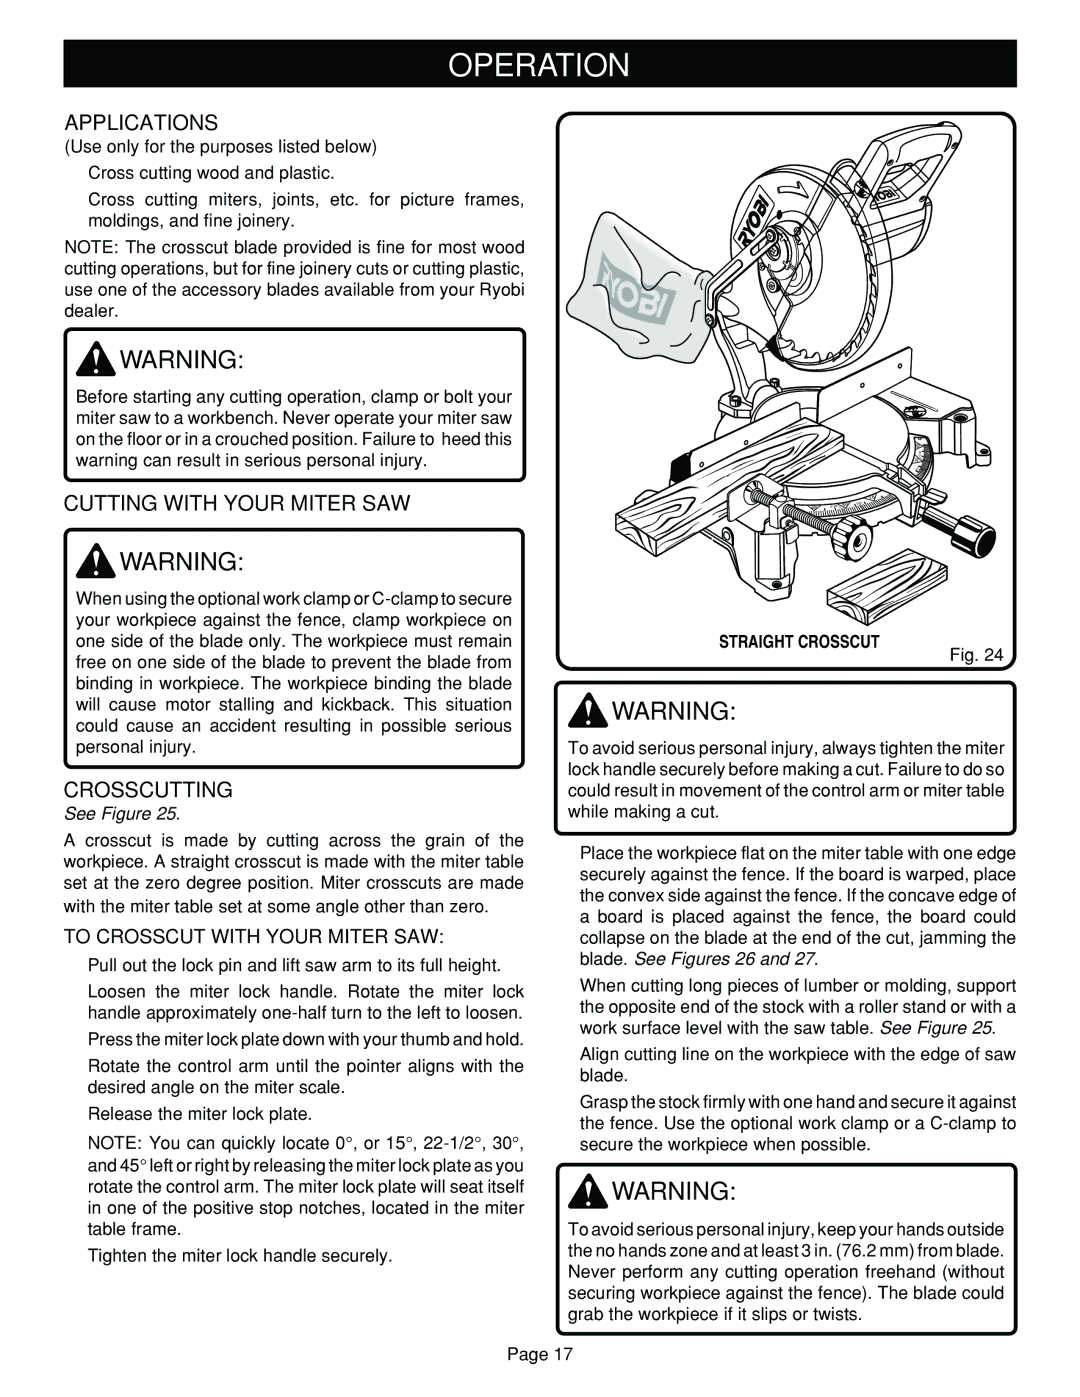
STRAIGHT CROSSCUT
Fig. 24
![]() WARNING:
WARNING:
To avoid serious personal injury, always tighten the miter lock handle securely before making a cut. Failure to do so could result in movement of the control arm or miter table while making a cut.
■Place the workpiece flat on the miter table with one edge securely against the fence. If the board is warped, place the convex side against the fence. If the concave edge of a board is placed against the fence, the board could collapse on the blade at the end of the cut, jamming the blade. See Figures 26 and 27.
■When cutting long pieces of lumber or molding, support the opposite end of the stock with a roller stand or with a work surface level with the saw table. See Figure 25.
■Align cutting line on the workpiece with the edge of saw blade.
■Grasp the stock firmly with one hand and secure it against the fence. Use the optional work clamp or a
![]() WARNING:
WARNING:
To avoid serious personal injury, keep your hands outside the no hands zone and at least 3 in. (76.2 mm) from blade. Never perform any cutting operation freehand (without securing workpiece against the fence). The blade could grab the workpiece if it slips or twists.
Page 17