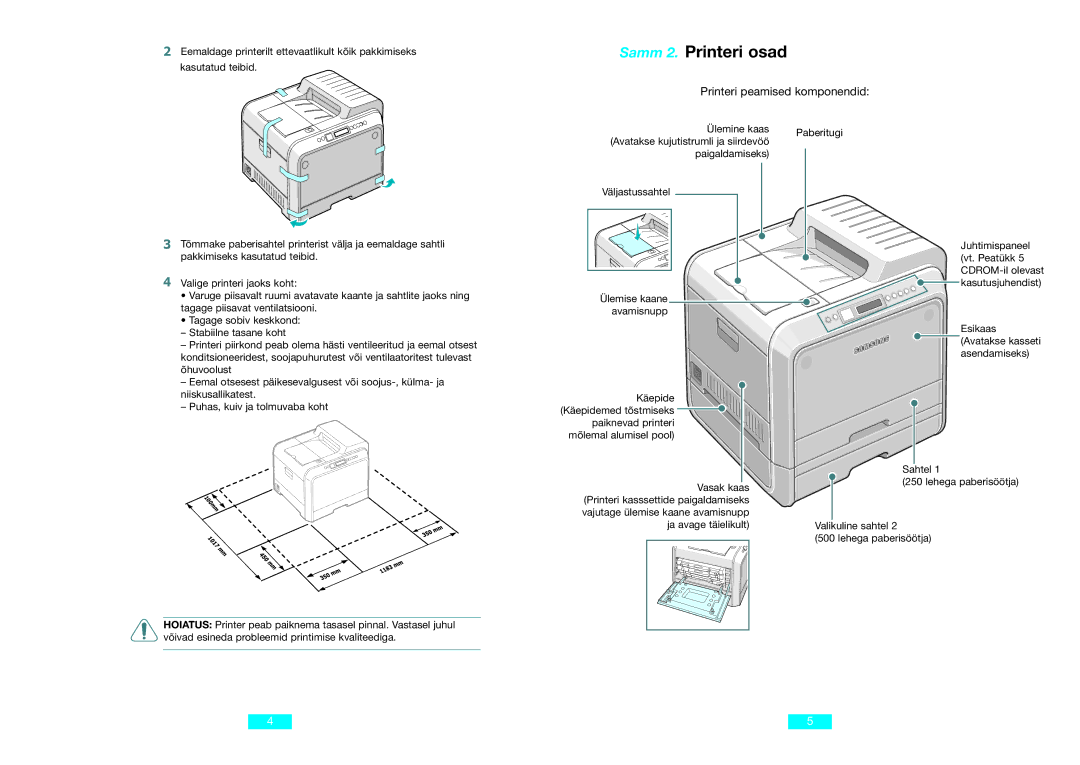
CLP-500N, 500 specifications
The Samsung 500, also known as the CLP-500N, is a sophisticated color laser printer that caters specifically to the needs of small to medium-sized businesses. Renowned for its blend of performance, quality, and efficiency, the CLP-500N has established itself as a standout choice in the competitive market of office printers.One of the most notable features of the CLP-500N is its exceptional print quality. Equipped with Samsung's advanced laser technology, the printer delivers vibrant, professional-grade color prints, boasting a resolution of up to 2400 x 600 dpi. This ensures that documents and presentations stand out with sharp text and vivid images, making it suitable for high-stakes business environments.
The printer’s speed is another key highlight, capable of producing up to 25 pages per minute for black and white prints and 23 pages per minute for color. This impressive speed helps streamline workflows and increases productivity, particularly in busy office settings where time is of the essence.
In terms of connectivity, the CLP-500N features built-in network capabilities that allow multiple users to share the printer effortlessly. This network-ready design enhances collaboration within teams, enabling easy printing from various devices without the need for dedicated workstations. Additionally, it supports a range of connectivity options, including USB and Ethernet, accommodating diverse office setups.
The printer is also designed with user-friendliness in mind. Its intuitive control panel and easy-to-navigate menus allow users to operate the device with minimal training. Furthermore, the CLP-500N features cost-effective technology, such as Samsung's eco-saving mode, which helps reduce energy consumption and printing costs while extending the life of consumables.
Durability is another characteristic of the CLP-500N, which is built with a robust design to withstand the rigors of daily usage. With a monthly duty cycle of up to 30,000 pages, this printer is well-suited for environments with high printing demands.
Lastly, the CLP-500N has a variety of media handling capabilities, supporting different paper sizes from standard letter to legal and custom sizes. This versatility allows users to tackle a wide range of printing projects, from reports to marketing materials.
In conclusion, the Samsung 500, CLP-500N, combines exceptional print quality, speed, connectivity, user-friendliness, and durability, making it an ideal choice for businesses looking to enhance their printing capabilities while maintaining cost efficiency.

