▲
▲![]()
▲
Hz ▲ G
Factory Timing
31k/ 70 720x 400 31k/ 60 640x 480 ▲ 43k/ 85 640x 480 54k/ 85 800x 600 ▼ 68k/ 85 1024x 768
![]()
![]() Previous Menu
Previous Menu
▲
▲![]()
Hz | ▲ | G |
▲ |
Video Input Level
▲ 0.7V | 1.0V | ▼ |
![]()
![]() Previous Menu
Previous Menu
Chapter Three: Adjusting Your Monitor
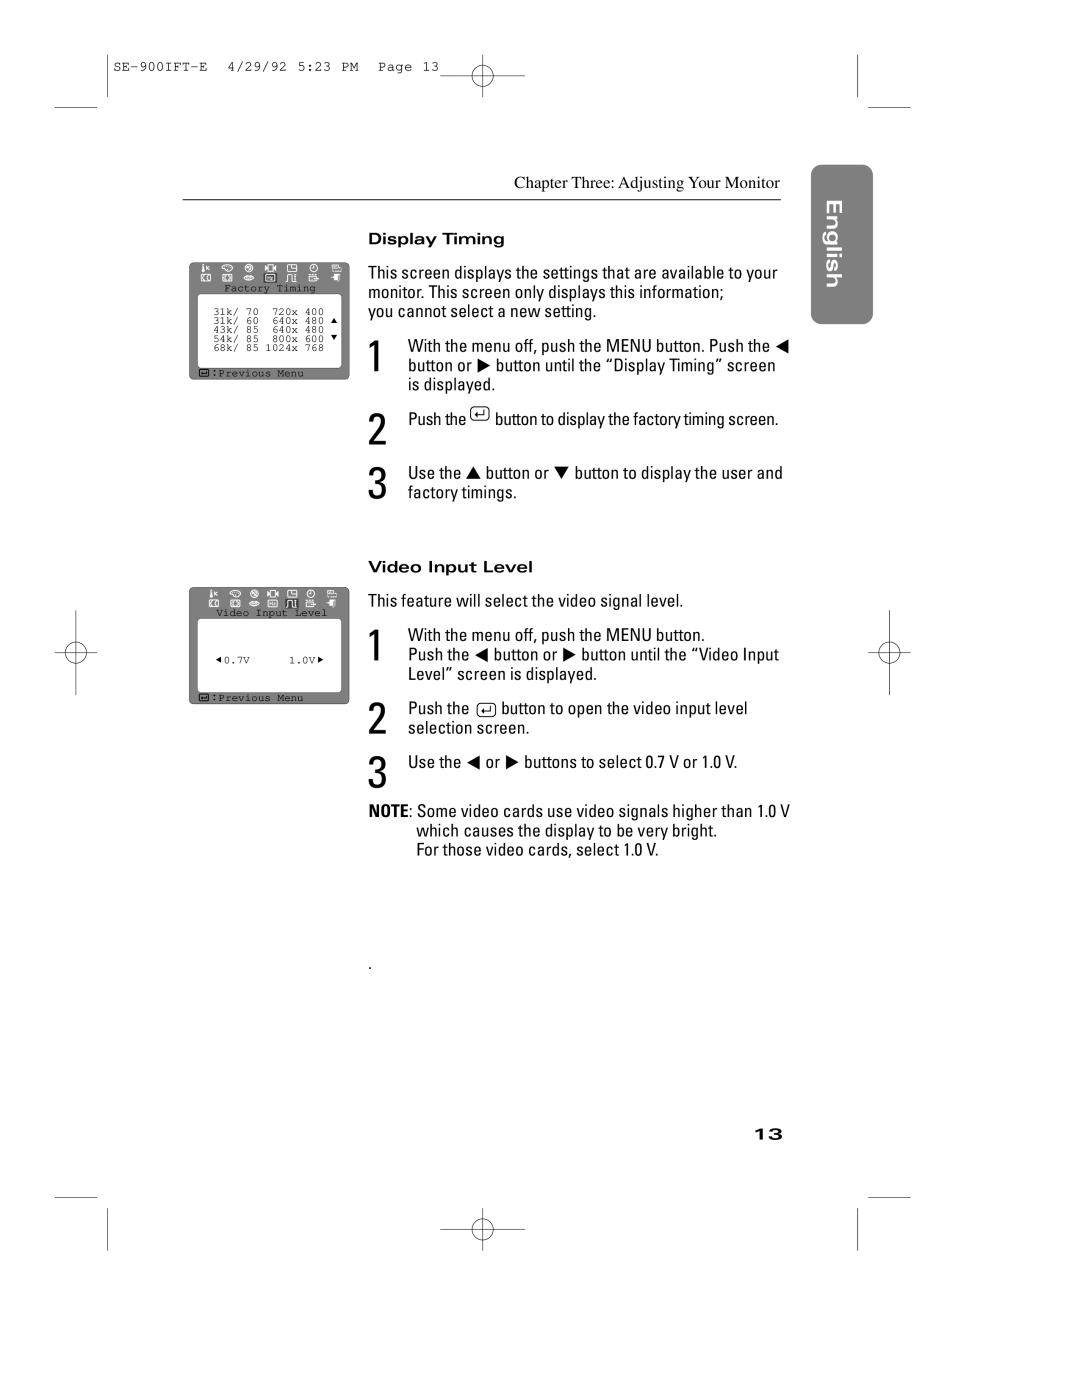
Display Timing
This screen displays the settings that are available to your monitor. This screen only displays this information;
you cannot select a new setting.
1 | With the menu off, push the MENU button. Push the $ | |||
button or % button until the “Display Timing” screen | ||||
| is displayed. | |||
2 Push the |
|
| button to display the factory timing screen. | |
|
| |||
3 | Use the ▲ button or ▼ button to display the user and | |||
factory timings. | ||||
Video Input Level
This feature will select the video signal level.
1 | With the menu off, push the MENU button. | |||
Push the $ button or % button until the “Video Input | ||||
| Level” screen is displayed. | |||
2 | Push the |
|
| button to open the video input level |
|
| |||
selection screen. | ||||
3 Use the $ or % buttons to select 0.7 V or 1.0 V.
NOTE: Some video cards use video signals higher than 1.0 V which causes the display to be very bright.
For those video cards, select 1.0 V.
.
English EnglishFrançais Español Deutsch Português Italiano
13
