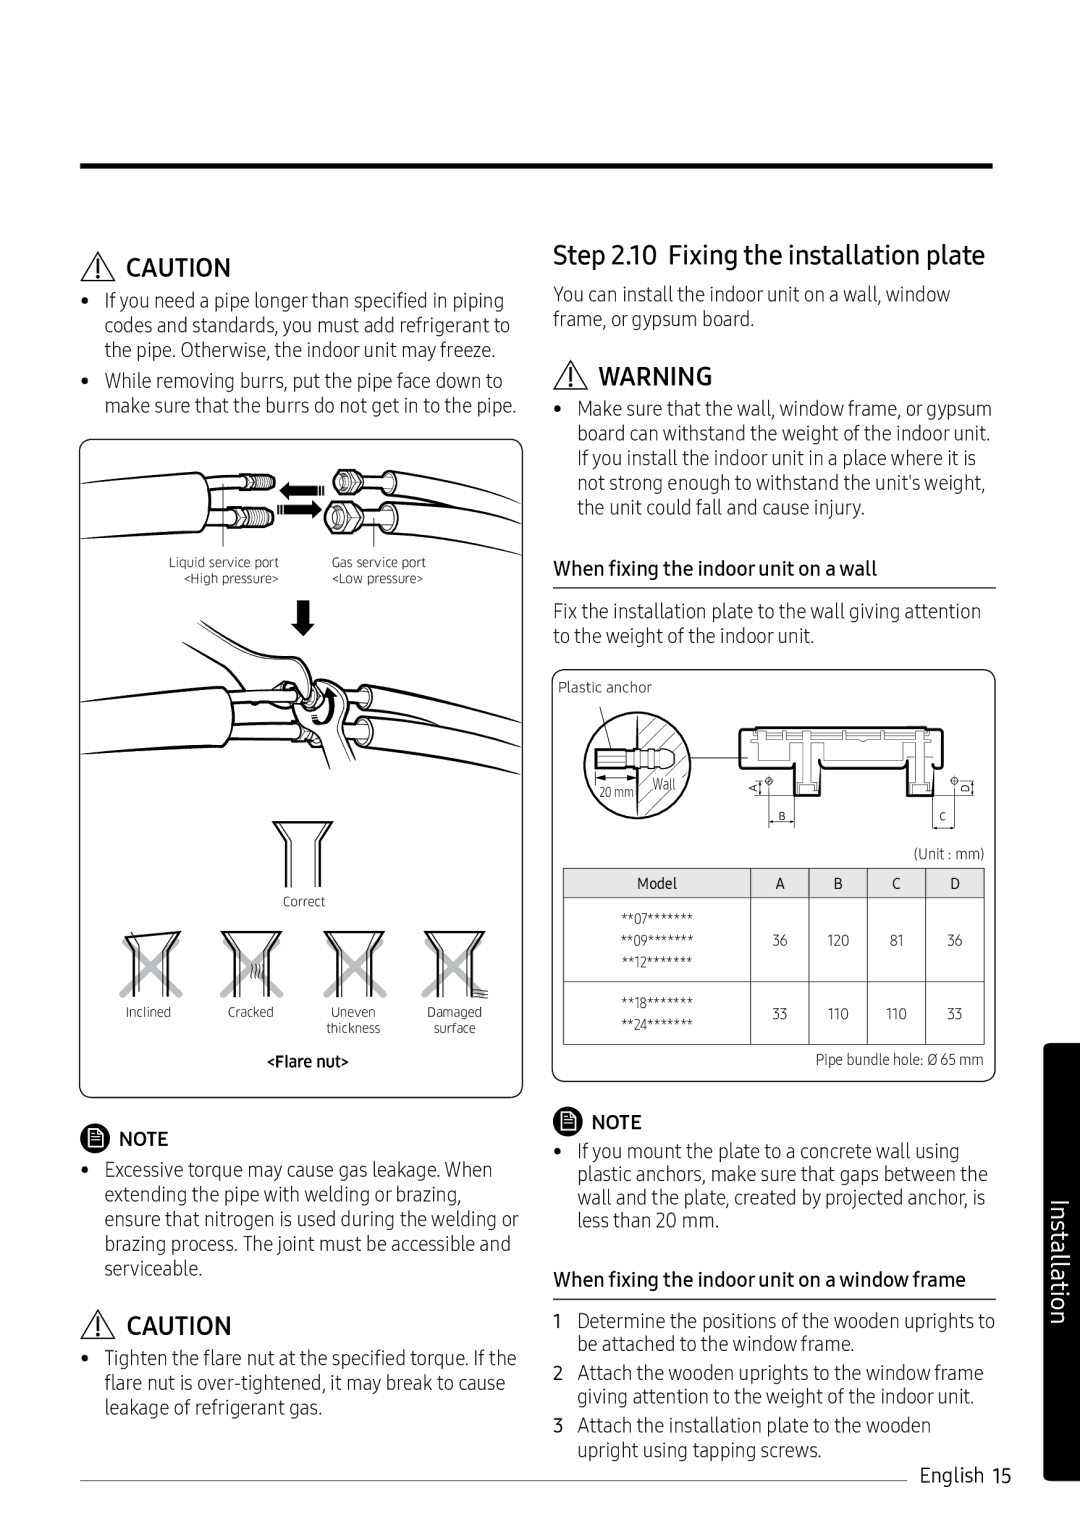
AR09MSPXAWKXEU, AR12MSWXBWKNEU, AR12MSPXASIXEU, AR09MSPXASIXEU, AR07MSWXBWKNEU specifications
The Samsung AR09MSPXBWKNEU and its counterparts, the AR12MSPXBWKXEU, AR12MSPXBWKNEU, and AR09MSPXBWKXEU, are part of Samsung’s innovative range of air conditioning units designed for superior performance and energy efficiency. These models represent a combination of sleek design, advanced technology, and user-friendly features, catering to residential and commercial cooling needs.One of the standout features of these units is their powerful inverter technology. This technology allows the air conditioner to automatically adjust its power based on the room's cooling needs, ensuring consistent temperature levels while minimizing energy consumption. As a result, users benefit from lower electricity bills and a reduced environmental footprint.
Another significant characteristic is the Triple Protector Plus technology. This feature enhances the durability of the units by providing protection against voltage fluctuations, operating without stabilizers, and preventing corrosion on the unit's surface. This ensures that the air conditioners can withstand varying weather conditions and are built to last longer.
The Wind-Free cooling technology further sets these models apart. It enables a comfortable environment by dispersing cool air through micro-holes, creating a gentle breeze without the uncomfortable direct airflow. This results in a more pleasant indoor climate and can contribute to better overall health and comfort for occupants.
In addition, the AR09MSPXBWKNEU and AR12MSPX series are equipped with a user-friendly Smart Things application that allows users to control their air conditioning units remotely. This capability offers convenience and flexibility, enabling scheduling, temperature adjustments, and even monitoring of energy consumption directly from a smartphone.
Furthermore, these models come with easy-to-clean filters that are washable, promoting better air quality by trapping dust and allergens, which can be particularly beneficial for individuals with allergies or respiratory conditions.
Lastly, the modern and minimalist design of the Samsung air conditioning units ensures that they seamlessly blend into any interior decor, making them not just functional appliances but also aesthetic additions to the space.
In summary, Samsung’s AR09MSPXBWKNEU, AR12MSPXBWKXEU, AR12MSPXBWKNEU, and AR09MSPXBWKXEU air conditioners showcase cutting-edge technology, robust features, and energy efficiency, making them excellent options for consumers looking to enhance their indoor climate conditions.

