EN 2 / INSTALLING YOUR DISHWASHER
•INSERTION INTO THE NICHE
•Glue on the
•Glue on the foam
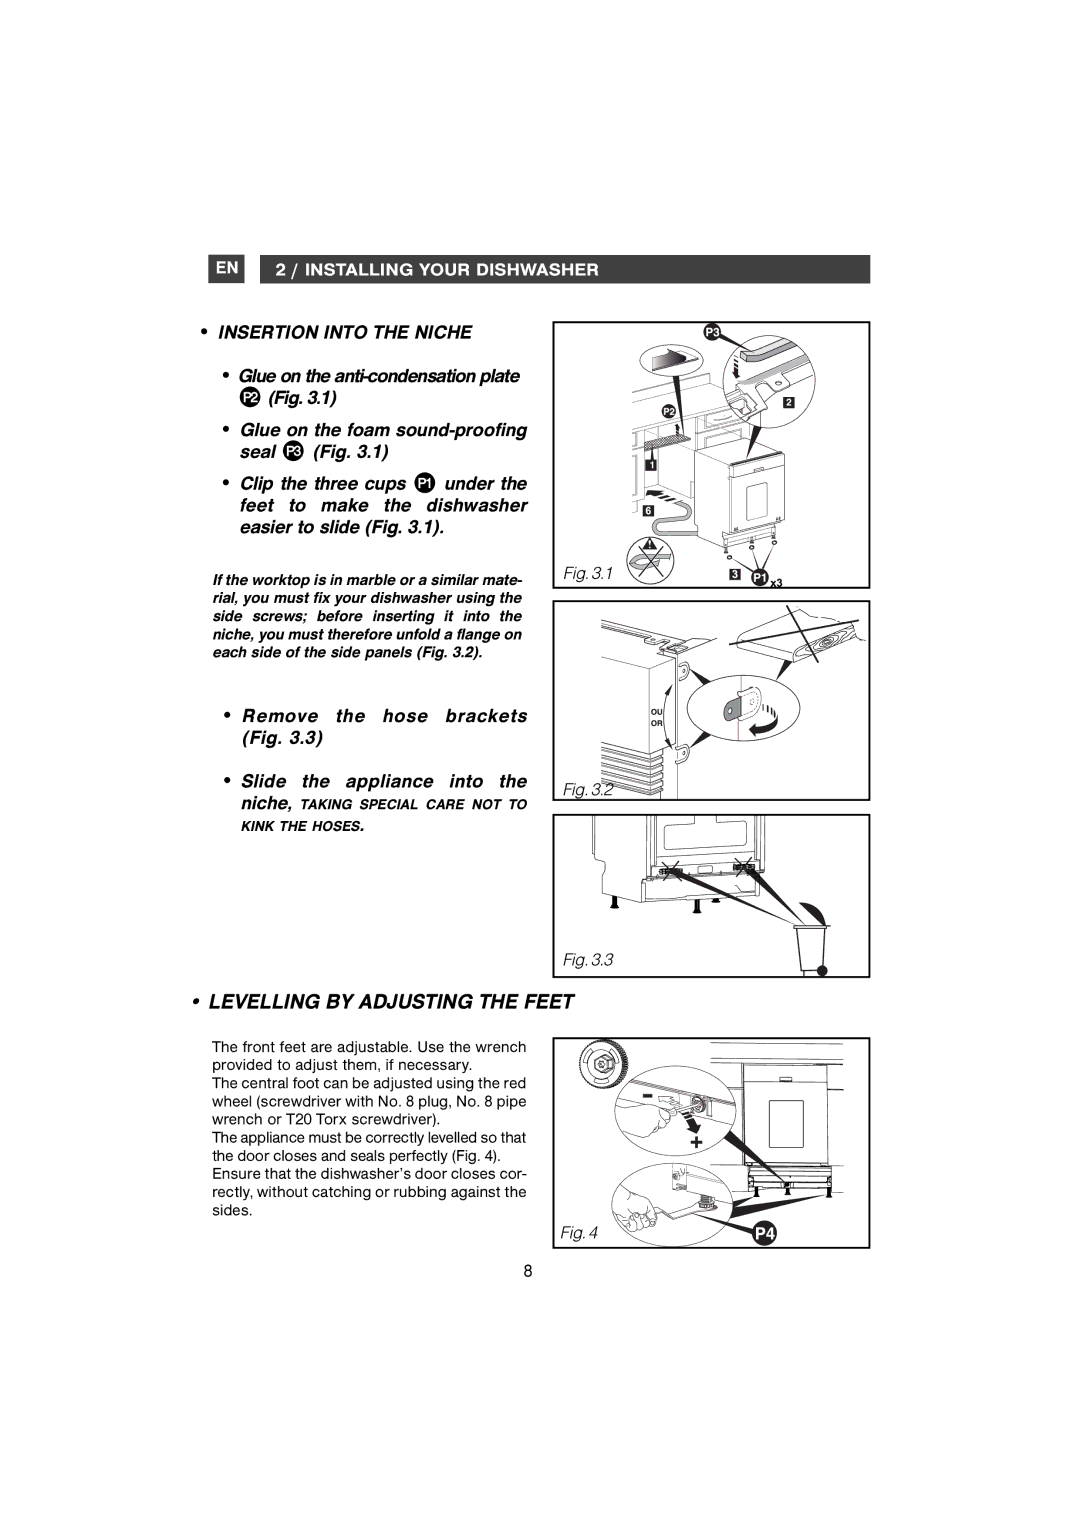
•Clip the three cups P1 under the feet to make the dishwasher easier to slide (Fig. 3.1).
If the worktop is in marble or a similar mate- rial, you must fix your dishwasher using the side screws; before inserting it into the niche, you must therefore unfold a flange on each side of the side panels (Fig. 3.2).
•Remove the hose brackets (Fig. 3.3)
•Slide the appliance into the
niche, TAKING SPECIAL CARE NOT TO KINK THE HOSES.
Fig. 3.1
Fig. 3.2 |
Fig. 3.3
• LEVELLING BY ADJUSTING THE FEET
The front feet are adjustable. Use the wrench provided to adjust them, if necessary.
The central foot can be adjusted using the red wheel (screwdriver with No. 8 plug, No. 8 pipe wrench or T20 Torx screwdriver).
The appliance must be correctly levelled so that the door closes and seals perfectly (Fig. 4). Ensure that the dishwasher’s door closes cor- rectly, without catching or rubbing against the sides.
- |
+ |
Fig. 4 |
8