Installation
Installation
|
| NOTE | |
|
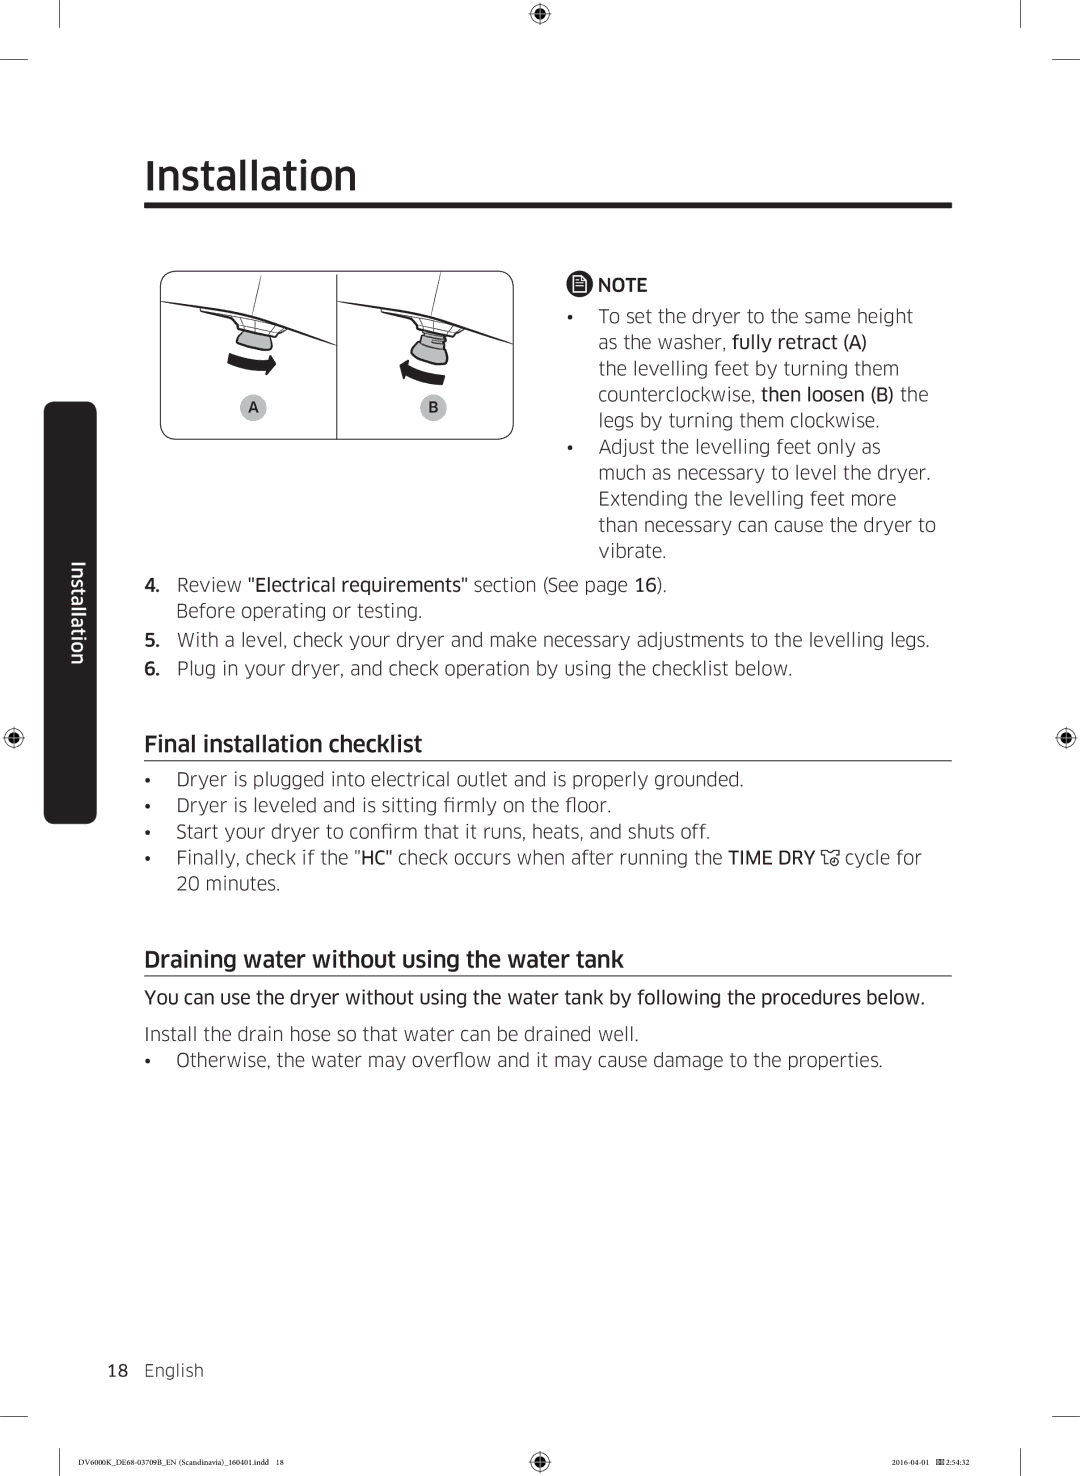
| • To set the dryer to the same height | |
|
| as the washer, fully retract (A) | |
|
| the levelling feet by turning them | |
A | B | counterclockwise, then loosen (B) the | |
legs by turning them clockwise. | |||
|
| ||
|
| • Adjust the levelling feet only as | |
|
| ||
|
| much as necessary to level the dryer. | |
|
| Extending the levelling feet more | |
|
| than necessary can cause the dryer to | |
|
| vibrate. |
4.Review "Electrical requirements" section (See page 16). Before operating or testing.
5.With a level, check your dryer and make necessary adjustments to the levelling legs.
6.Plug in your dryer, and check operation by using the checklist below.
Final installation checklist
•Dryer is plugged into electrical outlet and is properly grounded.
•Dryer is leveled and is sitting firmly on the floor.
• Start your dryer to confirm that it runs, heats, and shuts off.
•Finally, check if the "HC" check occurs when after running the TIME DRY ![]() cycle for 20 minutes.
cycle for 20 minutes.
Draining water without using the water tank
You can use the dryer without using the water tank by following the procedures below.
Install the drain hose so that water can be drained well.
• Otherwise, the water may overflow and it may cause damage to the properties.
18 English