Monitor TV Connections
NOTE: A monitor television is not the same as a computer monitor.
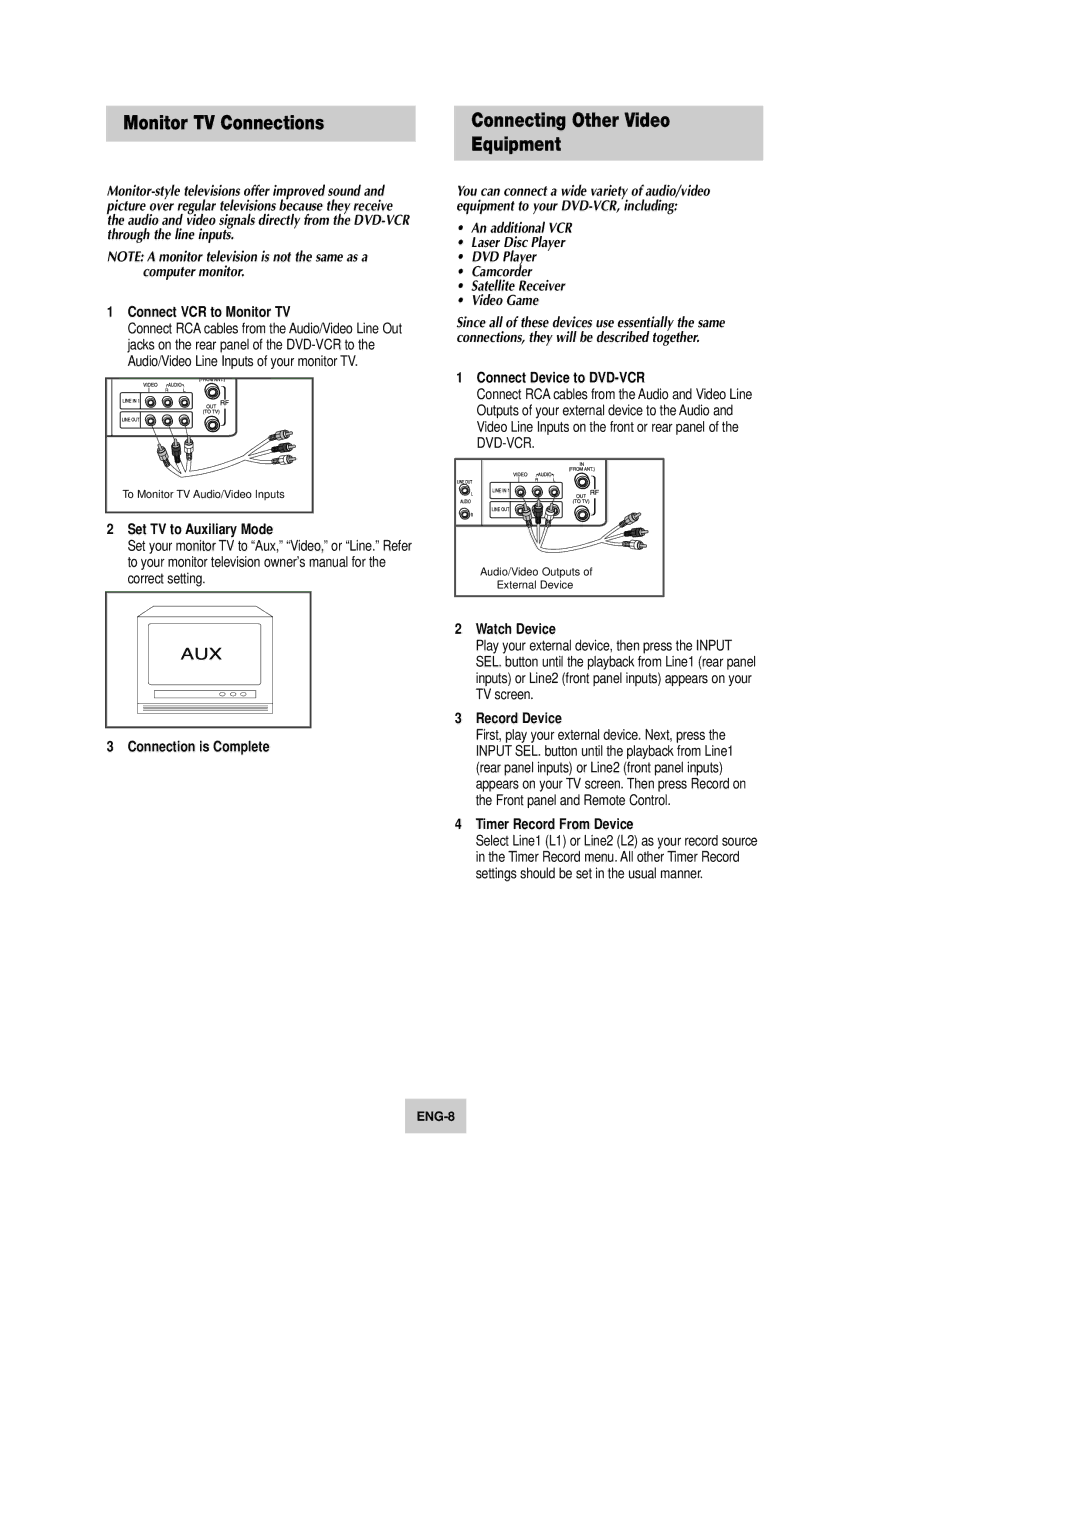
1Connect VCR to Monitor TV
Connect RCA cables from the Audio/Video Line Out jacks on the rear panel of the
To Monitor TV Audio/Video Inputs |
2Set TV to Auxiliary Mode
Set your monitor TV to “Aux,” “Video,” or “Line.” Refer to your monitor television owner’s manual for the correct setting.
3 Connection is Complete
Connecting Other Video
Equipment
You can connect a wide variety of audio/video equipment to your
•An additional VCR
•Laser Disc Player
•DVD Player
•Camcorder
•Satellite Receiver
•Video Game
Since all of these devices use essentially the same connections, they will be described together.
1Connect Device to DVD-VCR
Connect RCA cables from the Audio and Video Line Outputs of your external device to the Audio and Video Line Inputs on the front or rear panel of the
Audio/Video Outputs of |
External Device |
2Watch Device
Play your external device, then press the INPUT SEL. button until the playback from Line1 (rear panel inputs) or Line2 (front panel inputs) appears on your TV screen.
3Record Device
First, play your external device. Next, press the INPUT SEL. button until the playback from Line1 (rear panel inputs) or Line2 (front panel inputs) appears on your TV screen. Then press Record on the Front panel and Remote Control.
4Timer Record From Device
Select Line1 (L1) or Line2 (L2) as your record source in the Timer Record menu. All other Timer Record settings should be set in the usual manner.