B I L E O N E
Intellectual Property
Headquarters
Disclaimer of Warranties Exclusion of Liability
Table of Contents
100
114
132
160
152
Getting Started
Installing the Battery
Used in place of select in long drill down procedure steps
Text Conventions
Lift the battery 1 up at the bottom and away from the phone
Charging the Battery
Remove the Battery
Upward at the top 2 until the cover locks into place
Activating Your Phone
Low battery indicator
Turning Your Phone On
Memory Card Optional
Setting Up Your Voicemail
Install a Memory Card
Turn Your Phone Off
Replace the microSD cover
As shown
Remove a Memory Card
Understanding Your Phone
Features of Your Phone
Features
Closed View of Your Phone
Speakerphone Key Lets you enable/disable speakerphone mode
Messaging Key Launches the Messages menu
Open View Front of Your Phone
Space Key Inserts a space character in a text entry
Closed Rear View of Your Phone
Camera Lens The lens of your built-in camera
Command Keys
Understanding the Display Screen
@metro
Refer to Shortcut Icon on
Soft key
Main Display Shortcut Icon Off
Dialogue Boxes
Rotated Screens
Display Screen Icons
Backlights
Your Phone’s Modes
Call Answer Mode
Input mode
Lock Modes
Talk Mode
Standby Mode
To place a call Press to return to standby mode
Speakerphone Mode
Options are Ringer Off Medium Vibrate
Enter/Exit Silent Mode
Vibrate Mode
Low High Low/Medium
Camcorder Mode
Camera Mode
Music Player Mode
Emergency Calls
Call Functions
Making a Call
Three-way Calling
Speed Dialing
Manual Pause Calling
Touch Dialing
Say, Call You are prompted to Say the name or number
Voice Dialing
To dial a name, do the following
Voice Dialing Tips
Voice Dial dials the specified number
Say one of the following number types
Home Work Mobile
Say Call
Incoming
Call Notification Features
Answering a Call
Your phone notifies you of a call in a variety of ways
Call Answer
Ignored calls are immediately forwarded to Voicemail
To ignore an incoming call
Press the Cancel soft key to exit the menu
Calls
Outgoing Calls
Select an option to perform its function
Save Save the number to your Contacts
Incoming Calls
Erase Logs
Call Timer
Missed Calls
You can erase Outgoing, Incoming, Missed, or All Calls
Press to exit the Call Timer screen
If desired, highlight a particular timer
Data Counter
Standby mode, press the Menu soft key, then select Calls
Store Numbers from Call Logs
Follow the prompts to store the number to Contacts
Menu Navigation
Navigate Using Shortcut Icons
Menu Navigation
Menu Shortcuts
With Shortcut Icon Off
Navigation Key Shortcuts
Qwerty Keypad Shortcuts
With Shortcut Icon On
Entering Text
Changing the Text Entry Mode
Built-in Qwerty Keypad
T9word T9Word
Using T9 Mode Phone Keypad Only
123 Symbols Add T9 Word
Abc
Entering Numbers
Using Abc Mode
Adding Words to the T9 Word Dictionary
While composing a text message, do one of the following
Entering Symbols
For example, press for an exclamation point
Contacts
Understanding Your Contacts
Open Contacts
Standby mode, press and hold to launch Voice SVC
Finding a Contacts Entry
Voice Method
Send Txt Msg
New Contact Add a new entry to Contacts
Adding a New Contacts Entry
Shortcut Key Method
Erase Erase the name and associated information
Menu Method
Mobile Home Work Pager Fax
Dial Method
From the Contacts menu, select Add New Contact
Wait a hard pause waits for input from you
When you’re finished changing the contents of a field
Hold or
Add Pauses to Contacts Numbers
Press or to save your changes
To store the number to Contacts
Edit an Existing E-mail Address
Assigning a Picture to a Contacts Entry
My Ringtones My Sounds
Assigning a Ringtone to a Contacts Entry
If there is no usable picture in the photo gallery screen
Create a New Entry
Saving a Number After a Call
Display
Press or to save the new entry to your Contacts list
Add to an Existing Entry
Speed Dial
Assignment During Entry Creation
Highlight the number field marked by the Speed Dial icon
Contacts Groups
Changing a Speed Dial Location
Highlight the desired entry, then press the Edit soft key
Add Contacts Entry to a Group
Using Add New/Edit Contact Option
Using Group Add Option
No Group Business Colleague Family Friends
Rename a Group
Send Pic Msg Send Video Msg Rename Erase Add
Add a New Group
Erase a Group
Deleting a Contacts Entry
Metro411
You are prompted to confirm the Group erasure
Memory Info
From the Contacts menu, select Memory Info
@metro
Accessing @metro Mobile Shop
Applications Shopping and Downloading
Create and Send Text Messages
Messages
Types of Messages
Press . For more information, refer to Entering Text on
Priority Level Choose High or Normal
Send Picture Messages in Camera Mode
Receive Text Messages
Select the option of your choice
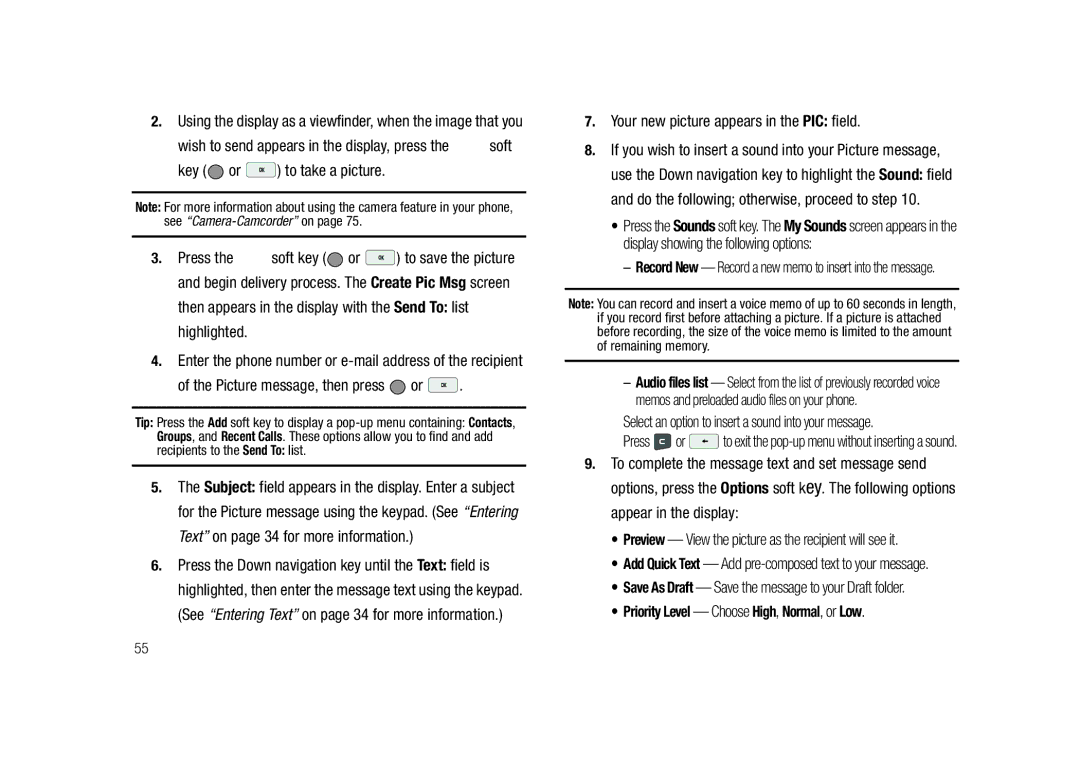
Your new picture appears in the PIC field
Key or to take a picture
Picture message, then press or
Priority Level Choose High, Normal, or Low
Send Picture/Video Messages in Standby Mode
Using the keypad, then press or
You are returned to the Create Pic Msg / Create Video
Receive Picture/Video Messages
View a Picture/Video Message Later
Message Boxes
View a Picture Message Now
Extract Calls the sender of the received message
Messages and Lock Mode
Inbox
Managing Inbox Messages
Extract Calls the originator of the message
Outbox
Review Messages in the Outbox
Managing Outbox Messages
Draft Box
Text Message Picture Message Video Message
Create a Draft Message
View and Edit Draft Text Messages
When you have completed composing your message
Press Send or to send it
View and Edit Draft Pic. / Video Messages
Voicemail
Managing Draft Messages
Listen to Voicemail Now
Follow the voice prompts to access your voicemail messages
Erase Messages
Listen to Voicemail Later
Voicemail # Edit or view your Voicemail number
Message Settings
General Message Settings
Editing and Entering Quick Text
Text Message Settings
Picture Message Settings
MetroWEB
Stored Web Content
MetroWEB
Launching MetroWEB
How MetroWEB Keys Work
Using MetroWEB
Using Links
MetroWEB soft keys
Voice SVC
Voice Command
Voice Command
Voice SVC Options
To access the Voice Settings menu
Voice Settings
Voice Command Tips
Make sure you wait for the beep before speaking
Sensitivity
From the Voice Settings menu, select Sensitivity
Adapt Digits Reset Digits
Digit Dialing
Digits On/Off Enables or disables digit playback
Reset Digits
Sound
Voice Launch
About
Taking Pictures and Videos
When the image that you wish to capture appears
Camera-Camcorder
Taking Snap Shots Single Pictures
Quick succession Series Shot 4 / 6 or Mosaic Shot
Taking Multi Shot Pictures
None 18 18/18
Camera-Camcorder
Camera Screen
Screen Layouts
Taking Videos
Camera Screen Soft Keys
Sunny Cloudy Tungsten Fluorescent
Camera Screen Icons
Take photos in low light Off shown or On
Camcorder Screen
Brightness Brightens or darkens the image from 4 to +4
Camcorder Screen Soft Keys
Camcorder Screen Icons
Saving Pictures and Videos
Save the picture or video by pressing the soft key
Mode
Shooting Mode
Camera Options
Size
Fine Normal Economy
320x240 pixels 176x144 pixels
Quality
White Balance
Night Shot
Self Timer
Color Effects
Auto Save
Camera Settings
Memory
Series Shot A/M
Icon Display
Reset Settings
Metering
Shutter Sound
Camcorder Options
Switches the Camcorder to Camera mode
Recording Mode
Shutter Sounds
Aqua Subjects and videos appear in an aqua hue
Camcorder mode, press the soft key, then highlight
Start Sound
Camcorder Settings
Appear when you press the soft key
Video
End Sound
Camera-Camcorder Adjustments Zoom
Look here
Off Melody
Brightness
Photo Gallery
Rename Change the name of the picture file
Video Gallery
Mode to Limit for MMS
Point, Click, and Send Pictures and Videos
Page
Using My Images Gallery
Accessing Multimedia
Multimedia
Return to standby mode, press
Using Your Music Player
Select the desired option and a desired value
Launching the Music Library Menu
Playing Music
All Artists Albums Genres Playlists
Navigation key
Volume key
Loading Music Files
Power your phone on
Using My Ringtones Gallery
Using My Sounds Gallery
Highlight a ringtone. You have the following options
Erase all Erase all unlocked voice memos
List of recorded voice memo files and melodies
To start recording a voice memo Press REC or
Erase all Erase all unlocked melodies
Turn Bluetooth On/Off
Accessing Your Phone’s Tools
Bluetooth
Tools
Registered List Bluetooth Settings Select Registered List
To search for available Bluetooth devices
Add New Device
To access Bluetooth settings
Select the desired option to access it
Bluetooth Settings
From the Tools menu, select Bluetooth Bluetooth Settings
Device Name
Calendar
View an Event
Supported Profiles
Alert type Tone, Vibrate, Light Only
Add a New Event
Repeat Steps 4 and 5 for the End Date and End Time
Review, Edit, and Erase Memos
Memo Pad
Create a Memo
105
Alarm Clock
Alarm
World Time
When an Alarm Sounds
Turn Off the Alarm
107
Enable Daylight Saving Time DST
Selecting/Displaying Time Zones
Press the Clear soft key to clear current entries
Calculator
Press to perform the calculation and view the result 109
Stop Watch
Currency Length Weight Volume Area Temperature
Select the conversion feature you wish to use
Converter
To return to the Converter screen, press or
To discard the change, press the Cancel soft key
Currency Reviewing/Editing Exchange Rates
Currency Adding Exchange Rates
From the Tools menu, select Converter Currency
Tip Calculator
Currency Erasing Exchange Rates
Gratuity tip Individual payment for groups
113
Location Setting
Settings
Accessing Your Phone’s Settings
Display Settings
Clock
From the Settings menu, select Display Settings Clock
Wallpaper
Banner
Backlight
From the Settings menu, select Display Settings Backlight
Shortcut Icon
Volume
Sound Settings
Ringer Type
Key Tone
Call Settings
Alerts
Select active On or inactive Off for the selected alert
Auto Answer
TTY Mode
Call Alert
Auto Retry
Voice Privacy
Data Settings
Icon appears in the top of the display
Standard Enhanced
Airplane Mode
Phone Settings
Hearing Aid Mode
Language
Security
From the Settings menu, select Phone Settings Security
Select your language preference
Select the Lock Phone option of your choice
Enter the new lock code again. Your changes are stored
Select Change Lock
New Lock Code prompt appears in the display
Emergency #
Select one of the three emergency numbers
Reset Phone
Select Emergency #
Erase All Entries
Select Erase All Entries
From the Settings menu, select Phone Settings NAM Selection
Menu appears in the display
NAM Selection
Set Time
From the Settings menu, select Phone Settings System Select
System Select
Set Time Set Date
Quick Search
From the Settings menu, select Phone Settings Quick Search
PC Connection
Auto Key Lock
From the Settings menu, select Memory Info
From the Settings menu, select Memory Info Phone Memory
Save Options
To keep the selected files, press the No soft key
Card Memory
129
Phone Number
Phone Info
To format the Memory Card, press the Yes soft key
Formatting a Memory Card
Version
From the Settings menu, select Phone Info Icon Glossary
Icon Glossary
Press the OK or key to return to the Phone Info menu
Exposure to Radio Frequency RF Signals
Health and Safety Information
Health and Safety Information
Certification Information SAR
Head 1.10 W/Kg
Samsung Mobile Products and Recycling
UL Certified Travel Adapter
Body-worn 1.33 W/Kg
Do wireless phones pose a health hazard?
Consumer Information on Wireless Phones
What is FDAs role concerning the safety of wireless phones?
National Telecommunications and Information Administration
135
136
What about children using wireless phones?
137
138
Road Safety
140
Responsible Listening
141
American Academy of Audiology
142
Operating Environment
National Institute for Occupational Safety and Health Niosh
Using Your Phone Near Other Electronic Devices
Implantable Medical Devices
For more information see
Vehicles
Other Medical Devices
Potentially Explosive Environments
Posted Facilities
Emergency Calls
If the phone is not on, switch it on
Restricting Childrens access to your Phone
To make an emergency call
FCC Notice and Cautions
Other Important Safety Information
Batterymarch Park Quincy, Massachusetts USA
FCC Notice
Availability of Various Features/Ring Tones
Product Performance
Battery Precautions
Battery Standby and Talk Time
149
Care and Maintenance
32 F
151
Standard Limited Warranty
Warranty Information
What is Covered and For How Long?
What are the Limits on Samsungs WARRANTY/LIABILITY?
153
154
End User License Agreement for Software
155
156
157
Richardson, Texas Phone 1-800-SAMSUNG
Precautions for Transfer and Disposal
Customer Care Center Klein Rd Plano, TX
158
159
Index Numerics
Canned Message Text
Camera Mode Camera Options
Display Screen Icons Display Settings
Change Lock Change Text Entry Modes Clear Key Contacts
Messages and Lock Mode 60 Metro411 MetroWeb
Memory Info Memory Info Settings
Message Settings, General Messages
Memory Management Message Folder
Security Sub Menu Send Key Settings
Phone Number Phone Safety Phone Settings
Picture Message Settings Picture Messages
Settings Menu
Talk Mode
Sound Settings
Standard Limited Warranty
Text Entry Mode

 or
or  ) to take a picture.
 or
or  .
.