Web Site
Contact SAMSUNG WORLD-WIDE
Country
Customer Care Centre
WARNINGS
Precautions When Displaying a Still Image
Image retention issues are not covered by your Samsung warranty
Setting the Picture
Connecting and Preparing Your TV
Setting the Sound
Setting the Channels
Symbol
USING The DTV FeATuRe
Using the Teletext Feature
Setting the PC
Installing the Wall Mount Kit
Installing the Stand
List of Parts
Viewing the Control Panel
5 Speakers 6 Power
Power Indicator
Remote Control Sensor
2 Connecting AUDIO
Viewing the Connection Panel
1 2
1 Connecting Set-Top Box, VCR or DVD
8 Connecting Computer
4 Connecting an Aerial or Cable Television Network
5 Connecting CI Common Interface CARD
7 Connecting External A/V Devices
Teletext Functions
Viewing the Remote Control
The mains lead is attached to the rear of your set
Installing Batteries in the Remote Control
Switching On and Off
Placing Your Television in Standby Mode
Plug & Play
Storing Channels Automatically
If you want to reset this feature
Storing Channels Automatically Storing Channels Manually
Whether or not to store each of the channels found
Storing Channels Manually
You can easily delete, add, or lock the channel you want
Setting the Channel Lists
Activating the Child Lock
Set the channels according to your preference
Assigning Channels Names
Sorting the Stored Channels
Then
LNA Low Noise Amplifier
Fine Tuning Channel Reception
Changing the Picture Standard
Adjusting the Custom Picture
ENTER/OK button
Changing the Colour Tone
Activating Backlight
You can select the most comfortable colour tone to your eyes
My Colour Control Pink/Green/Blue/White/Reset
Configuring Detailed Settings on the Picture
You can set detailed picture settings
Black Adjust Off/Low/Medium/High
Just Scan
Changing the Picture Size
You can return to the factory defaults picture settings
Resetting the Picture Settings to the Factory Defaults
Freezing the Current Picture
Selecting the Screen Mode
DNIe Off/Demo/On
Digital NR / Active Colour / DNIe
Digital NR Off/Low/Medium/High/Auto
Active Colour Off/On
ENTER/OK button
PIP Settings
Viewing the Picture In Picture PIP
Press the or button to select Setup, then press the
Changing the Sound Standard
HDMI Black Level
ENTER/OK button
ENTER/OK button
Adjusting the Sound Settings
Setting the TruSurround XT SRS TS XT
The sound settings can be adjusted to suit your personal preferences
screen
Connecting Headphones
Adjusting the Volume Automatically
Selecting the Sound Mode
ENTER/OK button
Selecting the Internal Mute
Listening to the Sound of the Sub Picture
ENTER/OK button
ENTER/OK button
Resetting the Sound Settings to the Factory Defaults
Setting and Displaying the Current Time
Press the
ENTER/OK button
Setting the Sleep Timer
Switching the Television On and Off Automatically
ENTER/OK button
Using Game Mode
Choosing Your Language
ENTER/OK button
Blue Screen
Setting the Blue Screen Mode / Selecting the Melody
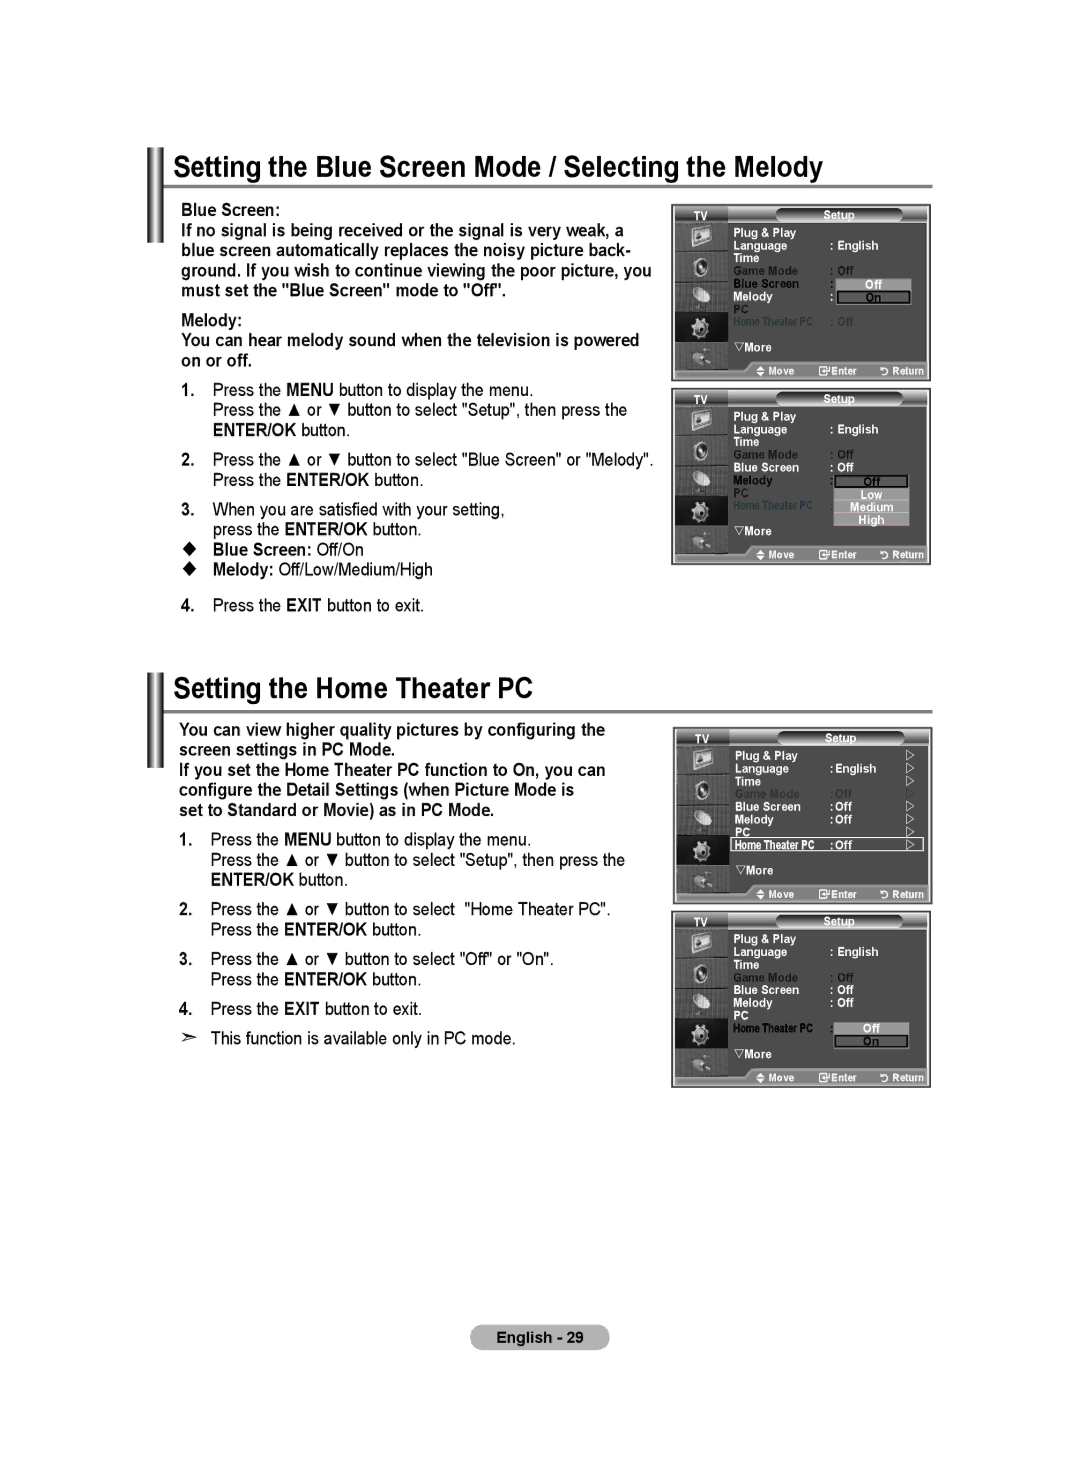
Setting the Home Theater PC
You can hear melody sound when the television is powered on or off
English
Using the Energy Saving Feature
Press the or button to select Setup, then press the
ENTER/OK button
ENTER/OK button
Selecting the Source
Editing the Input Source Names
ENTER/OK button
Previewing the DTV Menu System
location
Updating the Channel List Automatically
Updating the Channel List Manually
adds new Services or if you move the TV to a new
To remove all channels, press the green button
You can edit your favourite channels using the four colour buttons
Editing Your Favourite Channels
Add
ENTER/OK button
Move
Preview
Delete
You can exclude the channels you have chosen from the
Selecting Channel List
Displaying Programme Information
channels you have scanned.When you scan through the
Now & Next Guide
Viewing the EPG Electronic Programme Guide Information
Full Guide
Setting the Default Guide
Using the Scheduled List
You can preset the default guide style
In the EPG menu, you can display all channels or favourite channels
Viewing All Channels and Favourite Channels
To edit the favourite channels, refer to page 34 for more details
You can set the translucency of the menu
Adjusting the Menu Translucency
Setting up the Parental Lock
POWER Off, MUTE, 8, 2, 4, POWER On
You can activate and deactivate the subtitles
Setting the Subtitle
Setting the Subtitle Mode
Selecting the Audio Format
Viewing Product Information
Select the time zone where locate
Selecting the Digital Text
Selecting the Time Zone Spain only
You can get information about the signal status
Checking the Signal Information
Upgrading the Software
Selecting the CI Common Interface Menu
Viewing Common Interface
CI Menu
You can reset the values stored to the factory default values
Resetting
Selecting the Preferred Language Subtitle , Audio or Teletext
This menu consists of 6 sub-menus
Contents
Preference
Teletext Decoder
Information may be missing Some pages may not be displayed
To activate the teletext mode and display the contents page
Displaying the Teletext Information
Selecting a Specific Teletext Page
Setting Up Your Remote Control
Using Fastext to Select a Teletext Page
Code
Remote Control Codes
English
Brand
Brand
CABLE BOX
SAMSUNG DVD
English
Brand
SAMSUNG SET-TOP BOX
SET-TOP BOX
English
HDMI/DVI Input
Setting up Your PC Software Based on Windows XP
Display Modes
D-Sub Input
Adjust the PC’s screen positioning if it does not fit the TV screen
Setting the PC
Coarse and Fine Tuning of the Image Image Lock
1. Preset Press the SOURCE button to select PC mode
Operations
Wall-Mount Adjustment LE40S8, LE46S8 Sold separately
Using the Remote Control Buttons
Button
Troubleshooting Before Contacting Service Personnel
Using the Anti-Theft Kensington Lock
Optional
Dimension WxDxH
Technical and Environmental Specifications
Power Consumption
PC Resolution
Warning! Important Safety Instructions
WARRANTY CONDITIONS
Wiring the Mains Power Supply Plug UK Only
Warranty Card
United Kingdom
This page is intentionally left blank