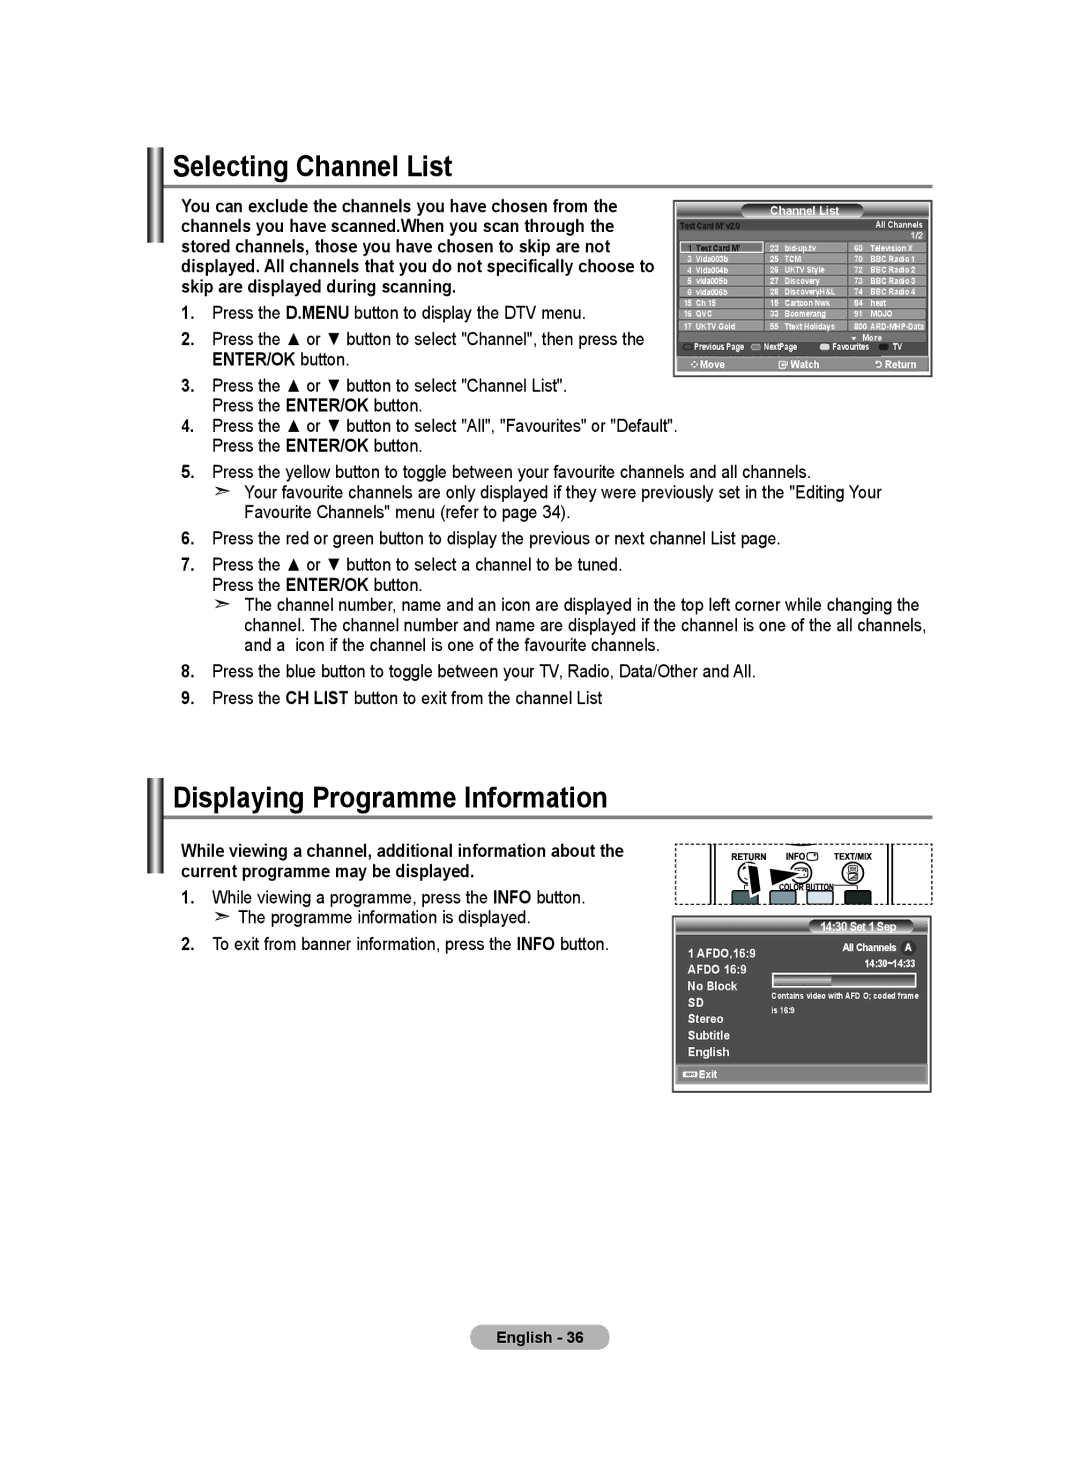
Selecting Channel List
You can exclude the channels you have chosen from the |
|
|
|
|
|
|
| |||
|
|
| Channel List |
| 1/2 |
| ||||
channels you have scanned.When you scan through the |
|
|
|
|
|
|
|
| ||
|
|
| Test Card M' v2.0 |
|
|
|
| All Channels | ||
stored channels, those you have chosen to skip are not |
|
|
|
|
|
|
|
|
| |
|
|
|
|
|
|
|
|
| ||
| 1 Test Card M' | 23 |
| 60 | Television X |
| ||||
displayed. All channels that you do not specifically choose to |
| 3 | Vida003b | 25 | TCM |
| 70 | BBC Radio 1 |
| |
| 4 Vida004b | 26 | UKTV Style |
| 72 | BBC Radio 2 |
| |||
skip are displayed during scanning. |
| 6 vida006b | 28 | DiscoveryH&L | 74 | BBC Radio 4 | ||||
|
|
| 5 | vida005b | 27 | Discovery |
| 73 | BBC Radio 3 |
|
|
|
|
|
|
|
|
|
|
|
|
1. | Press the D.MENU button to display the DTV menu. |
| 15 | Ch 15 | 15 | Cartoon Nwk |
| 84 | heat |
|
| 16 | QVC | 33 | Boomerang |
| 91 | MOJO |
| ||
2. | Press the ▲ or ▼ button to select "Channel", then press the |
| 17 | UKTV Gold | 55 | Ttext Holidays | 800 |
| ||
|
| Previous Page | NextPage | Favourites | TV | |||||
|
|
|
|
|
|
|
| 6 More |
| |
| ENTER/OK button. |
|
| Move |
| Watch |
|
| Return | |
3.Press the ▲ or ▼ button to select "Channel List". Press the ENTER/OK button.
4.Press the ▲ or ▼ button to select "All", "Favourites" or "Default".
Press the ENTER/OK button.
5.Press the yellow button to toggle between your favourite channels and all channels.
Your favourite channels are only displayed if they were previously set in the "Editing Your Favourite Channels" menu (refer to page 34).
6.Press the red or green button to display the previous or next channel List page.
7.Press the ▲ or ▼ button to select a channel to be tuned. Press the ENTER/OK button.
![]() The channel number, name and an icon are displayed in the top left corner while changing the channel. The channel number and name are displayed if the channel is one of the all channels, and a icon if the channel is one of the favourite channels.
The channel number, name and an icon are displayed in the top left corner while changing the channel. The channel number and name are displayed if the channel is one of the all channels, and a icon if the channel is one of the favourite channels.
8.Press the blue button to toggle between your TV, Radio, Data/Other and All.
9.Press the CH LIST button to exit from the channel List
Displaying Programme Information
While viewing a channel, additional information about the current programme may be displayed.
1.While viewing a programme, press the INFO button.
![]() The programme information is displayed.
The programme information is displayed.
2.To exit from banner information, press the INFO button.
14:30 Set 1 Sep
1 AFDO,16:9 |
| AII Channels A | ||
|
| 14:30~14:33 | ||
AFDO 16:9 |
|
| ||
|
|
| ||
No Block | Contains video with AFD O; coded frame | |||
SD | ||||
is 16:9 |
|
| ||
Stereo |
|
| ||
|
|
| ||
Subtitle |
|
|
| |
English | Move | Enter | Return | |
![]()
![]()
![]() Exit
Exit
English - 36