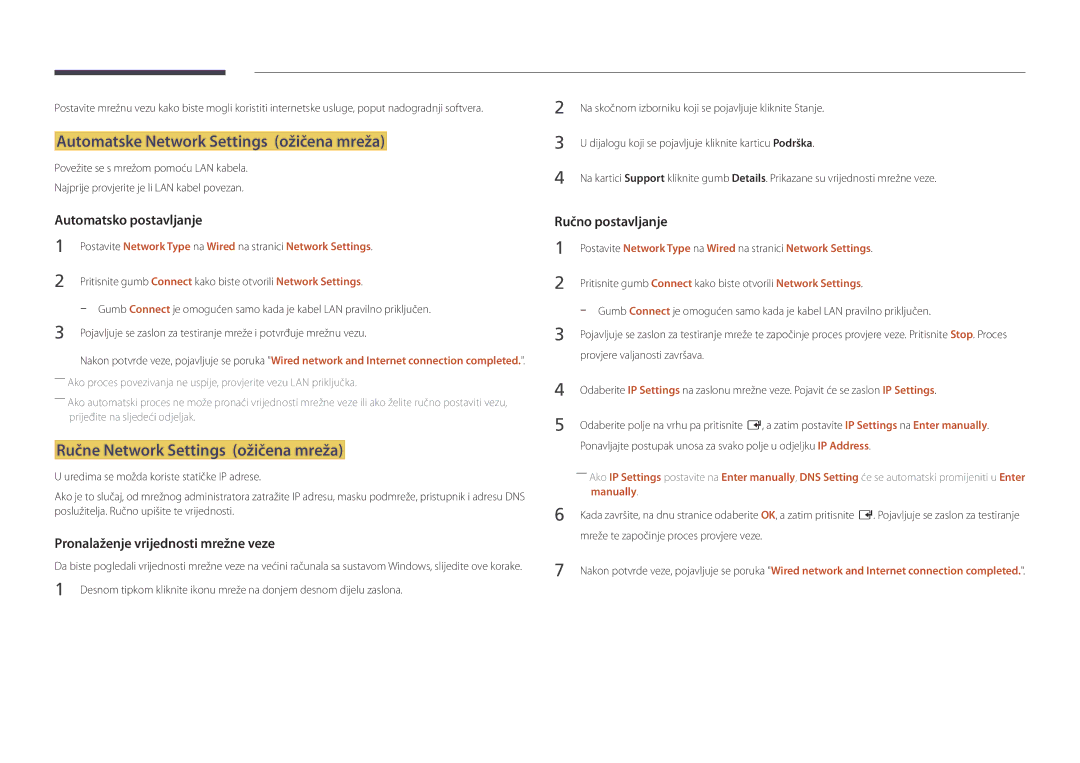
LH40DMDPLGC/EN, LH75DMDPLGC/EN, LH48DMDPLGC/EN, LH55DMDPLGC/EN specifications
The Samsung LH75DMDPLGC and its variants, including the LH75DMDPLGC/EN, LH75DMDPLGC/NG, LH65DMDPLGC/UE, LH65DMDPLGC/EN, and LH75DMDPLGC/XY, are a testament to Samsung's commitment to providing high-quality digital signage solutions tailored for various commercial applications. These models are particularly designed for businesses seeking to enhance their visual communication, engage audiences, and elevate their branding efforts.One of the standout features of the LH75DMDPLGC series is its ultra-high-definition (UHD) resolution. With 4K clarity, these displays deliver exceptional picture quality, ensuring that every detail is vividly displayed. This high resolution is particularly beneficial for environments where large images and intricate graphics are essential, such as retail spaces, corporate settings, and event venues.
The durability of these displays is another notable aspect. Constructed with robust materials, the LH75DMDPLGC series is designed for long-term use in high-traffic areas. They are equipped to withstand various environmental conditions, making them suitable for both indoor and outdoor applications. This resilience can be further enhanced with additional protective features, such as anti-glare coatings, to ensure optimum visibility in bright conditions.
In terms of connectivity, these models offer versatile options. They come with multiple HDMI and USB ports, enabling seamless integration with various devices and content sources. This flexibility ensures that users can easily display multimedia content, from videos and images to real-time data feeds. The incorporation of smart technologies also makes these displays efficient for content management, allowing users to update and schedule content remotely.
Samsung's innovative display technologies are on full display here. Features such as HDR support enhance contrast and color accuracy, resulting in richer images that grab the viewer's attention. Additionally, the displays support Samsung's MagicINFO platform, which provides a user-friendly interface for creating, managing, and distributing content across multiple screens.
Energy efficiency is an important characteristic of the LH75DMDPLGC series. They are designed to consume minimal power while still providing high performance, which is an asset for businesses looking to reduce operational costs. Overall, the Samsung LH75DMDPLGC series offers advanced features and technologies, making it an ideal choice for any organization looking to invest in superior digital signage solutions.

