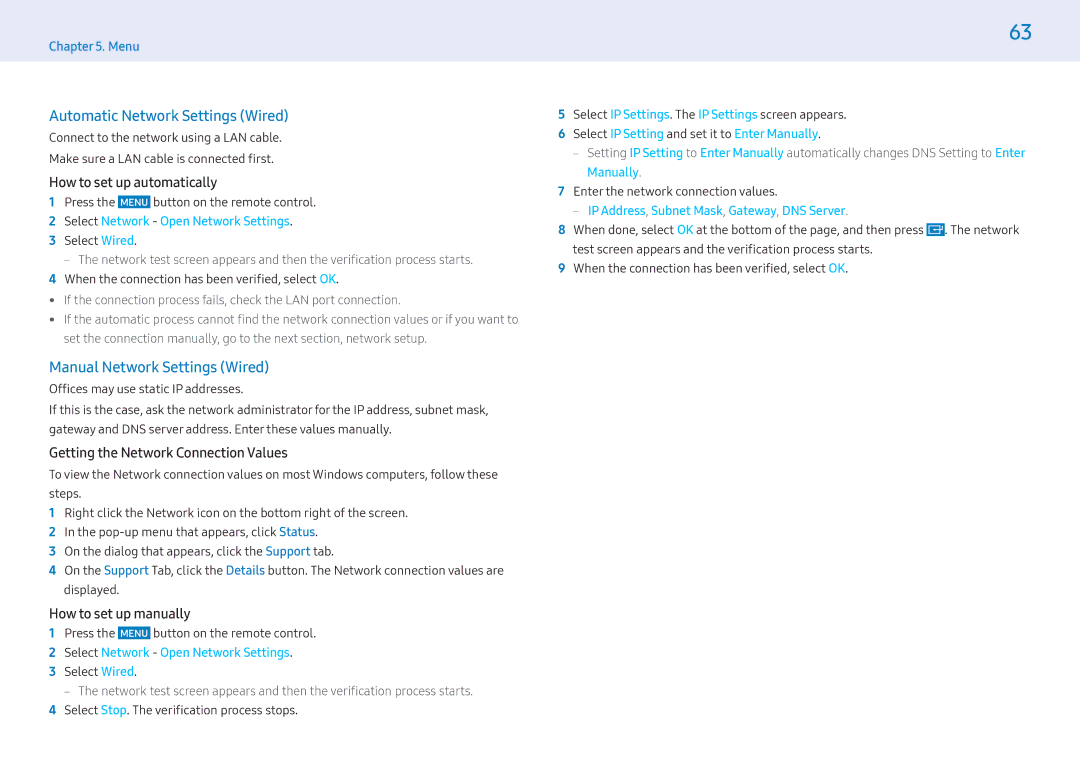
LH49PMFPBGC/CH, LH32PMFPBGC/EN, LH43PHFPMGC/EN, LH55PHFPBGC/CH, LH32PMFPBGC/CH specifications
Samsung's line of professional display solutions, particularly the LH49PHFPBGC/UE, LH43PMFPBGC/EN, LH49PHFPBGC/NG, LH43PMFPBGC/EN, and LH49PMFPBGC/EN models, exemplifies the company's commitment to innovation and quality in digital signage technology. These models are designed to meet the diverse needs of businesses and organizations, providing exceptional visual performance, durability, and versatility.A standout feature of these displays is their remarkable picture quality, characterized by vibrant colors and sharp images that enhance the viewer's experience. This is achieved through Samsung's advanced LED technology, which ensures high brightness and contrast ratios. Additionally, the displays support 4K resolution, delivering stunning detail that is essential for capturing audience attention in retail environments, corporate settings, or public spaces.
The series also incorporates HDR (High Dynamic Range) capabilities, allowing for a broader range of colors and luminance levels. This feature is particularly beneficial for content that requires precision and depth, enabling businesses to showcase their products or services in the best possible light. Furthermore, with a high refresh rate, these displays minimize lag, ensuring smooth transitions and motion, which is critical in dynamic content presentation.
Durability is a crucial aspect of these professional displays. Designed for 24/7 operation, they can withstand the rigors of continuous use without compromising performance. The robust build is complemented by a sleek, modern design that fits seamlessly into various environments, from retail stores to conference rooms.
Connectivity options are extensive, making it easy to integrate these displays into existing systems. With multiple HDMI and USB ports, users can easily connect various devices, enhancing flexibility in content management and delivery. Built-in Wi-Fi capabilities further facilitate wireless content sharing, enabling users to update and control displays remotely.
The intuitive user interface simplifies content management, allowing for quick and efficient scheduling and playback of media. This is particularly advantageous for businesses that require regular updates to their displays.
In summary, the Samsung LH49PHFPBGC/UE, LH43PMFPBGC/EN, LH49PHFPBGC/NG, LH43PMFPBGC/EN, and LH49PMFPBGC/EN models stand out in the digital signage market due to their breathtaking visuals, robust performance, and user-friendly features. These displays are engineered to deliver exceptional results, making them an excellent choice for any business looking to enhance its communication and engagement strategies. Whether it’s for advertising, information dissemination, or immersive experiences, Samsung’s professional displays are a reliable and high-quality solution.

