
MC1360WA specifications
The Samsung MC1360WA is a versatile and efficient microwave oven that combines functionality with sleek design, making it an ideal addition to any modern kitchen. This model is renowned for its user-friendly features and advanced technology that enhance cooking experiences, while also ensuring food is prepared evenly and promptly.At the heart of the Samsung MC1360WA is its powerful 1300 watts of cooking power. This ensures fast heating and cooking times, significantly reducing meal prep durations for busy households. With six power levels, users have the flexibility to choose the appropriate settings for different types of food, from defrosting delicate items to cooking hearty meals.
One of the standout features of the MC1360WA is its ceramic enamel interior. This innovative coating not only facilitates easy cleaning but also helps in maintaining hygiene by preventing bacterial growth. The ceramic enamel is durable and does not stain easily, which means it retains its original shine even after extended use. This feature contributes to the microwave's long-term durability, making it an excellent investment for any kitchen.
The Samsung MC1360WA also boasts a range of pre-programmed cooking options, including dedicated settings for popcorn, pizza, and frozen vegetables. These one-touch buttons simplify the cooking process, providing users with optimal results without the need for constant monitoring. Furthermore, the microwave incorporates sensor cooking technology that automatically adjusts cooking times and power levels based on the moisture released from the food. This ensures perfect results each time, whether reheating leftovers or preparing a freshly cooked meal.
Aesthetically, the MC1360WA showcases a stylish white exterior that can seamlessly complement various kitchen decors. Its compact size is perfect for those with limited counter space, while still allowing for a generous interior capacity to accommodate large dishes.
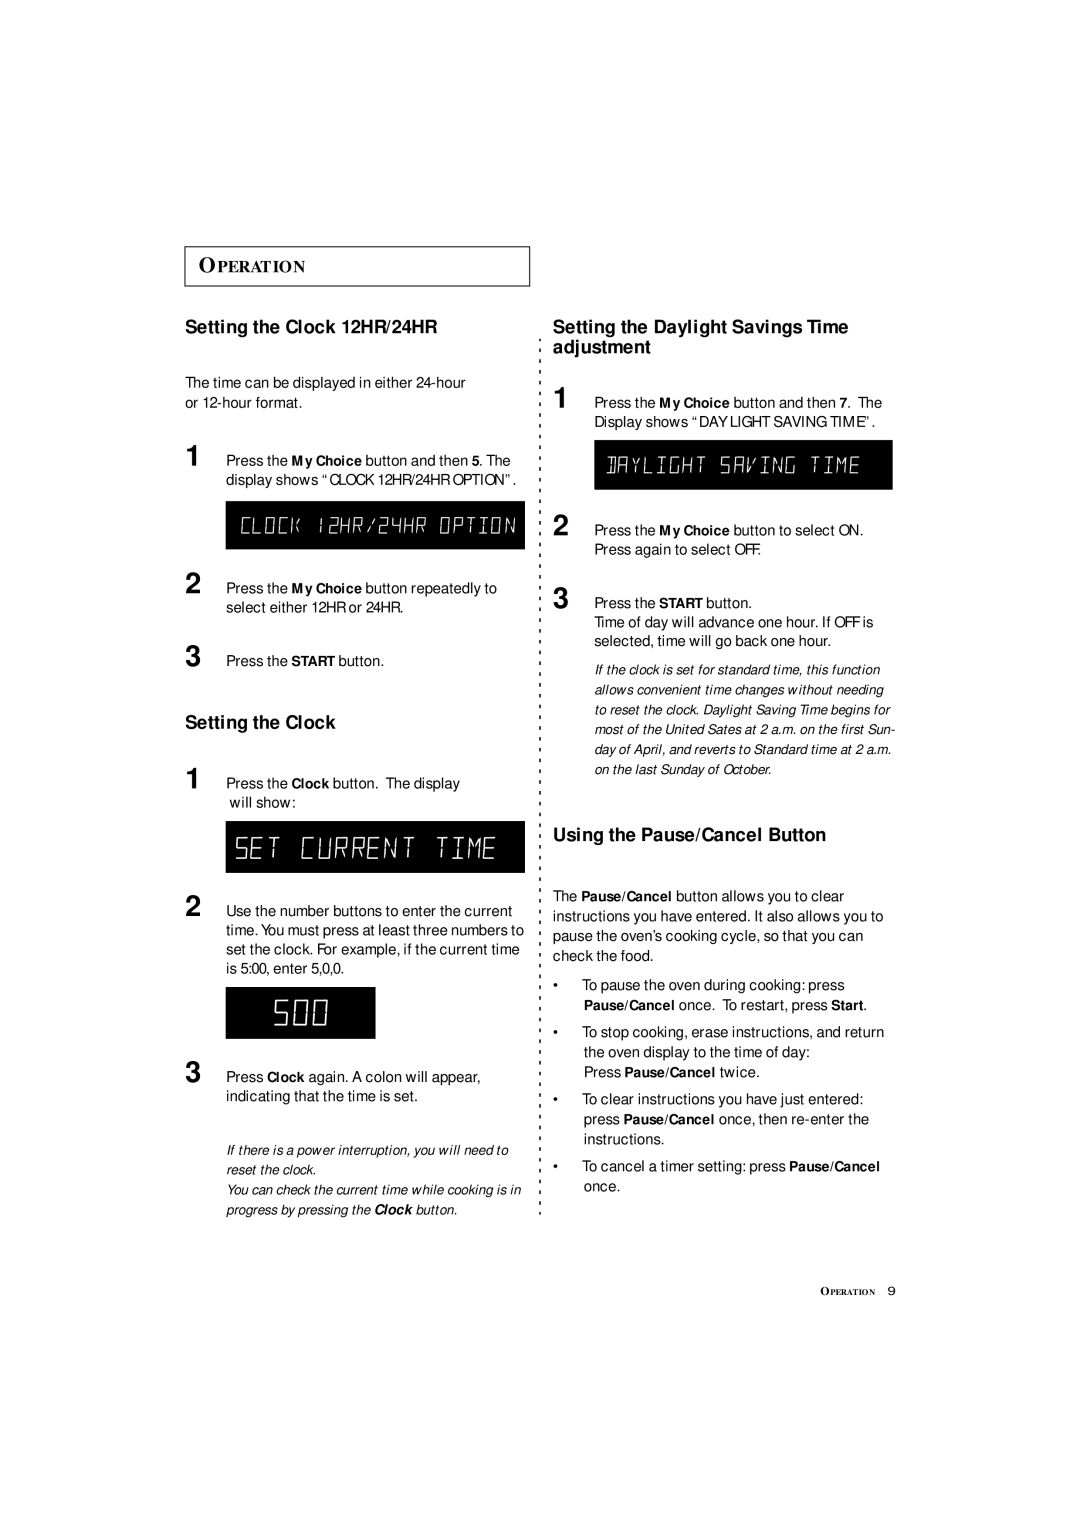
Additional features include a user-friendly control panel, a bright LED display, and a child safety lock, enhancing usability and peace of mind for families. Energy efficiency is another advantage, as the microwave is designed to minimize power consumption, making it an environmentally friendly choice.
Overall, the Samsung MC1360WA is a well-rounded microwave that epitomizes convenience, style, and performance, making it a favored choice among consumers looking for a reliable kitchen appliance.