Setting the PC
➢Preset to the PC mode by pressing the SOURCE ( ![]() ) button.
) button.
| TV |
|
|
|
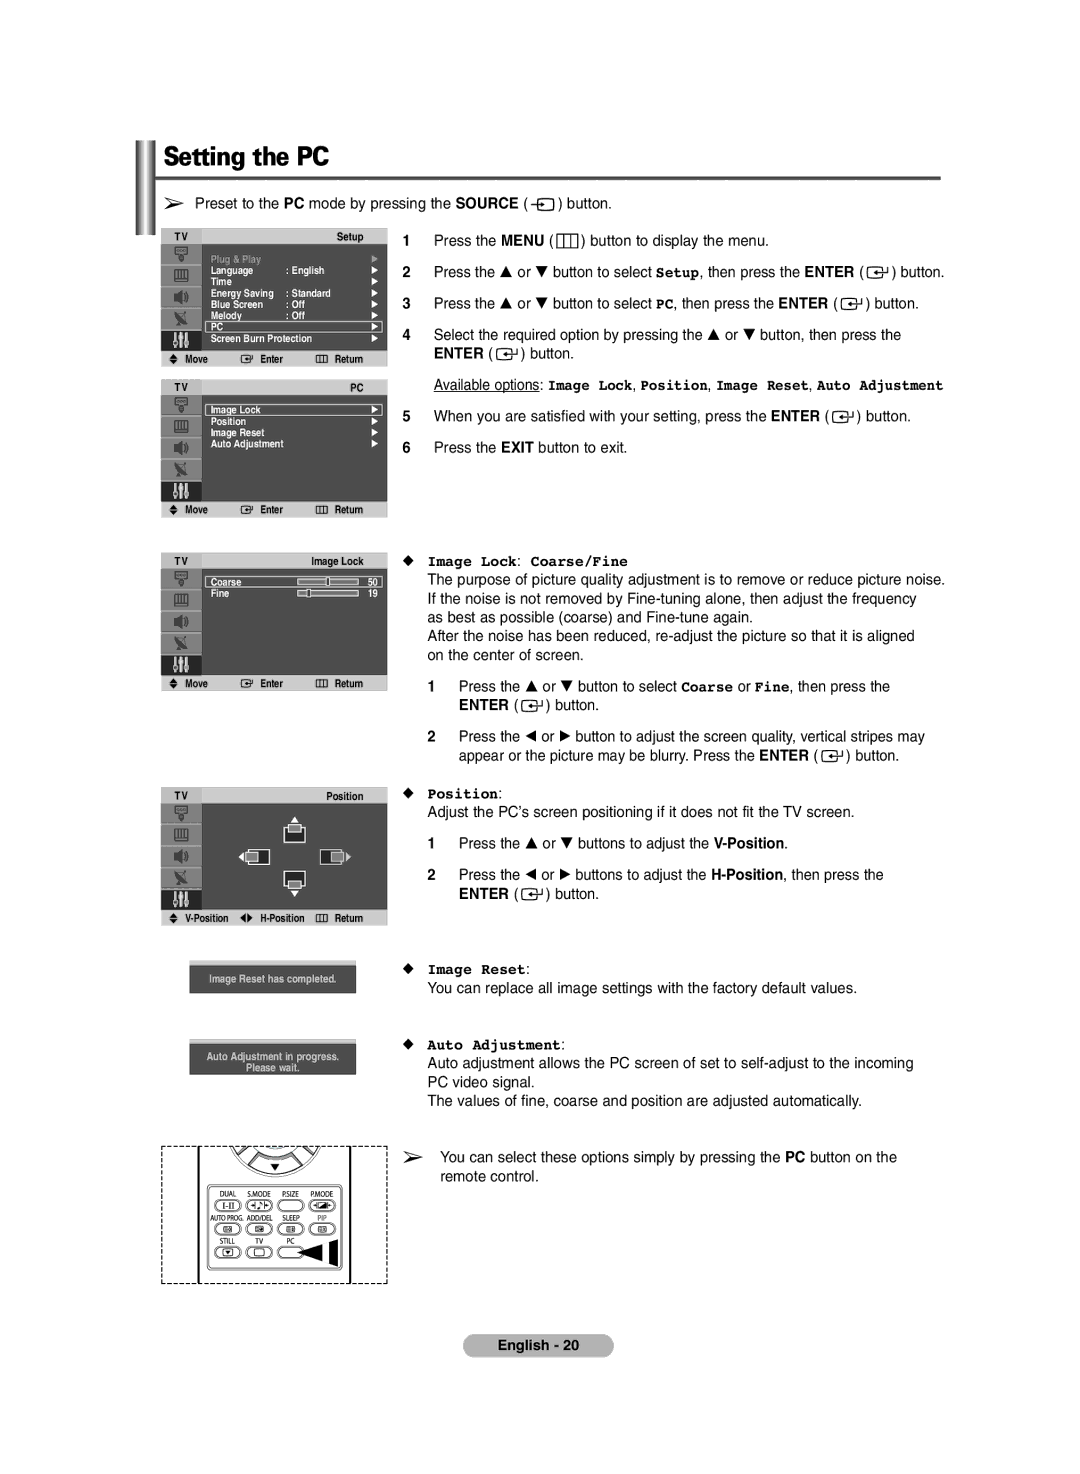
| Setup | 1 | Press the MENU ( |
| ) button to display the menu. |
|
| ||
|
|
|
| Plug & Play |
|
| √ |
|
|
|
|
|
|
|
|
|
|
|
|
| 2 | Press the … or † button to select Setup, then press the ENTER ( | ) button. | ||||||
|
|
|
| Language | : English | √ | ||||||||
|
|
|
| Time |
|
| √ |
|
|
|
|
|
|
|
|
|
|
| Energy Saving | : Standard | √ | 3 | Press the … or † button to select PC, then press the ENTER ( |
| ) button. | ||||
|
|
|
| Blue Screen | : Off | √ |
| |||||||
|
|
|
| Melody | : Off | √ |
|
|
|
|
|
|
| |
|
|
|
| PC |
|
| √ | 4 | Select the required option by pressing the … or † button, then press the | |||||
|
|
|
| Screen Burn Protection | √ | |||||||||
|
|
|
|
|
|
|
|
| ENTER ( | ) button. |
|
|
| |
| Move | Enter |
|
| Return |
|
|
|
| |||||
|
|
|
|
|
|
|
|
| Available options: Image Lock, Position, Image Reset, Auto | Adjustment | ||||
| TV |
|
|
|
| PC |
| |||||||
|
|
|
|
|
|
|
|
|
|
|
|
|
|
|
|
|
|
| Image Lock |
|
| √ | 5 | When you are satisfied with your setting, press the ENTER ( | ) button. | ||||
|
|
|
| Position |
|
| √ | |||||||
|
|
|
| Image Reset |
|
| √ |
|
|
|
|
|
|
|
|
|
|
| Auto Adjustment |
|
| √ | 6 | Press the EXIT button to exit. |
|
| |||
|
|
|
|
|
|
|
|
|
| |||||
|
|
|
|
|
|
|
|
|
|
|
|
|
|
|
|
|
|
|
|
|
|
|
|
|
|
|
|
|
|
Move | Enter | Return |
TV |
| Image Lock |
Coarse |
| 50 |
Fine |
| 19 |
Move | Enter | Return |
TV | Position |
◆Image Lock: Coarse/Fine
The purpose of picture quality adjustment is to remove or reduce picture noise. If the noise is not removed by
After the noise has been reduced,
1Press the … or † button to select Coarse or Fine, then press the ENTER ( ![]() ) button.
) button.
2Press the œ or √ button to adjust the screen quality, vertical stripes may appear or the picture may be blurry. Press the ENTER ( ![]() ) button.
) button.
◆Position:
Adjust the PC’s screen positioning if it does not fit the TV screen.
1Press the … or † buttons to adjust the
2Press the œ or √ buttons to adjust the ![]() ) button.
) button.
Return |
Image Reset has completed.
Auto Adjustment in progress.
Please wait.
◆Image Reset:
You can replace all image settings with the factory default values.
◆Auto Adjustment:
Auto adjustment allows the PC screen of set to
The values of fine, coarse and position are adjusted automatically.
➢You can select these options simply by pressing the PC button on the remote control.
English - 20