Selecting the Picture Size
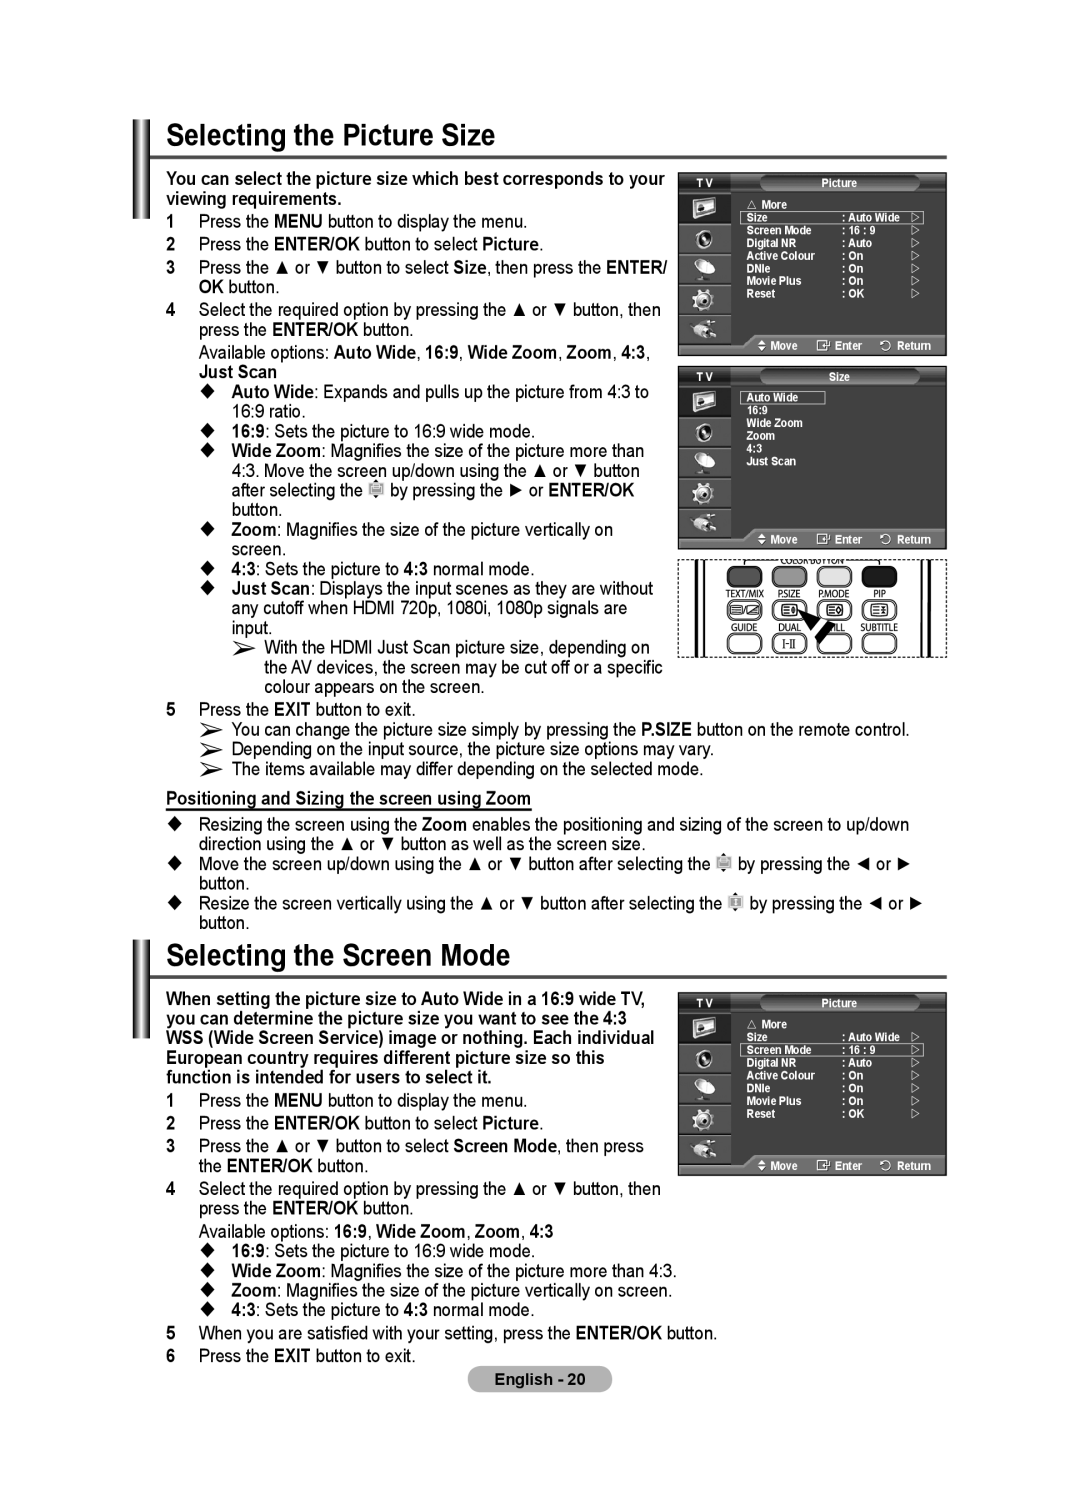
You can select the picture size which best corresponds to your viewing requirements.
1Press the MENU button to display the menu.
2 Press the ENTER/OK button to select Picture.
3 Press the ▲ or ▼ button to select Size, then press the ENTER/ OK button.
4 Select the required option by pressing the ▲ or ▼ button, then press the ENTER/OK button.
Available options: Auto Wide, 16:9, Wide Zoom, Zoom, 4:3,
Just Scan
Auto Wide: Expands and pulls up the picture from 4:3 to 16:9 ratio.
16:9: Sets the picture to 16:9 wide mode.
Wide Zoom: Magnifies the size of the picture more than 4:3. Move the screen up/down using the ▲ or ▼ button after selecting the ![]() by pressing the ► or ENTER/OK button.
by pressing the ► or ENTER/OK button.
Zoom: Magnifies the size of the picture vertically on screen.
4:3: Sets the picture to 4:3 normal mode.
Just Scan: Displays the input scenes as they are without any cutoff when HDMI 720p, 1080i, 1080p signals are input.
➢With the HDMI Just Scan picture size, depending on the AV devices, the screen may be cut off or a specific colour appears on the screen.
T V | Picture |
|
| ||
| More |
|
|
|
|
| Size |
| : Auto Wide |
| |
| Screen Mode | : 16 : 9 | |
| |
| Digital NR |
| : Auto | | |
| Active Colour |
| : On | | |
| DNIe |
| : On | | |
| Movie Plus |
| : On | | |
| Reset |
| : OK | | |
| Move |
| Enter | Return | |
|
|
|
|
| |
T V |
| Size |
|
| |
|
|
|
|
|
|
| Auto Wide |
|
|
|
|
| 16:9 |
|
|
|
|
| Wide Zoom |
|
|
|
|
| Zoom |
|
|
|
|
4:3 |
|
|
|
| |
| Just Scan |
|
|
|
|
| Move |
| Enter | Return | |
5Press the EXIT button to exit.
➢You can change the picture size simply by pressing the P.SIZE button on the remote control.
➢Depending on the input source, the picture size options may vary.
➢The items available may differ depending on the selected mode.
Positioning and Sizing the screen using Zoom
Resizing the screen using the Zoom enables the positioning and sizing of the screen to up/down direction using the ▲ or ▼ button as well as the screen size.
Move the screen up/down using the ▲ or ▼ button after selecting the ![]() by pressing the ◄ or ► button.
by pressing the ◄ or ► button.
Resize the screen vertically using the ▲ or ▼ button after selecting the ![]() by pressing the ◄ or ► button.
by pressing the ◄ or ► button.
Selecting the Screen Mode
When setting the picture size to Auto Wide in a 16:9 wide TV, |
|
|
|
|
|
T V | Picture |
|
| ||
you can determine the picture size you want to see the 4:3 |
| More |
|
|
|
WSS (Wide Screen Service) image or nothing. Each individual |
| Size | : Auto Wide | |
|
European country requires different picture size so this |
| Screen Mode | : 16 : 9 | |
|
| Digital NR | : Auto | |
| |
function is intended for users to select it. |
| Active Colour | : On | | |
1 Press the MENU button to display the menu. |
| DNIe | : On | | |
| Movie Plus | : On | | ||
2 Press the ENTER/OK button to select Picture. |
| Reset | : OK | | |
|
|
|
|
| |
3Press the ▲ or ▼ button to select Screen Mode, then press
the ENTER/OK button. | Move | Enter | Return |
4Select the required option by pressing the ▲ or ▼ button, then press the ENTER/OK button.
Available options: 16:9, Wide Zoom, Zoom, 4:3
16:9: Sets the picture to 16:9 wide mode.
Wide Zoom: Magnifies the size of the picture more than 4:3.
Zoom: Magnifies the size of the picture vertically on screen.
4:3: Sets the picture to 4:3 normal mode.
5When you are satisfied with your setting, press the ENTER/OK button.
6 Press the EXIT button to exit.
English - 20
