ENGLISH
Advanced Recording
● DEMONSTRATION | ● |
✤Demonstration automatically shows you the major functions that are included with your camcorder so that you may use them more easily.
✤The DEMONSTRATION function may only be used in the CAMERA mode without a tape inserted in the camcorder.
✤The demonstration operates repeatedly until the DEMONSTRATION mode switched OFF.
✤
✤
✤
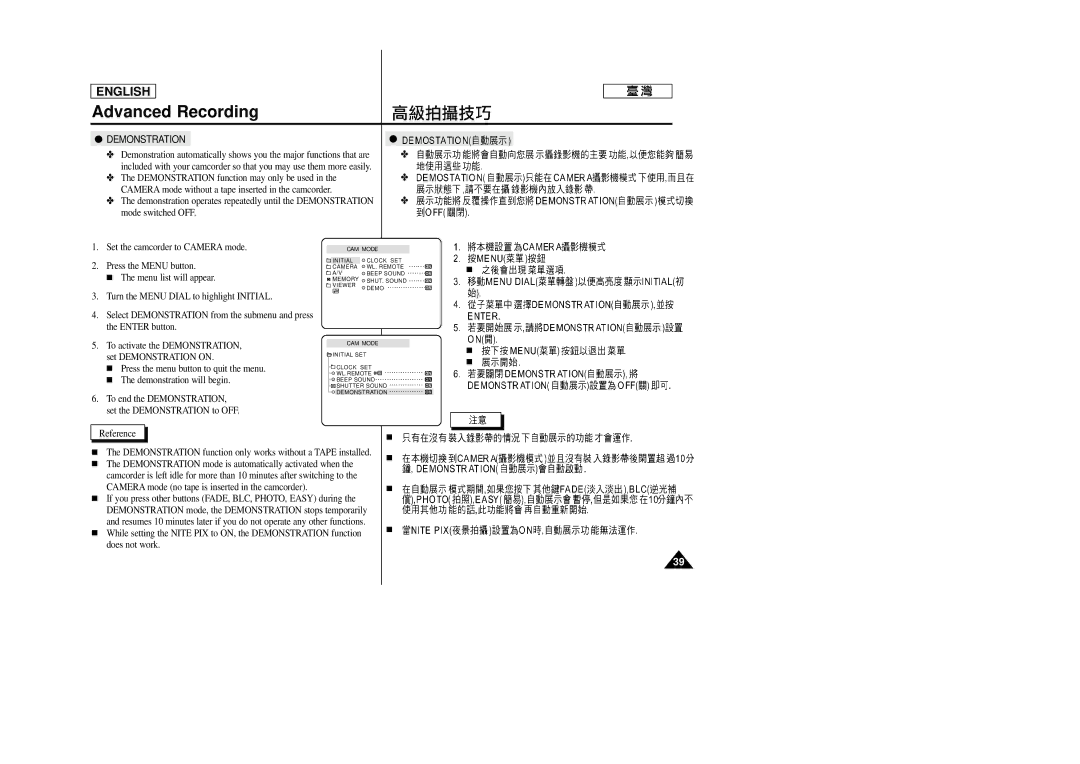
1. | Set the camcorder to CAMERA mode. | CAM MODE | |
2. | Press the MENU button. | INITIAL | CLOCK SET |
CAMERA | WL. REMOTE | ||
| ■ The menu list will appear. | A/V | BEEP SOUND |
| MEMORY | SHUT. SOUND | |
![]() VIEWER
VIEWER ![]() DEMO
DEMO
■
3.Turn the MENU DIAL to highlight INITIAL.
4.Select DEMONSTRATION from the submenu and press the ENTER button.
5.To activate the DEMONSTRATION, set DEMONSTRATION ON.
■Press the menu button to quit the menu.
■The demonstration will begin.
6.To end the DEMONSTRATION, set the DEMONSTRATION to OFF.
CAM MODE
![]() INITIAL SET
INITIAL SET
![]()
![]() CLOCK SET
CLOCK SET ![]()
![]() WL.REMOTE
WL.REMOTE ![]()
![]()
![]() BEEP SOUND
BEEP SOUND
![]()
![]() SHUTTER SOUND
SHUTTER SOUND ![]()
![]() DEMONSTRATION
DEMONSTRATION
■
■
Reference |
| ■ | |
| |||
■ The DEMONSTRATION function only works without a TAPE installed. | ■ | ||
■ The DEMONSTRATION mode is automatically activated when the | |||
| |||
camcorder is left idle for more than 10 minutes after switching to the |
| ||
CAMERA mode (no tape is inserted in the camcorder). | ■ | ||
■If you press other buttons (FADE, BLC, PHOTO, EASY) during the DEMONSTRATION mode, the DEMONSTRATION stops temporarily and resumes 10 minutes later if you do not operate any other functions.
■ | While setting the NITE PIX to ON, the DEMONSTRATION function | ■ |
| ||
| does not work. |
|
39
