Sensor Cooking buttons

The Sensor Cooking buttons let you cook favorite foods using preset power levels and times at the touch of a button. If the food is not thoroughly cooked or reheated when you use the auto cook feature, complete the cooking process by selecting a power level and cooking the food for an additional amount of time.

Do not continuously use the Sensor Cooking buttons. The oven must cool for 5 minutes between uses or the CAUTION food will overcook.

Sensor cooking utensils & covers

To obtain good cooking results using these functions, follow the directions for selecting the appropriate containers and covers in the Cookware section on page16.

CAUTION

CAUTION

Always use microwave-safe containers and cover with a lid or plastic wrap. When using plastic wrap, turn back one corner to allow steam to escape.

Fill containers at least half full.

Foods that require stirring or rotating should be stirred or turned at the end of the Sensor Cook cycle, when the time has started to count down on the display.

Do not use the Auto Sensor cooking feature continuously. Wait 5 minutes before selecting another sensor cooking operation.

To avoid poor results, do not use the Auto Sensor when the room ambient temperature is too high or too low.

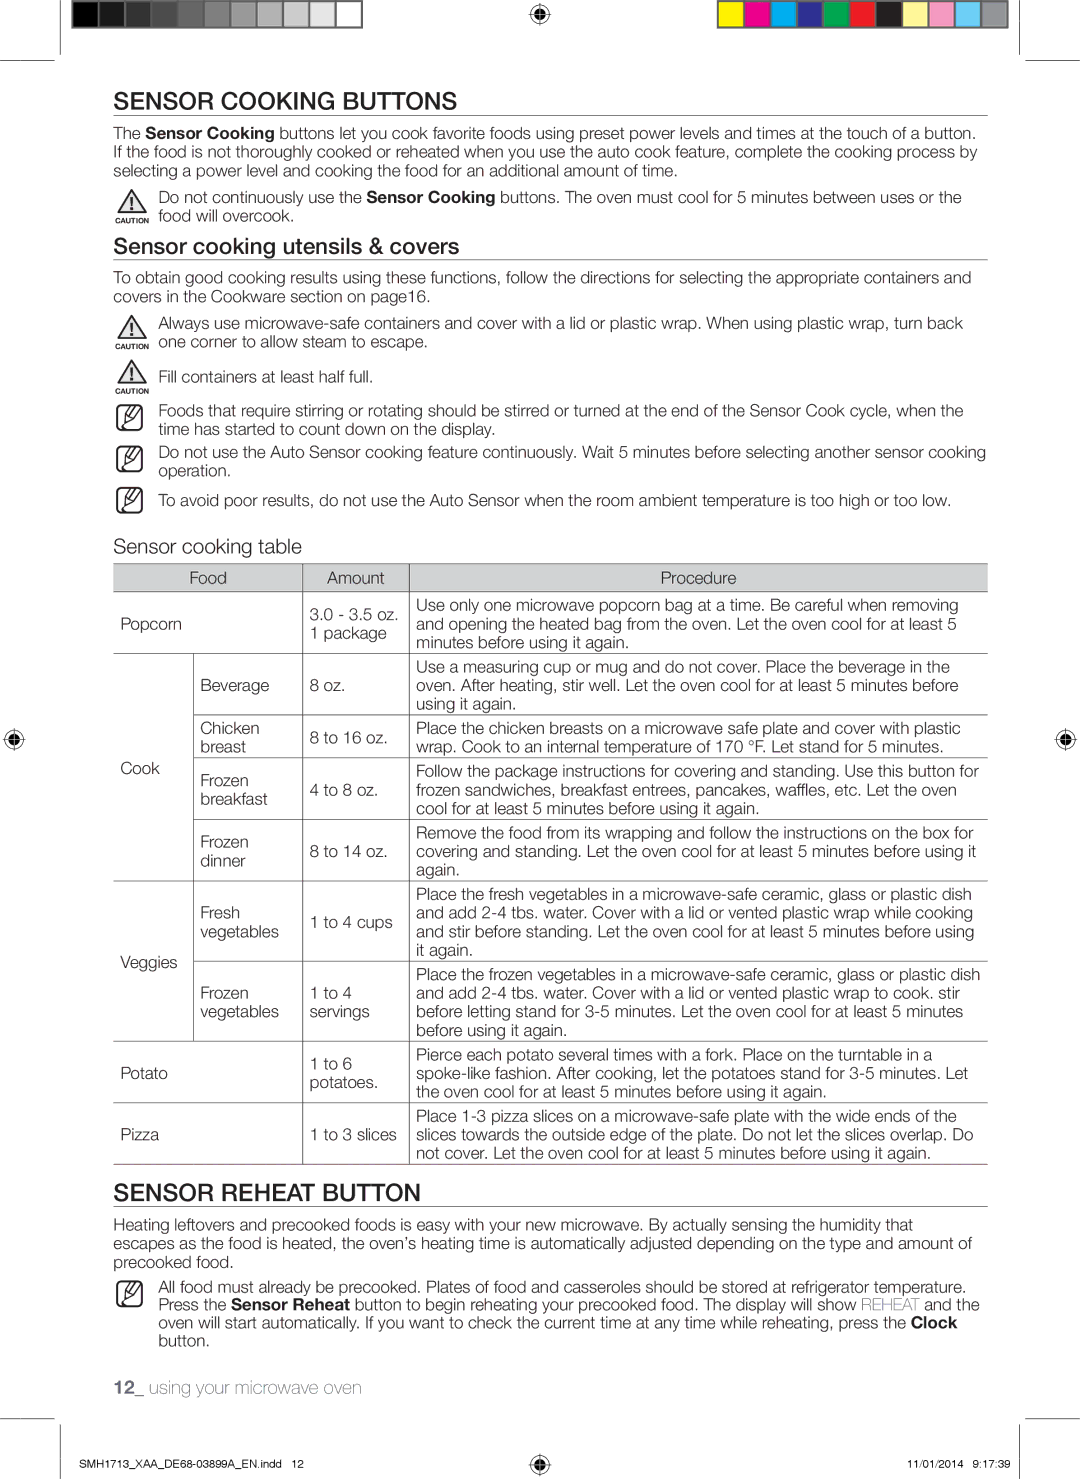
Sensor cooking table


Food

Amount

Procedure


Popcorn


3.0 - 3.5 oz.

Use only one microwave popcorn bag at a time. Be careful when removing


1 package

and opening the heated bag from the oven. Let the oven cool for at least 5


minutes before using it again.


Use a measuring cup or mug and do not cover. Place the beverage in the


Beverage

8 oz.

oven. After heating, stir well. Let the oven cool for at least 5 minutes before


using it again.


Chicken

8 to 16 oz.

Place the chicken breasts on a microwave safe plate and cover with plastic


breast

wrap. Cook to an internal temperature of 170 °F. Let stand for 5 minutes.


Cook


Frozen


Follow the package instructions for covering and standing. Use this button for


4 to 8 oz.

frozen sandwiches, breakfast entrees, pancakes, waffles, etc. Let the oven


breakfast


cool for at least 5 minutes before using it again.


Frozen


Remove the food from its wrapping and follow the instructions on the box for


8 to 14 oz.

covering and standing. Let the oven cool for at least 5 minutes before using it


dinner


again.


Place the fresh vegetables in a microwave-safe ceramic, glass or plastic dish


Fresh

1 to 4 cups

and add 2-4 tbs. water. Cover with a lid or vented plastic wrap while cooking


vegetables

and stir before standing. Let the oven cool for at least 5 minutes before using


Veggies


it again.


Place the frozen vegetables in a microwave-safe ceramic, glass or plastic dish


Frozen

1 to 4

and add 2-4 tbs. water. Cover with a lid or vented plastic wrap to cook. stir


vegetables

servings

before letting stand for 3-5 minutes. Let the oven cool for at least 5 minutes


before using it again.


1 to 6

Pierce each potato several times with a fork. Place on the turntable in a

Potato


spoke-like fashion. After cooking, let the potatoes stand for 3-5 minutes. Let


potatoes.


the oven cool for at least 5 minutes before using it again.


Place 1-3 pizza slices on a microwave-safe plate with the wide ends of the

Pizza


1 to 3 slices

slices towards the outside edge of the plate. Do not let the slices overlap. Do


not cover. Let the oven cool for at least 5 minutes before using it again.

Sensor Reheat button

Heating leftovers and precooked foods is easy with your new microwave. By actually sensing the humidity that escapes as the food is heated, the oven’s heating time is automatically adjusted depending on the type and amount of precooked food.

All food must already be precooked. Plates of food and casseroles should be stored at refrigerator temperature. Press the Sensor Reheat button to begin reheating your precooked food. The display will show REHEAT and the oven will start automatically. If you want to check the current time at any time while reheating, press the Clock button.

12_ using your microwave oven

SMH1713_XAA_DE68-03899A_EN.indd 12

11/01/2014 9:17:39

Page 12
Image 12
Samsung SMH1713 Sensor Cooking buttons, Sensor Reheat button, Sensor cooking utensils & covers, Sensor cooking table

SMH1713 specifications

The Samsung SMH1713 series, which includes the SMH1713W, SMH1713S, SMH1713, and SMH1713B, represents a line of versatile and efficient over-the-range microwaves designed to meet a variety of cooking needs while enhancing kitchen aesthetics. Each model in this series offers a blend of functionality, cutting-edge technology, and sleek design, making them popular choices for modern kitchens.

One of the standout features of the SMH1713 series is the sensor cooking technology. This innovative feature automatically adjusts cooking time and power levels based on the steam emitted from the food. As a result, it optimizes cooking performance by delivering consistent results without the need for guesswork, ensuring that meals are cooked to perfection.

The series also boasts a spacious interior, with a capacity of 1.7 cubic feet, allowing users to accommodate large dishes and containers with ease. The easy-to-clean ceramic enamel interior ensures that spills and splatters can be wiped away quickly, maintaining hygiene and a fresh appearance over time. This material helps to prevent bacterial growth and helps eliminate odors, making it a practical choice for everyday use.

Moreover, the SMH1713 microwaves feature a powerful ventilation system, with a two-speed fan that effectively removes smoke, steam, and cooking odors from the kitchen. This built-in ventilation system enhances food preparation experiences, ensuring that the cooking environment remains comfortable and pleasant.

The design of the SMH1713 series is characterized by its elegant styling, available in various finishes including white (SMH1713W), stainless steel (SMH1713S), and black (SMH1713B). These stylish finishes not only enhance the look of any kitchen but also make for easy integration with existing appliances.

Additionally, these models come equipped with user-friendly controls, including a digital LED display and preset cooking options. This feature simplifies meal preparation, allowing users to select specific cooking tasks with just a few clicks.

In summary, the Samsung SMH1713 series, encompassing the SMH1713W, SMH1713S, SMH1713, and SMH1713B, highlights innovative cooking technology, ample interior space, efficient ventilation, and attractive design. Together, these features make the series a valuable addition to any contemporary kitchen, combining performance and elegance with practical everyday use.