using with a Windows computer
USING THE Intelli-studio PROGRAM
Using
Step 1. Connecting the USB cable
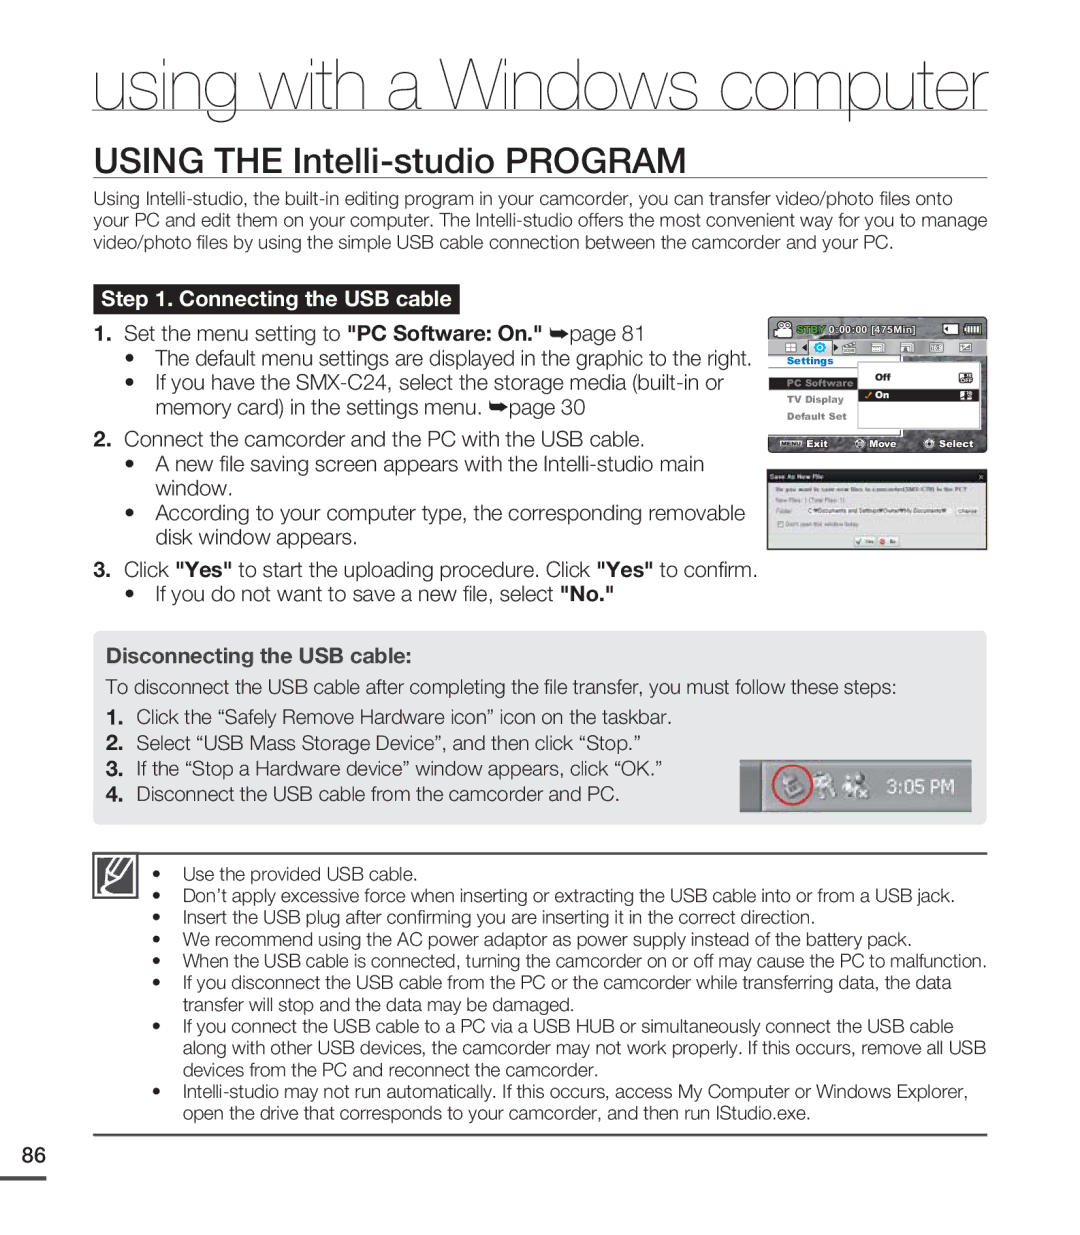
1.Set the menu setting to "PC Software: On." ²page 81
•The default menu settings are displayed in the graphic to the right.
•If you have the
2.Connect the camcorder and the PC with the USB cable.
•A new file saving screen appears with the
•According to your computer type, the corresponding removable disk window appears.
3.Click "Yes" to start the uploading procedure. Click "Yes" to confirm.
•If you do not want to save a new file, select "No."
![]() STBY 0:00:00 [475Min]
STBY 0:00:00 [475Min]![]()
![]()
Settings |
| |
PC Software | Off | |
On | ||
TV Display | ||
| ||
Default Set |
|
![]() Exit
Exit![]()
![]() Move
Move ![]() Select
Select
Disconnecting the USB cable:
To disconnect the USB cable after completing the file transfer, you must follow these steps:
1. Click the “Safely Remove Hardware icon” icon on the taskbar.
2. Select “USB Mass Storage Device”, and then click “Stop.”
3. If the “Stop a Hardware device” window appears, click “OK.”
4. Disconnect the USB cable from the camcorder and PC.
• Use the provided USB cable.
• Don’t apply excessive force when inserting or extracting the USB cable into or from a USB jack.
• Insert the USB plug after confirming you are inserting it in the correct direction.
• We recommend using the AC power adaptor as power supply instead of the battery pack.
• When the USB cable is connected, turning the camcorder on or off may cause the PC to malfunction.
• If you disconnect the USB cable from the PC or the camcorder while transferring data, the data transfer will stop and the data may be damaged.
• If you connect the USB cable to a PC via a USB HUB or simultaneously connect the USB cable along with other USB devices, the camcorder may not work properly. If this occurs, remove all USB devices from the PC and reconnect the camcorder.
•
86
