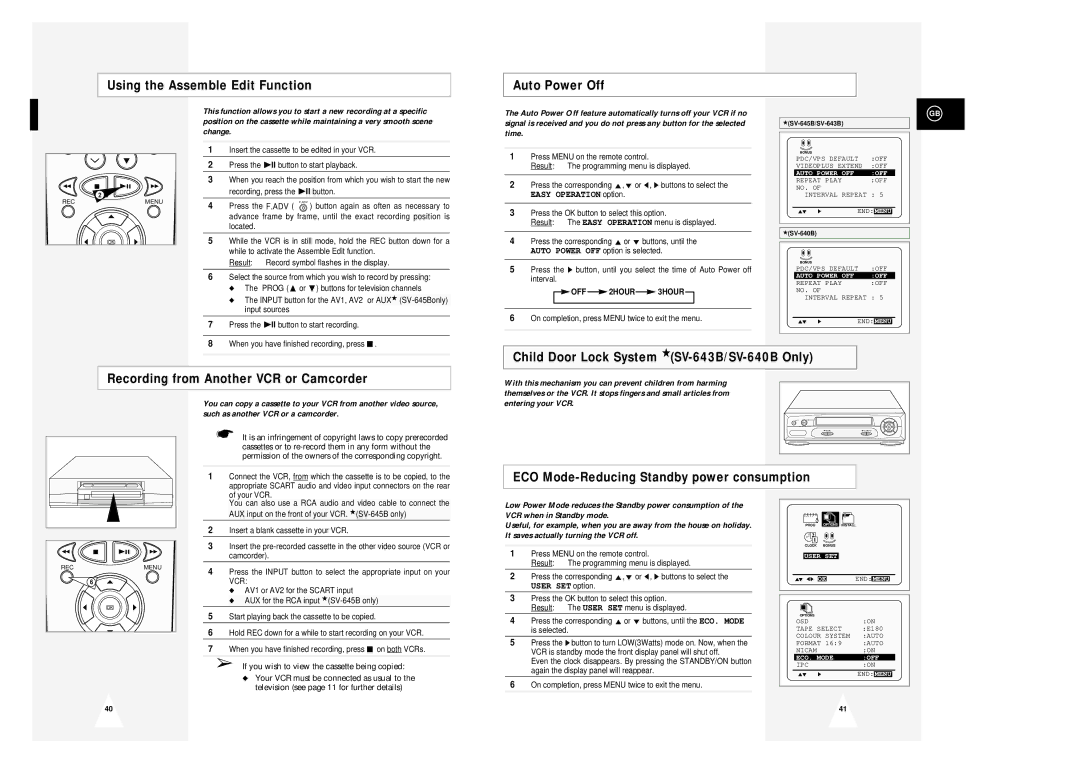
Using the Assemble Edit Function
Auto Power Off
| 2 |
REC | MENU |
OK
This function allows you to start a new recording at a specific position on the cassette while maintaining a very smooth scene change.
1 | Insert the cassette to be edited in your VCR. | |||
2 | Press the ❿ll button to start playback. | |||
|
| |||
3 | When you reach the position from which you wish to start the new | |||
| recording, press the ❿ll button. | |||
|
| |||
4 | Press the F.ADV ( F.ADV ) button again as often as necessary to | |||
| advance frame by frame, until the exact recording position is | |||
| located. |
|
| |
|
| |||
5 | While the VCR is in still mode, hold the REC button down for a | |||
| while to activate the Assemble Edit function. | |||
| Result: | Record symbol flashes in the display. | ||
|
| |||
6 | Select the source from which you wish to record by pressing: | |||
| ◆ | The | PROG ($ or ❷) buttons for television channels | |
|
|
| ||
| ◆ | The INPUT button for the AV1, AV2 or | AUX★ | |
|
| input sources |
| |
|
| |||
7 | Press the ❿ll button to start recording. | |||
|
| |||
8 | When you have finished recording, press ■ . | |||
The Auto Power Off feature automatically turns off your VCR if no signal is received and you do not press any button for the selected time.
1Press MENU on the remote control.
Result: The programming menu is displayed.
2Press the corresponding $,❷ or ➛, ❿ buttons to select the
EASY OPERATION option.
3Press the OK button to select this option.
Result: The EASY OPERATION menu is displayed.
4Press the corresponding $ or ❷ buttons, until the AUTO POWER OFF option is selected.
5Press the ❿ button, until you select the time of Auto Power off interval.

 OFF
OFF  2HOUR
2HOUR 3HOUR
3HOUR 
6On completion, press MENU twice to exit the menu.
GB
|
| ||
BONUS |
|
|
|
PDC/VPS DEFAULT | :OFF | ||
VIDEOPLUS EXTEND | :OFF | ||
AUTO POWER OFF |
| :OFF | |
REPEAT PLAY |
| :OFF | |
NO. OF |
|
| |
INTERVAL REPEAT : 5 | |||
$❷ | ❿ | END: MENU | |
|
|
| |
BONUS |
|
|
|
PDC/VPS DEFAULT | :OFF |
AUTO POWER OFF | :OFF |
REPEAT PLAY | :OFF |
NO. OF
INTERVAL REPEAT : 5
$❷ ❿ | END: | MENU |
|
Child Door Lock System
Recording from Another VCR or Camcorder
With this mechanism you can prevent children from harming themselves or the VCR. It stops fingers and small articles from
You can copy a cassette to your VCR from another video source, such as another VCR or a camcorder.
| ☛ It is an infringement of copyright laws to copy prerecorded |
| cassettes or to |
| permission of the owners of the corresponding copyright. |
|
|
1 | Connect the VCR, from which the cassette is to be copied, to the |
| appropriate SCART audio and video input connectors on the rear |
| of your VCR. |
entering your VCR.
EJECT |
|
PROG | REC STOP |
ECO Mode-Reducing Standby power consumption
REC | MENU |
6
OK
| You can also use a RCA audio and video cable to connect the |
| AUX input on the front of your VCR. |
2 | Insert a blank cassette in your VCR. |
3 | Insert the |
| camcorder). |
4 | Press the INPUT button to select the appropriate input on your |
| VCR: |
| ◆ AV1 or AV2 for the SCART input |
| ◆ AUX for the RCA input |
5 | Start playing back the cassette to be copied. |
6 | Hold REC down for a while to start recording on your VCR. |
7 | When you have finished recording, press ■ on both VCRs. |
➢If you wish to view the cassette being copied:
◆Your VCR must be connected as usual to the television (see page 11 for further details)
Low Power Mode reduces the Standby power consumption of the VCR when in Standby mode.
Useful, for example, when you are away from the house on holiday. It saves actually turning the VCR off.
1Press MENU on the remote control.
Result: The programming menu is displayed.
2Press the corresponding $,❷ or ➛, ❿ buttons to select the
USER SET option.
3Press the OK button to select this option. Result: The USER SET menu is displayed.
4Press the corresponding $ or ❷ buttons, until the ECO. MODE is selected.
5Press the ❿!button to turn LOW(3Watts) mode on. Now, when the VCR is standby mode the front display panel will shut off.
Even the clock disappears. By pressing the STANDBY/ON button again the display panel will reappear.
6On completion, press MENU twice to exit the menu.
OPTIONS
PROG OPTIONS INSTALL
CLOCK BONUS LANG
USER SET
$❷!!➛❿!! OK | END: MENU | |
OPTIONS |
|
|
OSD |
| :ON |
TAPE SELECT | :E180 | |
COLOUR SYSTEM | :AUTO | |
FORMAT 16:9 | :AUTO | |
NICAM |
| :ON |
ECO. MODE | :OFF | |
IPC |
| :ON |
$❷ | ❿ | END: MENU |
40
41 |
