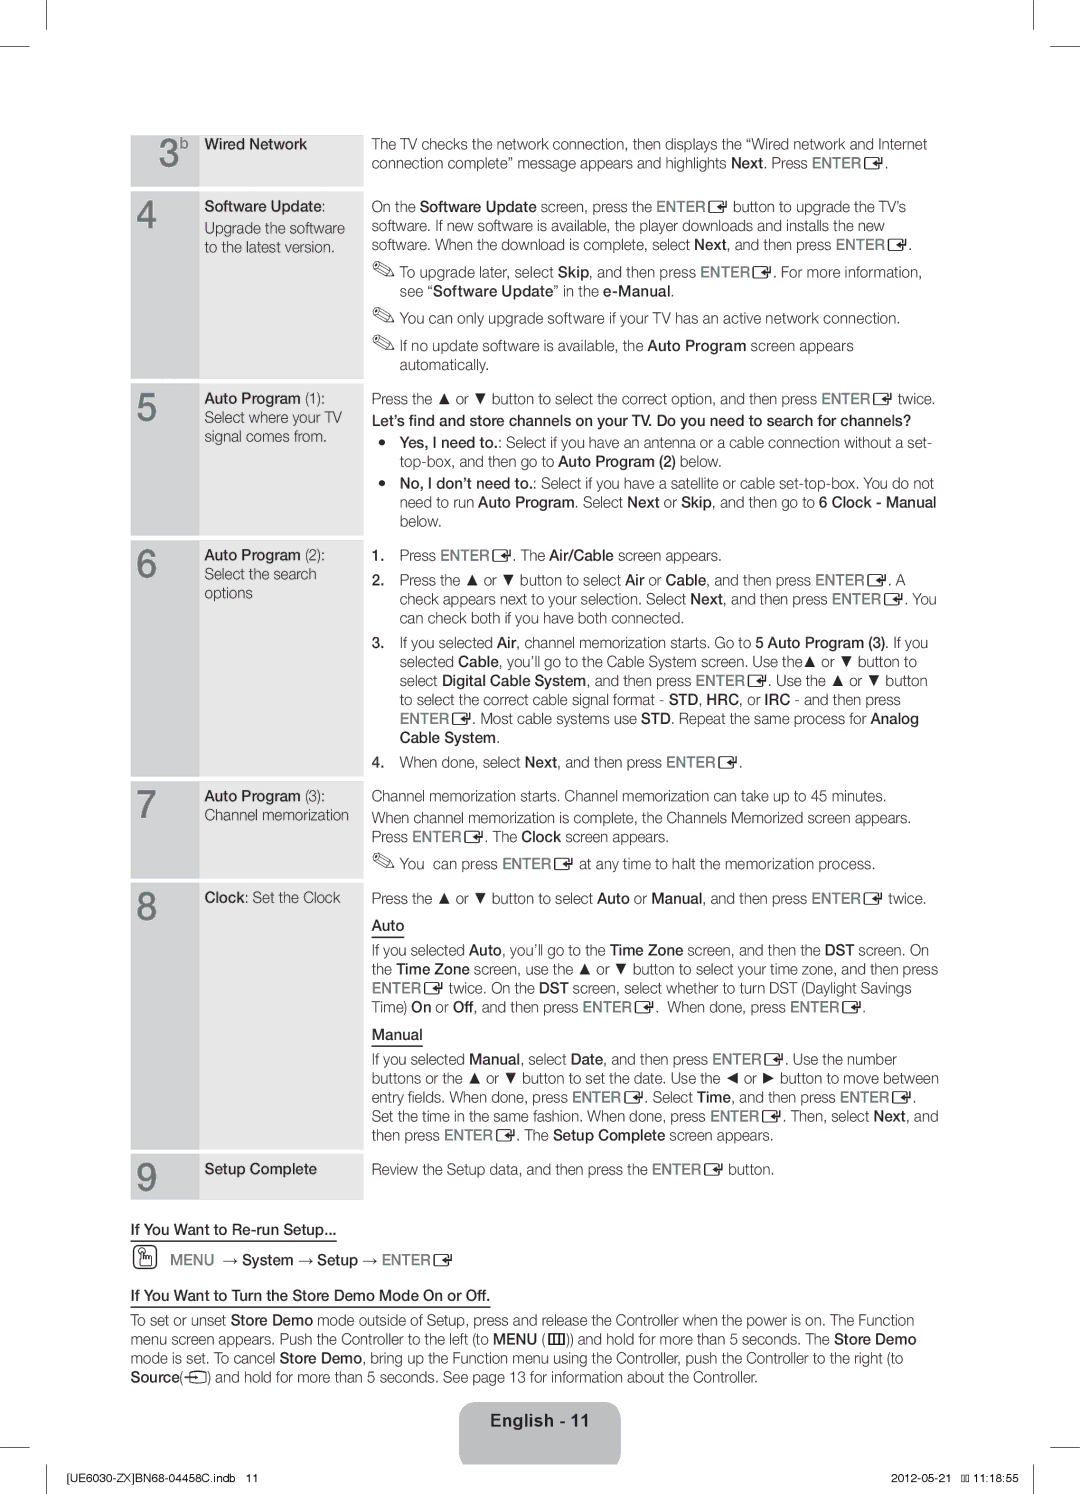
3 | b | Wired Network | The TV checks the network connection, then displays the “Wired network and Internet | |
|
| connection complete” message appears and highlights Next. Press ENTERE. | ||
4 |
| Software Update: | On the Software Update screen, press the ENTERE button to upgrade the TV’s | |
| Upgrade the software | software. If new software is available, the player downloads and installs the new | ||
|
| to the latest version. | software. When the download is complete, select Next, and then press ENTERE. | |
|
|
| ✎✎To upgrade later, select Skip, and then press ENTERE. For more information, | |
|
|
|
| see “Software Update” in the |
|
|
| ✎✎You can only upgrade software if your TV has an active network connection. | |
|
|
| ✎✎If no update software is available, the Auto Program screen appears | |
|
|
|
| automatically. |
5 |
| Auto Program (1): | Press the ▲ or ▼ button to select the correct option, and then press ENTERE twice. | |
| Select where your TV | Let’s find and store channels on your TV. Do you need to search for channels? | ||
|
| signal comes from. | yy Yes, I need to.: Select if you have an antenna or a cable connection without a set- | |
|
|
| ||
|
|
|
|
|
|
|
| yy No, I don’t need to.: Select if you have a satellite or cable | |
|
|
|
| need to run Auto Program. Select Next or Skip, and then go to 6 Clock - Manual |
|
|
|
| below. |
6 |
| Auto Program (2): | 1. | Press ENTERE. The Air/Cable screen appears. |
| Select the search | 2. | Press the ▲ or ▼ button to select Air or Cable, and then press ENTERE. A | |
|
| options | ||
|
|
| check appears next to your selection. Select Next, and then press ENTERE. You | |
|
|
|
| |
|
|
|
| can check both if you have both connected. |
|
|
| 3. If you selected Air, channel memorization starts. Go to 5 Auto Program (3). If you | |
|
|
|
| selected Cable, you’ll go to the Cable System screen. Use the▲ or ▼ button to |
|
|
|
| select Digital Cable System, and then press ENTERE. Use the ▲ or ▼ button |
|
|
|
| to select the correct cable signal format - STD, HRC, or IRC - and then press |
|
|
|
| ENTERE. Most cable systems use STD. Repeat the same process for Analog |
|
|
|
| Cable System. |
|
|
| 4. When done, select Next, and then press ENTERE. | |
7 |
| Auto Program (3): | Channel memorization starts. Channel memorization can take up to 45 minutes. | |
| Channel memorization | When channel memorization is complete, the Channels Memorized screen appears. | ||
|
|
| Press ENTERE. The Clock screen appears. | |
8 |
|
| ✎✎You can press ENTERE at any time to halt the memorization process. | |
| Clock: Set the Clock | Press the ▲ or ▼ button to select Auto or Manual, and then press ENTERE twice. | ||
|
| |||
|
|
| Auto | |
|
|
| If you selected Auto, you’ll go to the Time Zone screen, and then the DST screen. On | |
|
|
| the Time Zone screen, use the ▲ or ▼ button to select your time zone, and then press | |
|
|
| ENTERE twice. On the DST screen, select whether to turn DST (Daylight Savings | |
|
|
| Time) On or Off, and then press ENTERE. When done, press ENTERE. | |
|
|
| Manual | |
|
|
| If you selected Manual, select Date, and then press ENTERE. Use the number | |
|
|
| buttons or the ▲ or ▼ button to set the date. Use the ◄ or ► button to move between | |
|
|
| entry fields. When done, press ENTERE. Select Time, and then press ENTERE. | |
|
|
| Set the time in the same fashion. When done, press ENTERE. Then, select Next, and | |
9 |
|
| then press ENTERE. The Setup Complete screen appears. | |
| Setup Complete | Review the Setup data, and then press the ENTERE button. | ||
|
| |||
If You Want to
OO MENU → System → Setup → ENTERE
If You Want to Turn the Store Demo Mode On or Off.
To set or unset Store Demo mode outside of Setup, press and release the Controller when the power is on. The Function menu screen appears. Push the Controller to the left (to MENU (m)) and hold for more than 5 seconds. The Store Demo mode is set. To cancel Store Demo, bring up the Function menu using the Controller, push the Controller to the right (to Source(s) and hold for more than 5 seconds. See page 13 for information about the Controller.
English - 11
