VP-HMX20C/CAN, VP-HMX20C/NWT, VP-HMX20C/EDC, VP-HMX20C/XEK, VP-HMX20C/XEU specifications
The Samsung VP-HMX20C is a compact and versatile camcorder that is designed to meet the needs of both amateur and professional videographers. This device is available in several variants, including VP-HMX20C/XER, VP-HMX20C/XEE, VP-HMX20C/XEU, VP-HMX20C/XEK, and VP-HMX20C/EDC, each catering to specific markets or regions.One of the standout features of the VP-HMX20C is its advanced 1/2.3 inch CMOS sensor, which provides high-definition video recording capabilities at 1080p resolution. This ensures that users can capture stunning, crystal-clear footage in various lighting conditions, enhancing the overall video quality. The camcorder also supports a 20x optical zoom, allowing users to get closer to the action without sacrificing image quality. This is particularly beneficial for capturing distant subjects or detailed shots during events such as sports, concerts, or nature documentaries.
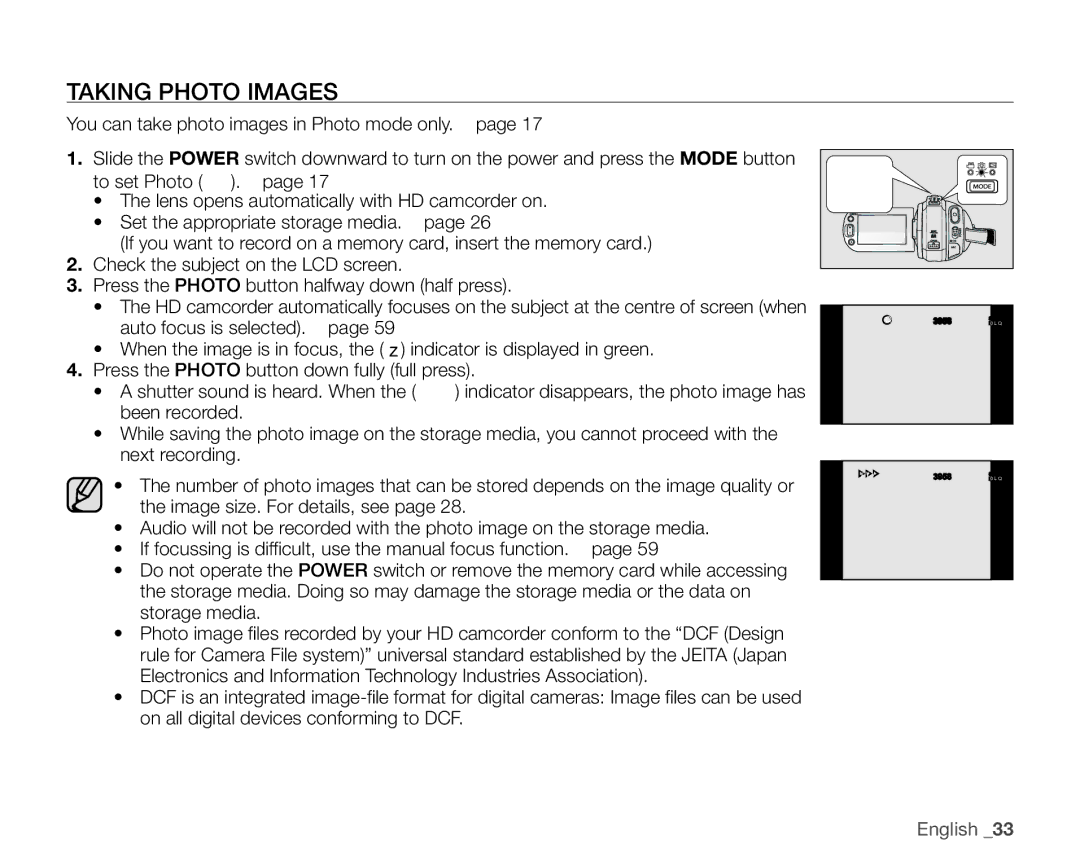
In addition to its impressive video capabilities, the VP-HMX20C excels in photo quality, featuring the ability to take still images while recording video. The camera’s specialized lens system contributes to sharp and vibrant images, making it suitable for both video and photography enthusiasts. The device's intuitive user interface allows for easy navigation through settings and options, ensuring a streamlined recording experience.
The VP-HMX20C is equipped with advanced stabilization technology, which helps to reduce the effects of camera shake, ensuring smoother footage during handheld recordings. Additionally, the camcorder features a built-in microphone with wind noise reduction capabilities, enhancing audio clarity during recording, an essential factor for high-quality video production.
Connectivity is another key aspect of the VP-HMX20C. The camcorder supports HDMI output for easy connection to HDTVs, allowing users to view their footage on larger screens. It also features USB connectivity for easy file transfer to computers and external storage devices.
The device has a compact and lightweight design, making it highly portable and easy to carry, perfect for on-the-go video shooting. With a long-lasting battery life, the VP-HMX20C ensures that users can capture their experiences without interruptions. Overall, the Samsung VP-HMX20C series is a powerful and adaptable camcorder that meets the diverse needs of video creators.

