GETTING STARTED
Battery setup
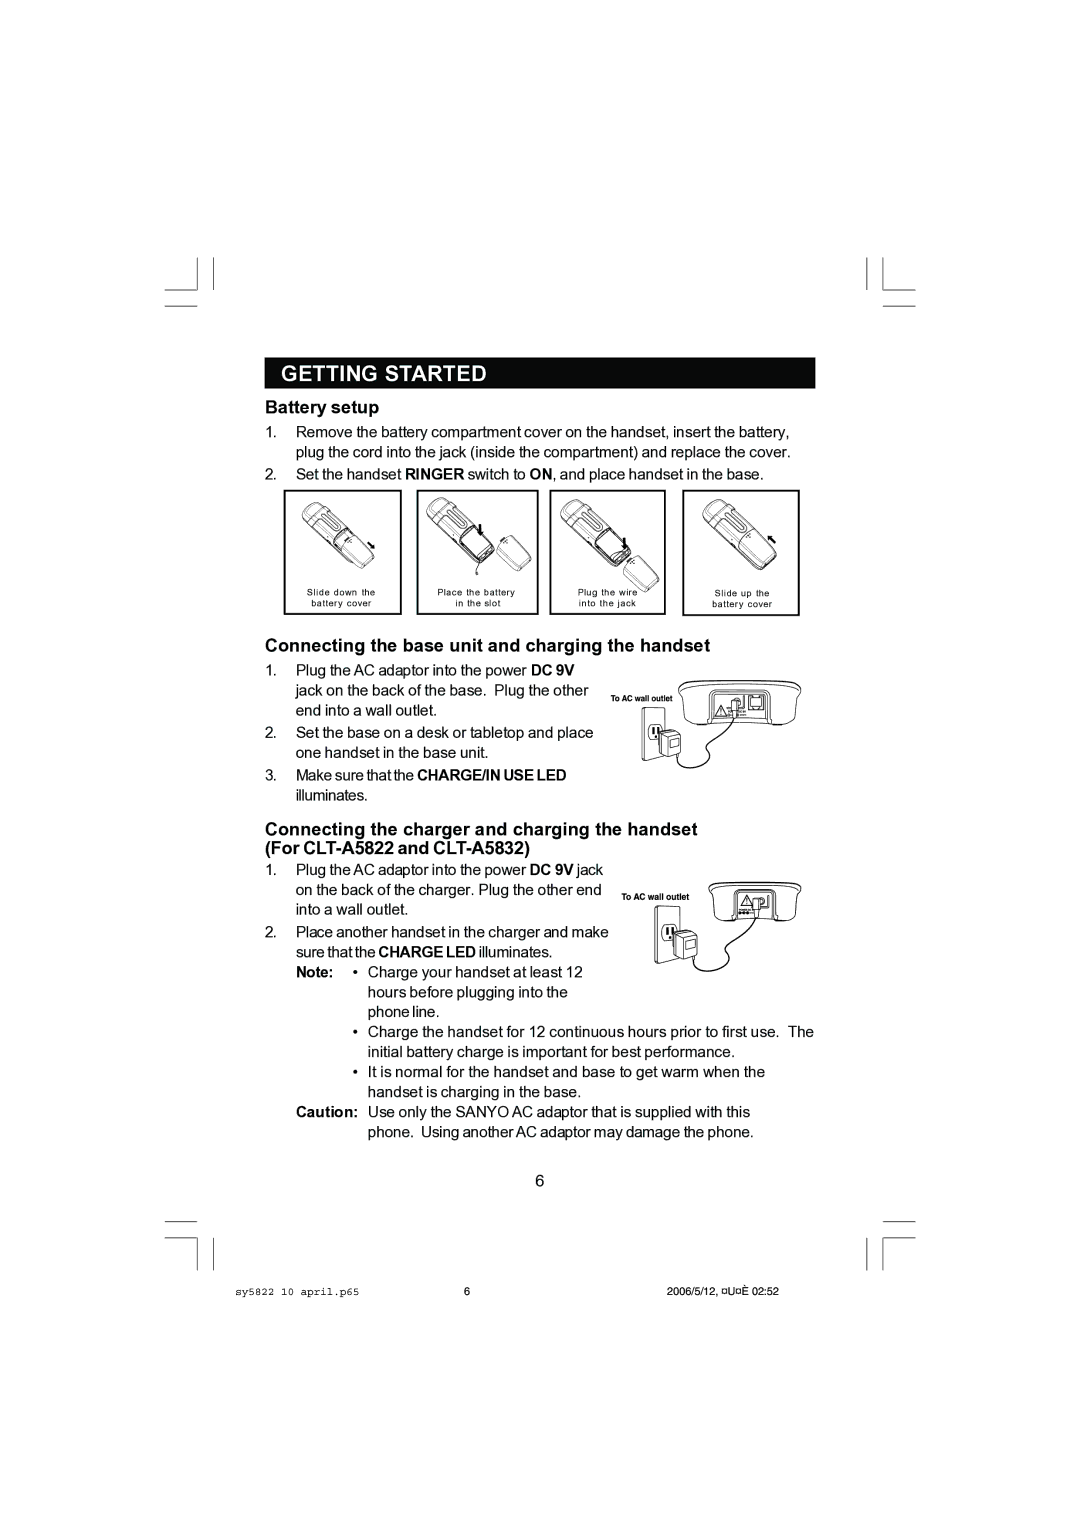
1.Remove the battery compartment cover on the handset, insert the battery, plug the cord into the jack (inside the compartment) and replace the cover.
2.Set the handset RINGER switch to ON, and place handset in the base.
Slide down the battery cover
Place the battery in the slot
Plug the wire into the jack
Slide up the battery cover
Connecting the base unit and charging the handset
1.Plug the AC adaptor into the power DC 9V
jack on the back of the base. Plug the other end into a wall outlet.
2. Set the base on a desk or tabletop and place one handset in the base unit.
3.Make sure that the CHARGE/IN USE LED illuminates.
Connecting the charger and charging the handset (For
1.Plug the AC adaptor into the power DC 9V jack
on the back of the charger. Plug the other end into a wall outlet.
2. Place another handset in the charger and make sure that the CHARGE LED illuminates.
Note: • Charge your handset at least 12 hours before plugging into the phone line.
•Charge the handset for 12 continuous hours prior to first use. The initial battery charge is important for best performance.
•It is normal for the handset and base to get warm when the handset is charging in the base.
Caution: Use only the SANYO AC adaptor that is supplied with this phone. Using another AC adaptor may damage the phone.
6
sy5822 10 april.p65 | 6 | 2006/5/12, ¤U¤È 02:52 |