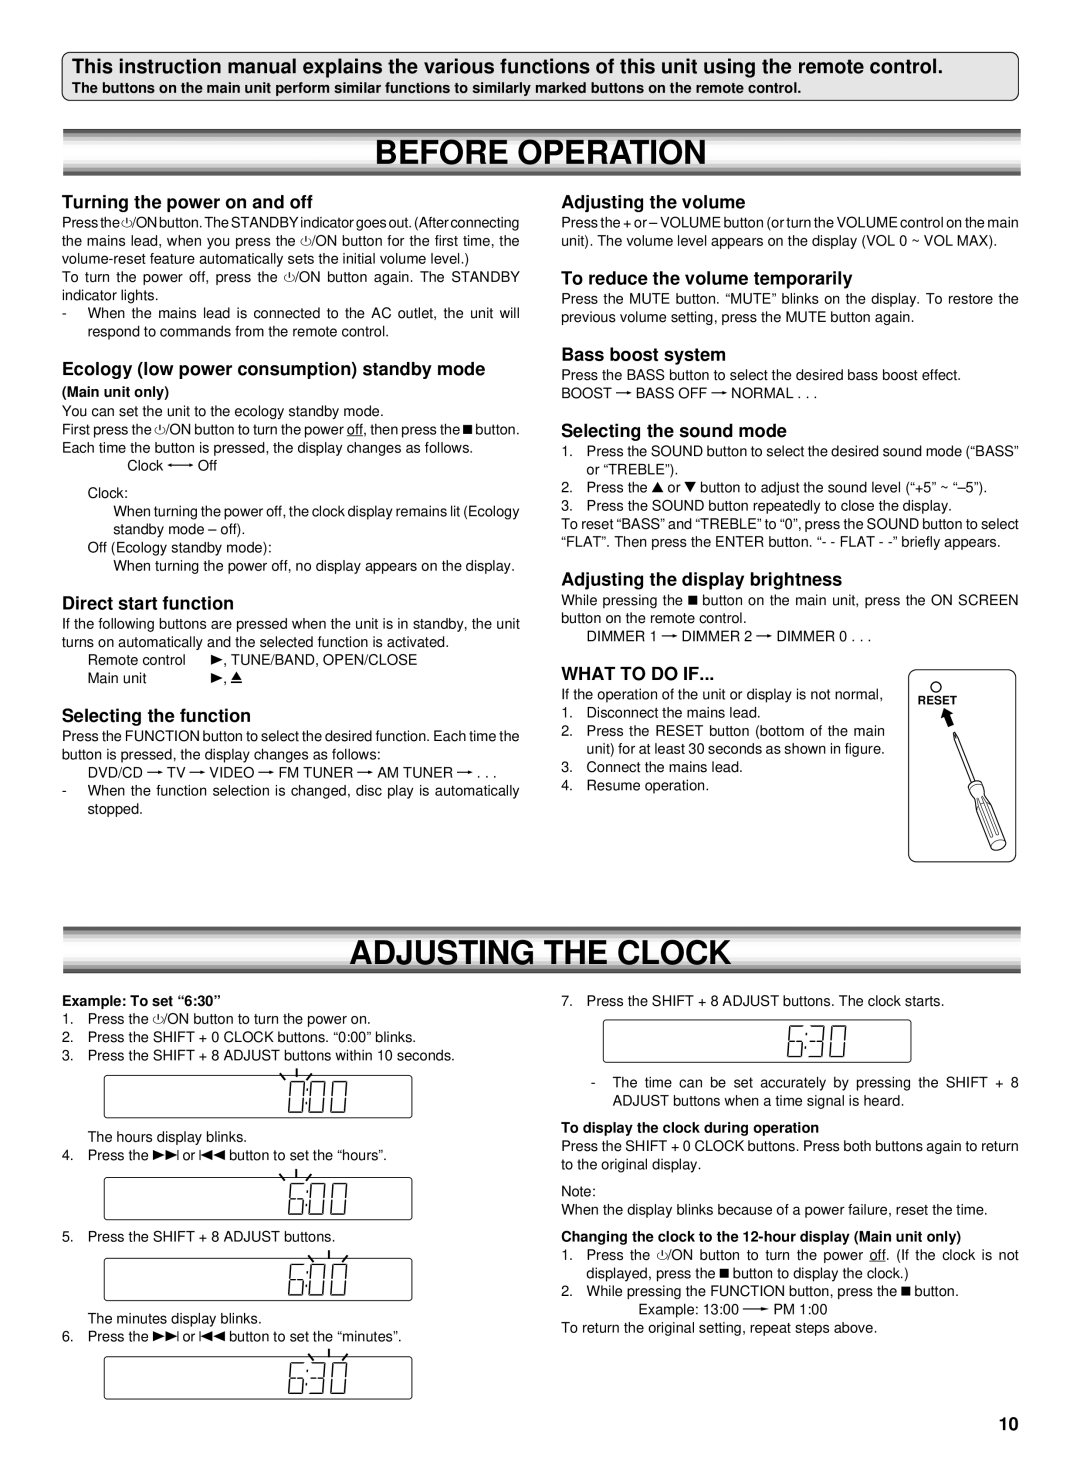
This instruction manual explains the various functions of this unit using the remote control.
The buttons on the main unit perform similar functions to similarly marked buttons on the remote control.
BEFORE OPERATION
Turning the power on and off
Press the z/ON button. The STANDBY indicator goes out. (After connecting the mains lead, when you press the z/ON button for the first time, the
To turn the power off, press the z/ON button again. The STANDBY indicator lights.
-When the mains lead is connected to the AC outlet, the unit will respond to commands from the remote control.
Ecology (low power consumption) standby mode
(Main unit only)
You can set the unit to the ecology standby mode.
First press the z/ON button to turn the power off, then press the nbutton. Each time the button is pressed, the display changes as follows.
Clock wv Off
Clock:
When turning the power off, the clock display remains lit (Ecology standby mode – off).
Off (Ecology standby mode):
When turning the power off, no display appears on the display.
Direct start function
If the following buttons are pressed when the unit is in standby, the unit turns on automatically and the selected function is activated.
Remote control | a, TUNE/BAND, OPEN/CLOSE |
Main unit | a, q |
Selecting the function
Press the FUNCTION button to select the desired function. Each time the button is pressed, the display changes as follows:
DVD/CD v TV vVIDEO v FM TUNER v AM TUNER v. . .
-When the function selection is changed, disc play is automatically stopped.
Adjusting the volume
Press the + or – VOLUME button (or turn the VOLUME control on the main unit). The volume level appears on the display (VOL 0 ~ VOL MAX).
To reduce the volume temporarily
Press the MUTE button. “MUTE” blinks on the display. To restore the previous volume setting, press the MUTE button again.
Bass boost system
Press the BASS button to select the desired bass boost effect. BOOST vBASS OFF v NORMAL . . .
Selecting the sound mode
1.Press the SOUND button to select the desired sound mode (“BASS” or “TREBLE”).
2.Press the 4 or 5 button to adjust the sound level (“+5” ~
3.Press the SOUND button repeatedly to close the display.
To reset “BASS” and “TREBLE” to “0”, press the SOUND button to select “FLAT”. Then press the ENTER button. “- - FLAT -
Adjusting the display brightness
While pressing the n button on the main unit, press the ON SCREEN button on the remote control.
DIMMER 1 vDIMMER 2 v DIMMER 0 . . .
WHAT TO DO IF...
If the operation of the unit or display is not normal, | RESET |
|
1.Disconnect the mains lead.
2.Press the RESET button (bottom of the main unit) for at least 30 seconds as shown in figure.
3.Connect the mains lead.
4. Resume operation.
ADJUSTING THE CLOCK
Example: To set “6:30”
1.Press the z/ON button to turn the power on.
2.Press the SHIFT + 0 CLOCK buttons. “0:00” blinks.
3.Press the SHIFT + 8 ADJUST buttons within 10 seconds.
The hours display blinks.
4.Press the eor f button to set the “hours”.
5.Press the SHIFT + 8 ADJUST buttons.
The minutes display blinks.
6.Press the eor f button to set the “minutes”.
7. Press the SHIFT + 8 ADJUST buttons. The clock starts.
-The time can be set accurately by pressing the SHIFT + 8 ADJUST buttons when a time signal is heard.
To display the clock during operation
Press the SHIFT + 0 CLOCK buttons. Press both buttons again to return to the original display.
Note:
When the display blinks because of a power failure, reset the time.
Changing the clock to the 12-hour display (Main unit only)
1.Press the z/ON button to turn the power off. (If the clock is not displayed, press the nbutton to display the clock.)
2.While pressing the FUNCTION button, press the n button. Example: 13:00 v PM 1:00
To return the original setting, repeat steps above.
10
