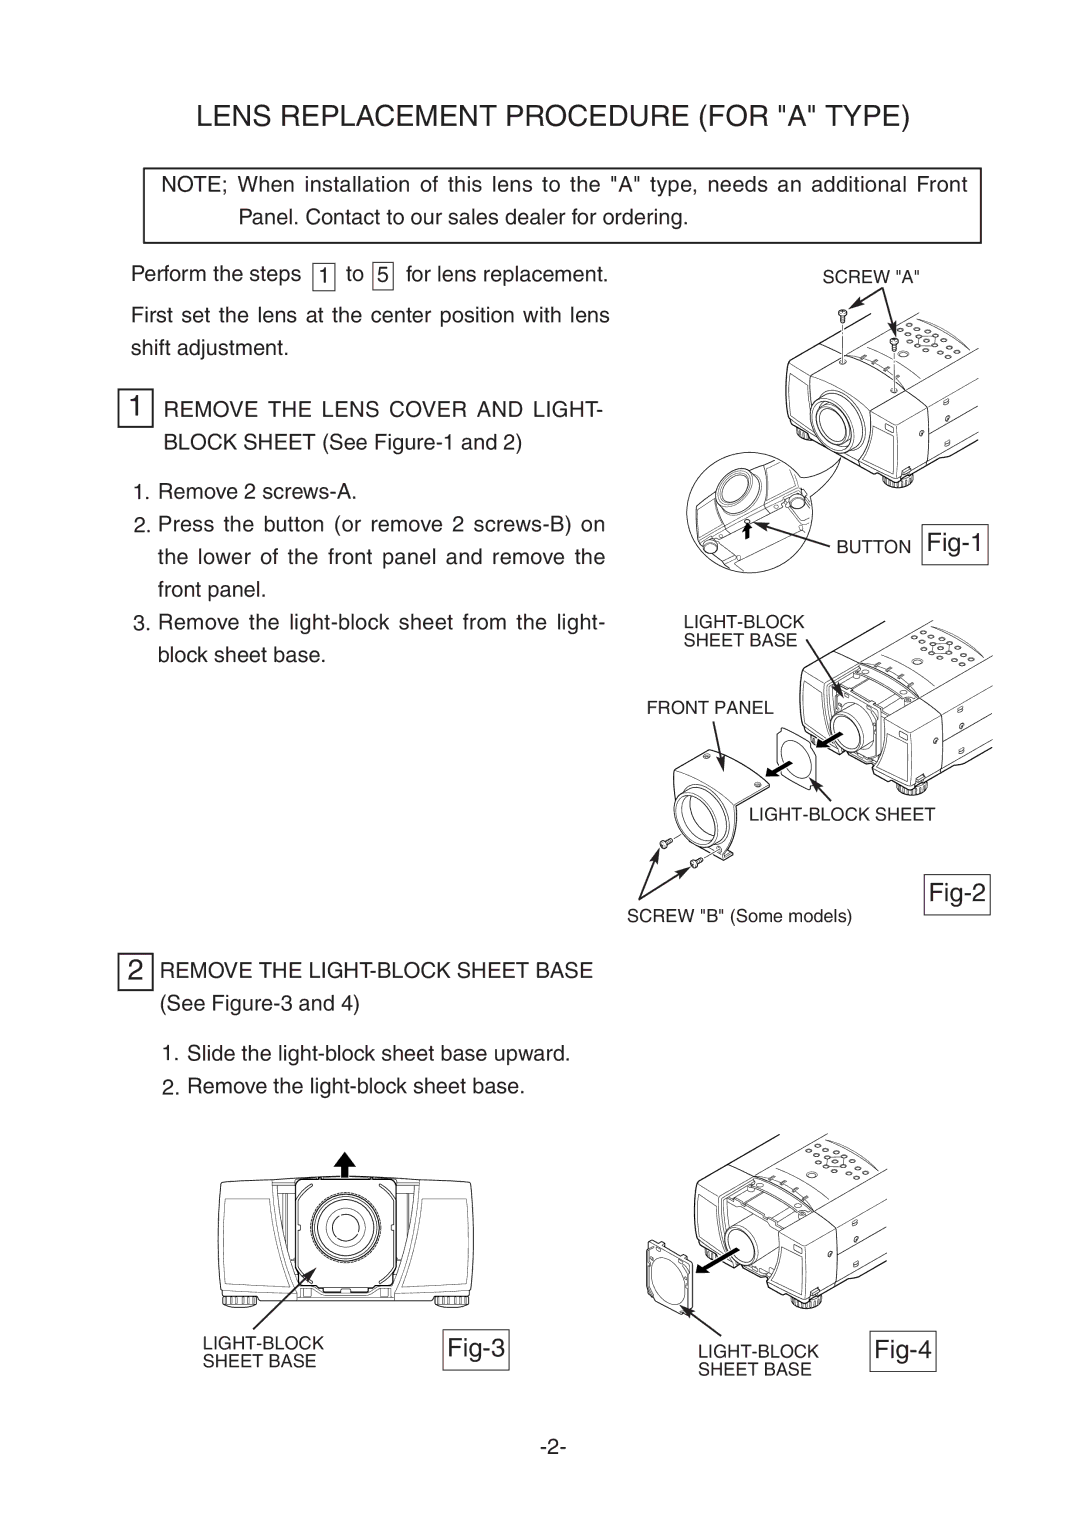
LENS REPLACEMENT PROCEDURE (FOR "A" TYPE)
NOTE; When installation of this lens to the "A" type, needs an additional Front Panel. Contact to our sales dealer for ordering.
Perform the steps
1
to
5
for lens replacement.
SCREW "A"
First set the lens at the center position with lens shift adjustment.
1REMOVE THE LENS COVER AND LIGHT- BLOCK SHEET (See
1.Remove 2
2.Press the button (or remove 2
3.Remove the
![]()
![]() BUTTON
BUTTON
SHEET BASE
FRONT PANEL
Fig-1
SCREW "B" (Some models)
Fig-2
2
REMOVE THE
1.Slide the
2.Remove the