Setting
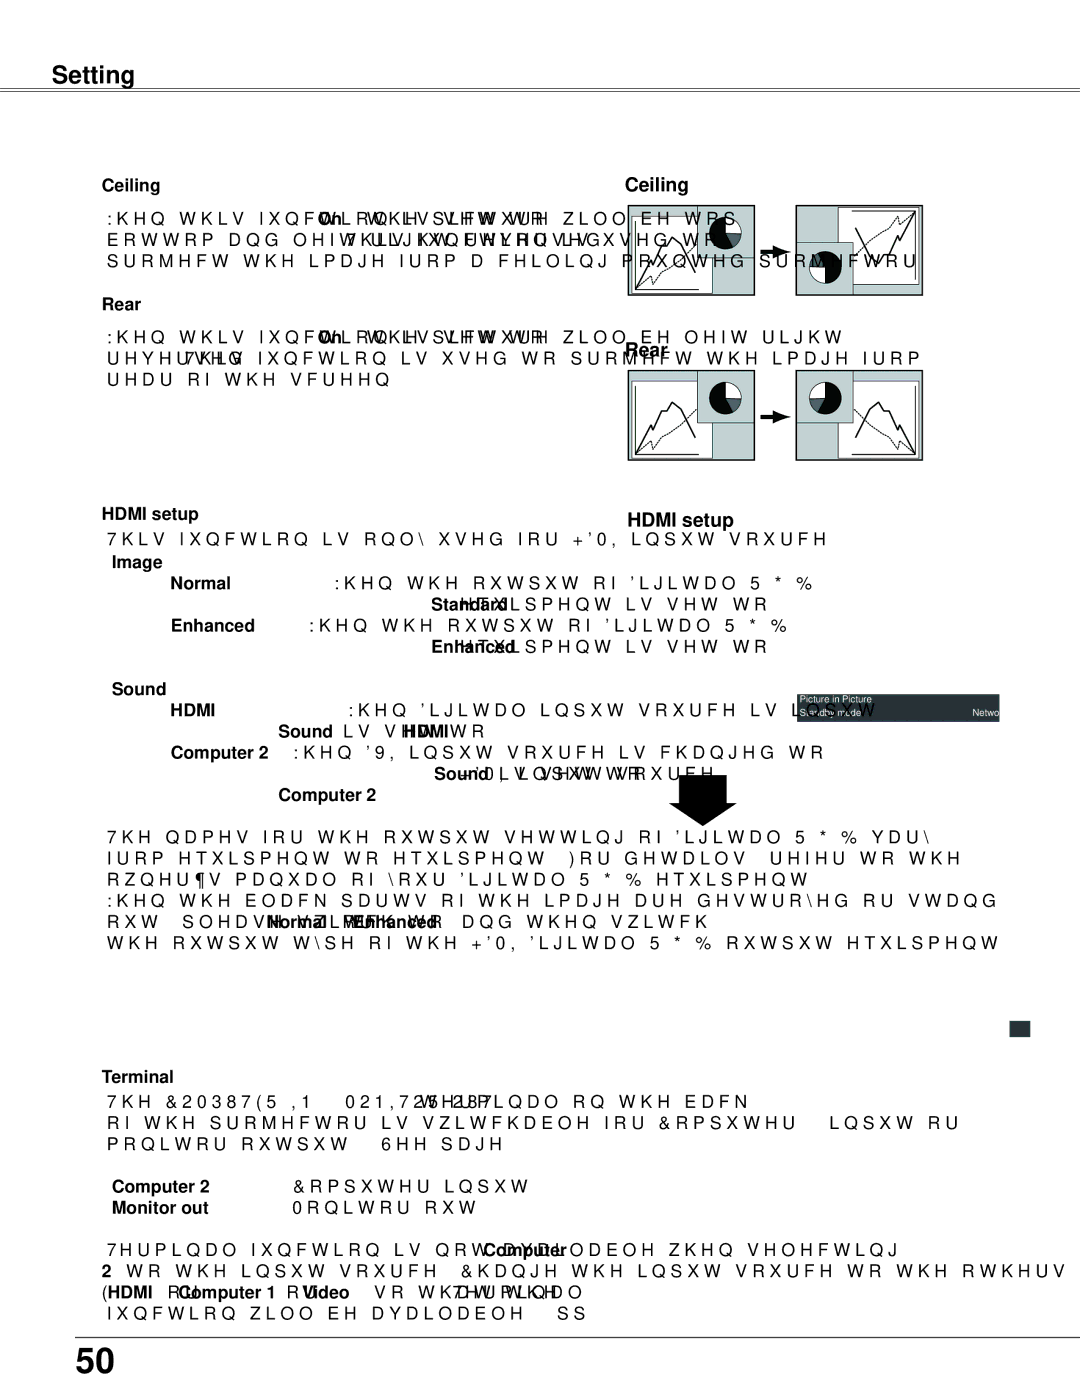
Ceiling
When this function is set to On, the picture will be top/ bottom and left/right reversed. This function is used to project the image from a
Rear
When this function is set to On, the picture will be left/right reversed. This function is used to project the image from rear of the screen.
HDMI setup
This function is only used for HDMI input source.
Image
Normal: When the output of Digital R/G/B equipment is set to Standard.
Enhanced: When the output of Digital R/G/B equipment is set to Enhanced.
Sound
HDMI: When Digital input source is input, Sound is set to HDMI.
Computer 2: When DVI input source is changed to HDMI input source, Sound is set to Computer 2.
The names for the output setting of Digital R/G/B vary from equipment to equipment. For details, refer to the owner’s manual of your Digital R/G/B equipment.
When the black parts of the image are destroyed or stand out, please switch to Normal or Enhanced, and then switch the output type of the HDMI Digital R/G/B output equipment.
Terminal
The COMPUTER IN 2/MONITOR OUT terminal on the back of the projector is switchable for Computer 2 input or monitor output. (See page 9)
Computer 2 . . . Computer input
Monitor out . . . Monitor out
Terminal function is not available when selecting Computer 2 to the input source. Change the input source to the others (HDMI or Computer 1 or Video) so that the Terminal function will be available.
Ceiling
Rear
HDMI setup
Picture in Picture |
|
Standby mode | Network |
50