385.16631 specifications
The Sears 385.16631 is a notable model in the world of electronic sewing machines. Designed to meet the needs of both beginners and experienced sewists, this machine combines user-friendly features with advanced technology.One of the standout characteristics of the Sears 385.16631 is its versatility. With multiple built-in stitch options, it caters to a wide range of sewing projects from basic hemming to intricate quilting. The machine typically offers over 30 different stitches, including essential utility stitches, decorative stitches, and even buttonhole capabilities. This variety allows sewists to express their creativity while ensuring every project can be completed with professional results.
Another core feature of the Sears 385.16631 is its adjustable stitch length and width. This flexibility enables users to customize their stitches according to the fabric type and desired outcome. Whether working with delicate fabrics or thicker materials, the machine can accommodate a diverse range of projects with ease.
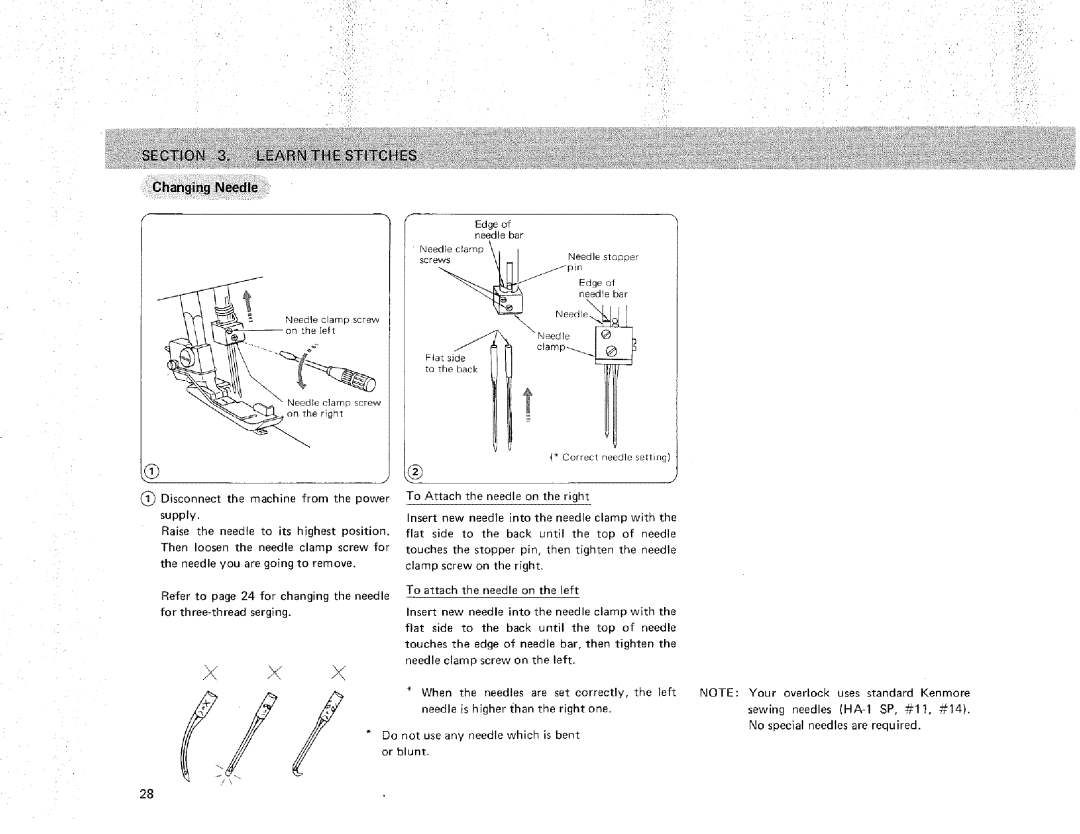
The machine is also equipped with an automatic needle threading mechanism, which significantly simplifies the setup process. This time-saving feature helps reduce frustration, especially for novice users still learning the ropes of sewing. In addition, the machine often includes a drop-in bobbin system that is straightforward to use, allowing for more efficient threading and a smooth sewing experience.
Sears has always emphasized durability in its products, and the 385.16631 is no exception. Made with sturdy materials, this sewing machine is designed for longevity, ensuring it can withstand frequent use in various sewing tasks. Furthermore, its compact size makes it easy to store or transport, appealing to those with limited space or who enjoy taking their sewing projects on the go.
Technologically, the Sears 385.16631 features a powerful motor that provides consistent sewing speed and torque, making it capable of handling a variety of fabrics. It also typically includes features such as a free arm for sewing cuffs and collars, as well as a built-in light for better visibility while working on detailed tasks.
In conclusion, the Sears 385.16631 stands out due to its combination of versatility, user-friendly technology, and durability. Whether sewing simple repairs or embarking on more complex creative projects, this machine offers everything a sewist needs to achieve beautiful results. Its reputation for reliability and ease of use continues to make it a popular choice among sewing enthusiasts.

