Set Up the Machine
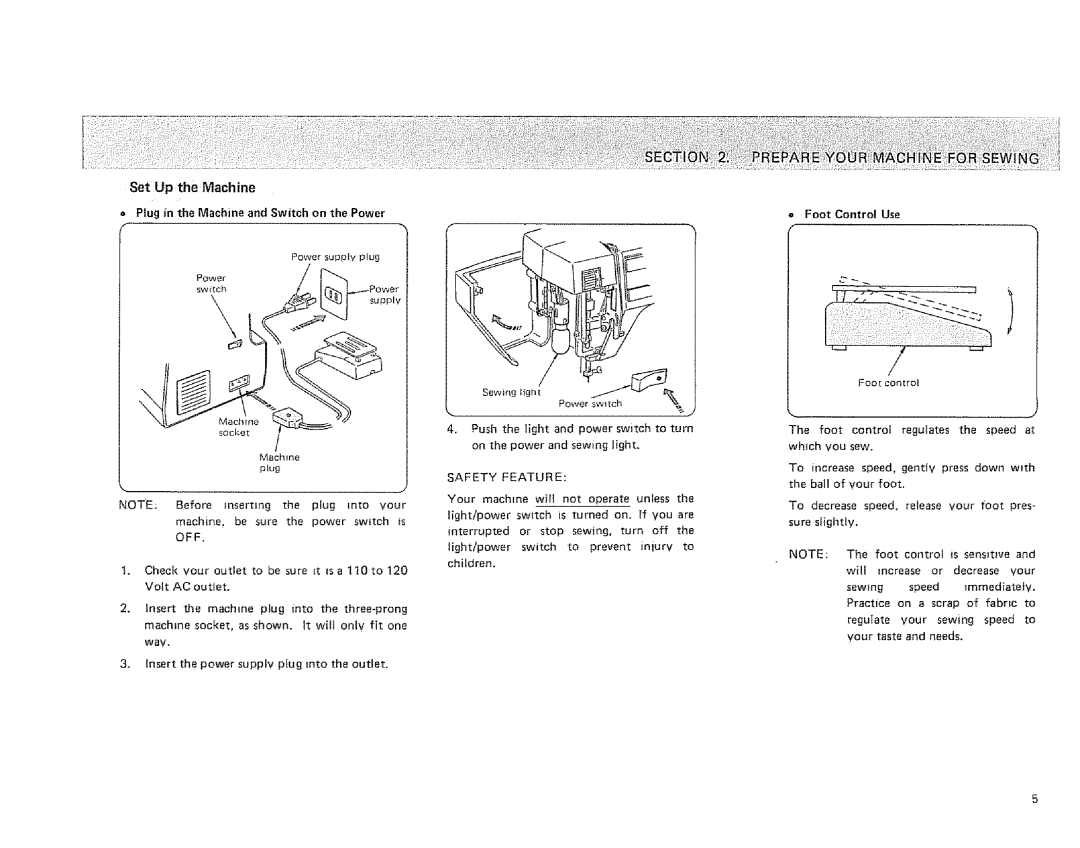
=Plug in the Machine and Switch on the Power
f-
Power supply plug
swRch\ supply
Machine socket
Machfne
plug
NOTE: Before insarUng the plug into your
machine, be sure the power switch is OFF,
I.Check your outlet to be sure st Is a 110 to 120 Volt AC outlet.
2.Insert the machine plug into the
machine socket, as shown, it will only fit one way.
3.Insert the power supply plug into the outlet.
4.Push the light and power switch to turn on the power and sewing light,
SAFETY FEATURE:
Your machine wil! not operate unless the
light/power switch is turned on. If you are
interrupted or stop sewing, turn off the
light/power switch to prevent injury to children.
o Foot Control Use
,
Foot control
The foot control regulates the speed at which you sew.
To increase speed, gendv press down with the ball of your foot.
To decrease speed, release your foot pres- sure slightly.
NOTE: The foot control is sensitive and
will increase or decrease your
sewing speed _mmed[atety. Practice on a scrap of fabric to
regulate your sewing speed to your taste and needs.
