, | k • | : | : _'i/¸!':I'•'/:•:¸: : •_ | "•: '::i | •i¸•I • . |
Step 1
Reference the unlocking instructionson the upper carton flaps of the shippingcar-
ton your Kenmore humidifierwas received in. The casters and hardware are inside
the humidifiercabinet.
Step2
Carefully place your humidifier upsiCe down on a soft surface such as a rug or carpet. Locate the screwyholes on the bot- tom comersof the cabinet.
NOTE: Only two of the four holes in the caster plate will align for proper caster Installation.
Step 3
Each caster should be attached with two
(2)screws placed diagonally from each other. Turn the unit uprightand you willbe ready to position your humidifier in the locationof your choice.
Location Instructions
For your own safety, do not use |
| |
humidifier if any parts are damaged | j | |
j | WARNING | |
?r missing, | i |
|
Step I
Place humidifier in area of house where most humidity is needed, or one which would likely resultin moist air being circu- lated throughoutthe house such as near a cold air return. Moist air (humidity) pro- duced will dispeme into the whole house, but area closestto unit will have the high- est humidity.
I | Illl | II | I IIIIII | III lUl | IIIIII II |
Step 2
The humidifiermay be positionedwith the back (cord exit side), or left side (side opposite hinged lid) flush to the wall, or away from the wall. Air needs to enter through louversin the hingedaccess lid in order for humidifierto operate at peak effi- ciency.
NOTE: Due to release of cool, moist air from humidifier, it is best to direct air away from home thermostat, it Is best to position humidifier next to an inside
wall. Hot air registers and cold air from outside walls can affect the efficiencies
of the controls. Unit should not be placed where warm air from a hot air register blows directly on unit.
Electrical | HIIIIIIIIIIIIIIII | III III | I | I III II I |
Step I | € | ....................... | WARNING | ........... |
Locate nearest 120V A.C. wall socket in | To avoid fire or shock hazard, humidi- | |||
|
| |||
the location desired, preferably on inside wall.. Plug in the electrical cord.
Water Fill
fier, should be plugged into a 120V A.C. outlet. Do not use extension cords.
I | I | _ | IL |
HINGED
! | WARNING | 1 | LID |
| |||
ITo avoid shock, always unplugJ |
|
| |
lhumidifier before filling, cleaning, or ! |
| ||
Jservicing. | ............... |
|
|
Step 1
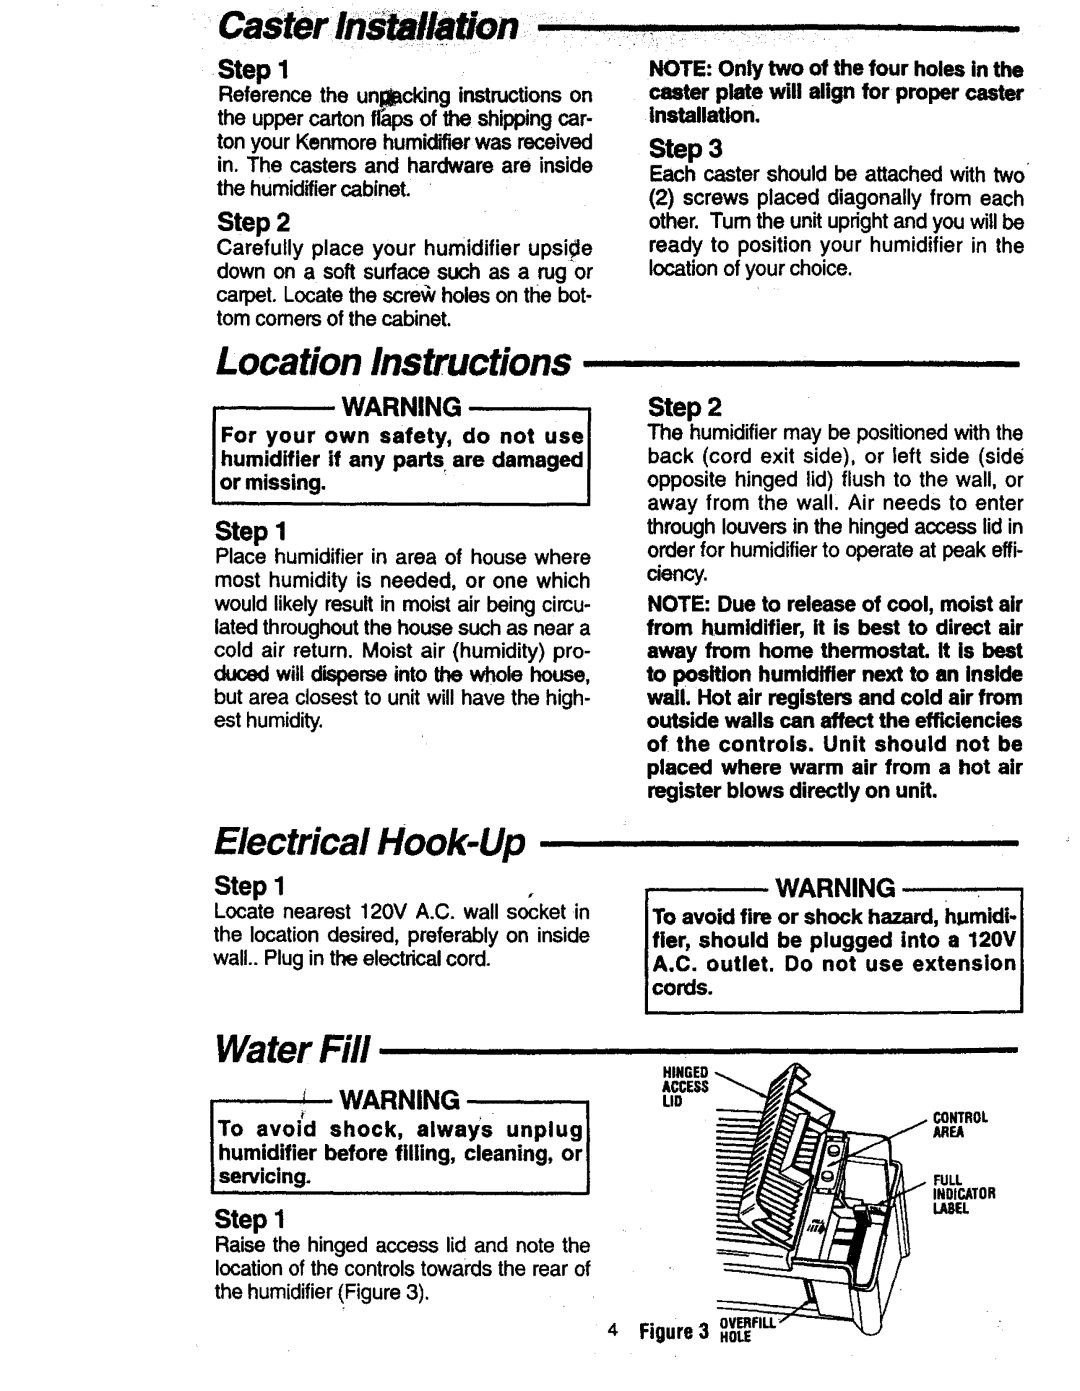
Raise the hinged access lid and note the locationof the controlstowards the rear of
the humidifier(Figure 3).
CONTROL AREA
FULL INDICATOR L.ASEL
