DiRECTiONS FOR MICROWAVE COOKING
TEMPERATURE CONTROLLED "HI=POWER"/"MULTI-POWER" COOKING
When you do temperature controlled cooking, you do not set the time, but set the TEMP to cook the food to the desired temperature. The temperature you set is the TEMPERATURE OF THE FOOD, not the temperature of the oven as in conventional cooking. You use the temperature probe to measure the internal temperature of the food.
However, you do not have to cook the food at
You may set temperatures from 100°F to 200°F, one degree at a time. The oven will show rise in temperatures by degrees, beginning at 100°F. If the food temperature measures less than 100°F, "COOL" will display until the food reaches 100°F.
TEMPERATURE PROBE
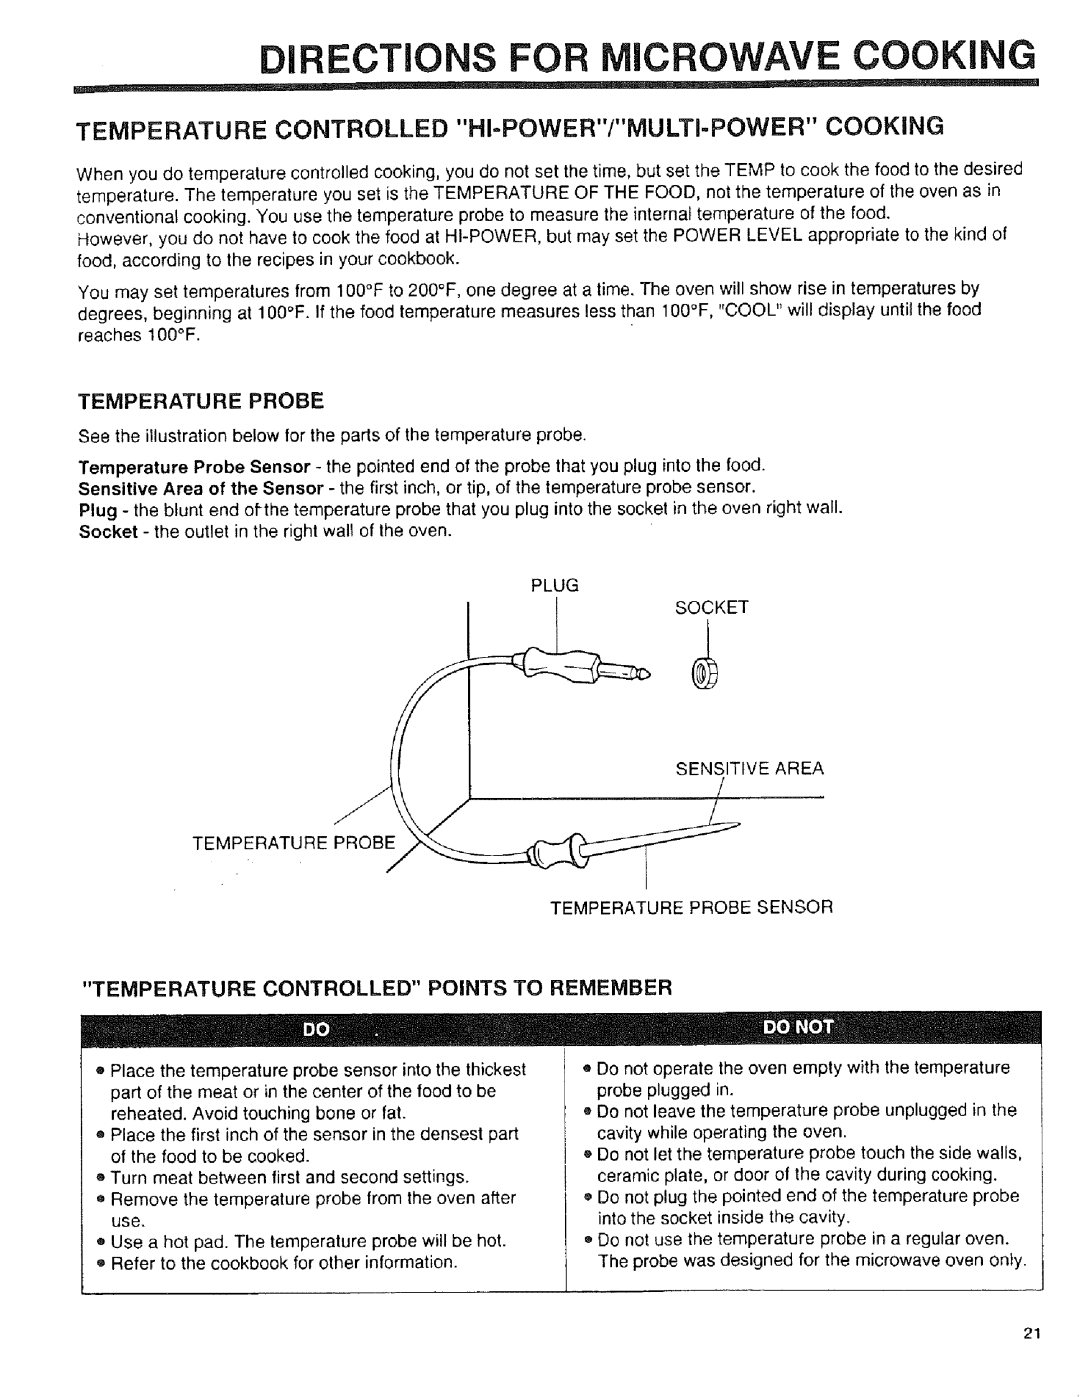
See the illustration below for the parts of the temperature probe.
Temperature Probe Sensor - the pointed end of the probe that you plug into the food.
Sensitive Area of the Sensor - the first inch, or tip, of the temperature probe sensor,
Plug - the blunt end
PLUG
SOCKET
SENSITIVE AREA
TEMPERATURE PROBE
TEMPERATURE PROBE SENSOR
"TEMPERATURE CONTROLLED" POINTS TO REMEMBER
®Place the temperature probe sensor into the thickest part of the meat or in the center of the food to be reheated. Avoid touching bone or fat.
®Place the first inch of the sensor in the densest part of the food to be cooked.
®Turn meat between first and second settings.
®Remove the temperature probe from the oven after use.
®Use a hot pad. The temperature probe will be hot.
®Refer to the cookbook for other information.
•Do not operate the oven empty with the temperature probe plugged in.
®Do not leave the temperature probe unplugged in the
cavity while operating the oven.
• Do not let the temperature probe touch the side walls, ceramic plate, or door of the cavity during cooking.
®Do not plug the pointed end of the temperature probe into the socket inside the cavity.
®Do not use the temperature probe in a regular oven. The probe was designed for the microwave oven only.
21
