How Auto Dry works
SmartHeat™ improves drying performance with Auto Moisture Sensing Plus, which advances the cycle as moisture is extracted from clothing. A thermistor (electronic temperature sensor) and moisture sensing strips in the dryer drum help measure the amount of moisture in the clothes as they tumble. An electronic control determines the load type to help save time, avoid overdrying, and increase the accuracy of the end dryness level. After the first 5 minutes of an automatic cycle, the estimated time display will adjust based on the approximate load size, cycle, dryness level selected and amount of moisture left in the clothes. When the clothes have reached approximately 80% of the dryness level selected, the estimated time display will adjust again, showing the final drying time. Auto Moisture Sensing Plus takes the guesswork out of drying time and enhances fabric care.
To use a Timed Cycle
NOTE: A light next to each feature will glow green when the feature is selected.
■Press a Timed Cycles button or, to select either Rack Dry or Air Fluff, rotate the control knob to the desired cycle.
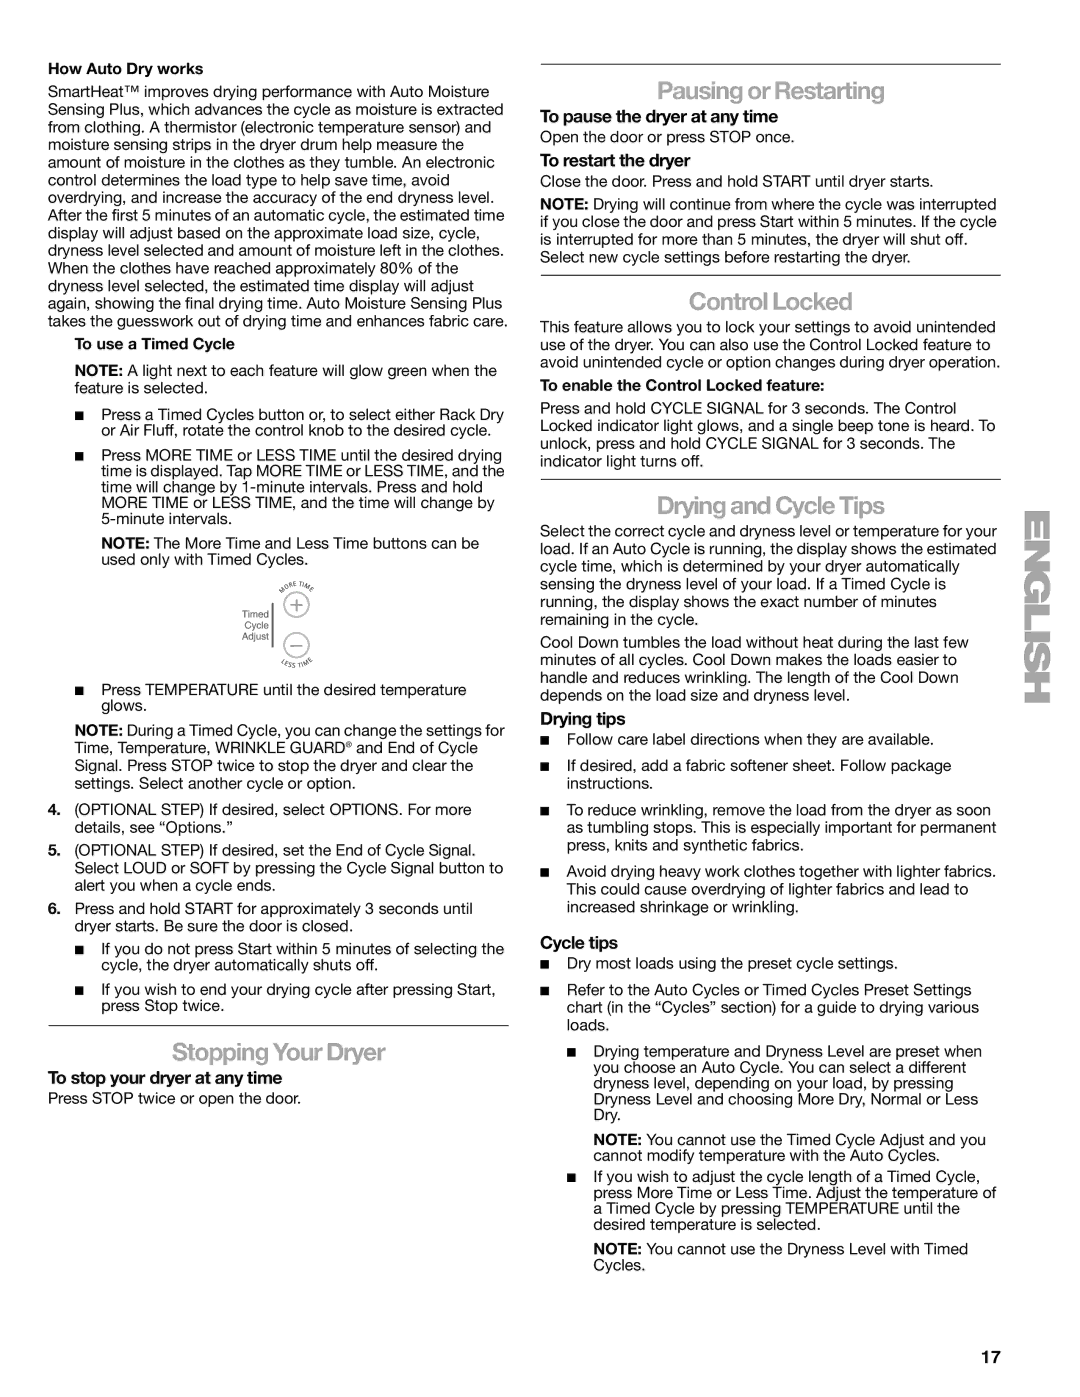
■Press MORE TIME or LESS TIME until the desired drying time is displayed. Tap MORE TIME or LESS TIME, and the time will change by 1-minute intervals. Press and hold MORE TIME or LESS TIME, and the time will change by 5-minute intervals.
NOTE: The More Time and Less Time buttons can be used only with Timed Cycles.
■Press TEMPERATURE until the desired temperature glows.
NOTE: During a Timed Cycle, you can change the settings for Time, Temperature, WRINKLE GUARD® and End of Cycle Signal. Press STOP twice to stop the dryer and clear the settings. Select another cycle or option.
4.(OPTIONAL STEP) If desired, select OPTIONS. For more details, see “Options.”
5.(OPTIONAL STEP) If desired, set the End of Cycle Signal. Select LOUD or SOFT by pressing the Cycle Signal button to alert you when a cycle ends.
6.Press and hold START for approximately 3 seconds until dryer starts. Be sure the door is closed.
■If you do not press Start within 5 minutes of selecting the cycle, the dryer automatically shuts off.
■If you wish to end your drying cycle after pressing Start, press Stop twice.
Stopping Your Dryer
To stop your dryer at any time
Press STOP twice or open the door.
Pausing or Restarting
To pause the dryer at any time
Open the door or press STOP once.
To restart the dryer
Close the door. Press and hold START until dryer starts.
NOTE: Drying will continue from where the cycle was interrupted if you close the door and press Start within 5 minutes. If the cycle is interrupted for more than 5 minutes, the dryer will shut off.
Select new cycle settings before restarting the dryer.
Control Locked
This feature allows you to lock your settings to avoid unintended use of the dryer. You can also use the Control Locked feature to avoid unintended cycle or option changes during dryer operation.
To enable the Control Locked feature:
Press and hold CYCLE SIGNAL for 3 seconds. The Control Locked indicator light glows, and a single beep tone is heard. To unlock, press and hold CYCLE SIGNAL for 3 seconds. The indicator light turns off.
Drying and Cycle Tips
Select the correct cycle and dryness level or temperature for your load. If an Auto Cycle is running, the display shows the estimated cycle time, which is determined by your dryer automatically sensing the dryness level of your load. If a Timed Cycle is running, the display shows the exact number of minutes remaining in the cycle.
Cool Down tumbles the load without heat during the last few minutes of all cycles. Cool Down makes the loads easier to handle and reduces wrinkling. The length of the Cool Down depends on the load size and dryness level.
Drying tips
■Follow care label directions when they are available.
■If desired, add a fabric softener sheet. Follow package instructions.
■To reduce wrinkling, remove the load from the dryer as soon as tumbling stops. This is especially important for permanent press, knits and synthetic fabrics.
■Avoid drying heavy work clothes together with lighter fabrics. This could cause overdrying of lighter fabrics and lead to increased shrinkage or wrinkling.
Cycle tips
■Dry most loads using the preset cycle settings.
■Refer to the Auto Cycles or Timed Cycles Preset Settings chart (in the “Cycles” section) for a guide to drying various loads.
■Drying temperature and Dryness Level are preset when you choose an Auto Cycle. You can select a different dryness level, depending on your load, by pressing Dryness Level and choosing More Dry, Normal or Less Dry.
NOTE: You cannot use the Timed Cycle Adjust and you cannot modify temperature with the Auto Cycles.
■If you wish to adjust the cycle length of a Timed Cycle, press More Time or Less Time. Adjust the temperature of a Timed Cycle by pressing TEMPERATURE until the desired temperature is selected.
NOTE: You cannot use the Dryness Level with Timed Cycles.

