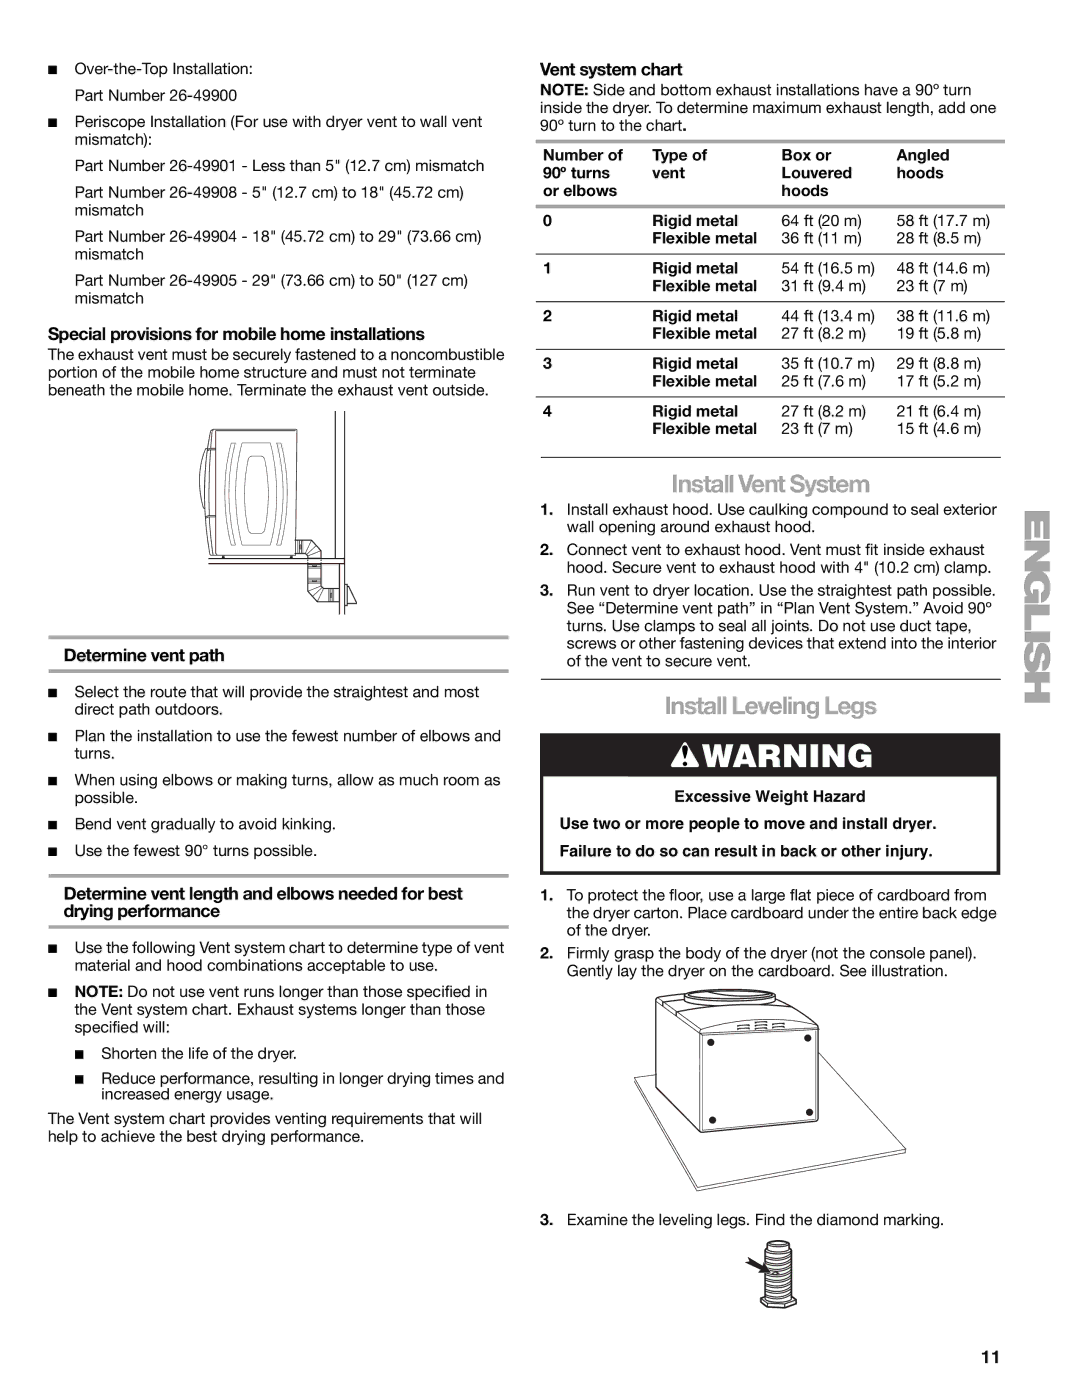
Over-the-Top Installation: Part Number 26-49900

Periscope Installation (For use with dryer vent to wall vent mismatch):

Part Number 26-49901 - Less than 5" (12.7 cm) mismatch

Part Number 26-49908 - 5" (12.7 cm) to 18" (45.72 cm) mismatch

Part Number 26-49904 - 18" (45.72 cm) to 29" (73.66 cm) mismatch

Part Number 26-49905 - 29" (73.66 cm) to 50" (127 cm) mismatch

Special provisions for mobile home installations

The exhaust vent must be securely fastened to a noncombustible portion of the mobile home structure and must not terminate beneath the mobile home. Terminate the exhaust vent outside.

Determine vent path

Select the route that will provide the straightest and most direct path outdoors.

Plan the installation to use the fewest number of elbows and turns.

When using elbows or making turns, allow as much room as possible.

Bend vent gradually to avoid kinking.

Use the fewest 90° turns possible.

Determine vent length and elbows needed for best drying performance

Use the following Vent system chart to determine type of vent material and hood combinations acceptable to use.

NOTE: Do not use vent runs longer than those specified in the Vent system chart. Exhaust systems longer than those specified will:

Shorten the life of the dryer.

Reduce performance, resulting in longer drying times and increased energy usage.

The Vent system chart provides venting requirements that will help to achieve the best drying performance.

Vent system chart

NOTE: Side and bottom exhaust installations have a 90º turn inside the dryer. To determine maximum exhaust length, add one 90º turn to the chart.

Number of

Type of

Box or

Angled

90º turns

vent

Louvered

hoods

or elbows


hoods


0

Rigid metal

64 ft (20 m)

58 ft (17.7 m)


Flexible metal

36 ft (11 m)

28 ft (8.5 m)


1

Rigid metal

54 ft (16.5 m)

48 ft (14.6 m)


Flexible metal

31 ft (9.4 m)

23 ft (7 m)


2

Rigid metal

44 ft (13.4 m)

38 ft (11.6 m)


Flexible metal

27 ft (8.2 m)

19 ft (5.8 m)


3

Rigid metal

35 ft (10.7 m)

29 ft (8.8 m)


Flexible metal

25 ft (7.6 m)

17 ft (5.2 m)


4

Rigid metal

27 ft (8.2 m)

21 ft (6.4 m)


Flexible metal

23 ft (7 m)

15 ft (4.6 m)

Install Vent System

1.Install exhaust hood. Use caulking compound to seal exterior wall opening around exhaust hood.

2.Connect vent to exhaust hood. Vent must fit inside exhaust hood. Secure vent to exhaust hood with 4" (10.2 cm) clamp.

3.Run vent to dryer location. Use the straightest path possible. See “Determine vent path” in “Plan Vent System.” Avoid 90º turns. Use clamps to seal all joints. Do not use duct tape, screws or other fastening devices that extend into the interior of the vent to secure vent.

Install Leveling Legs

WARNING

Excessive Weight Hazard

Use two or more people to move and install dryer. Failure to do so can result in back or other injury.

1.To protect the floor, use a large flat piece of cardboard from the dryer carton. Place cardboard under the entire back edge of the dryer.

2.Firmly grasp the body of the dryer (not the console panel). Gently lay the dryer on the cardboard. See illustration.

3.Examine the leveling legs. Find the diamond marking.

11

Page 11
Image 11
Sears 110.9708, 9709 manual Install Vent System, Install Leveling Legs, Special provisions for mobile home installations

9709, 110.9708 specifications

The Sears 110.9708 and 110.9709 are popular models in the world of sewing machines, known for their user-friendly features and versatile capabilities. These machines are often favored by both beginners and seasoned sewers, due to their balance of functionality and convenience.

One of the standout features of the Sears 110.9708 and 110.9709 is their range of built-in stitches. These models typically offer a selection of decorative, stretch, and utility stitches, allowing users to explore creativity while sewing garments, quilts, or craft projects. The adjustable stitch length and width provide further customization, ensuring that sewers can achieve their desired results for various projects.

In terms of ease of use, these machines come equipped with intuitive controls. A simple, easy-to-read display guides the user through selecting stitches and adjusting settings. Automatic features, such as the needle threader, significantly reduce setup time and frustration, making these models appealing to those who may be new to sewing.

The Sears 110.9708 and 110.9709 also boast durable construction. They feature a robust build quality, ensuring reliability throughout countless projects. Additionally, the metal chassis provides stability during sewing, reducing vibrations that can affect precision and finish quality.

Another noteworthy characteristic of these machines is their versatility. With the ability to handle various fabric types, ranging from lightweight silks to heavier denim, they are equipped to tackle a wide range of sewing tasks. The adjustable presser foot pressure allows sewers to adapt to different materials, ensuring smooth operation regardless of the fabric used.

For those keen on quilting, these models often include features suited for quilting enthusiasts. Some come with a quilting foot and a walking foot option, facilitating smooth fabric movement and perfecting stitching patterns.

Finally, both the Sears 110.9708 and 110.9709 are compatible with a variety of accessories, expanding their capabilities. With the right attachments, users can explore tasks such as embroidery, buttonholing, and more, further enhancing the machine's flexibility and utility.

Overall, the Sears 110.9708 and 110.9709 serve as excellent sewing companions, combining technology, ease of use, and durability to nurture creativity and elevate sewing projects for users of all skill levels.