MAINTENANCE

MAINTENANCE

RIGHT ANGLE GEARBOX (OUTBOARD) ASSEMBLY & DISASSEMBLY PROCEDURES

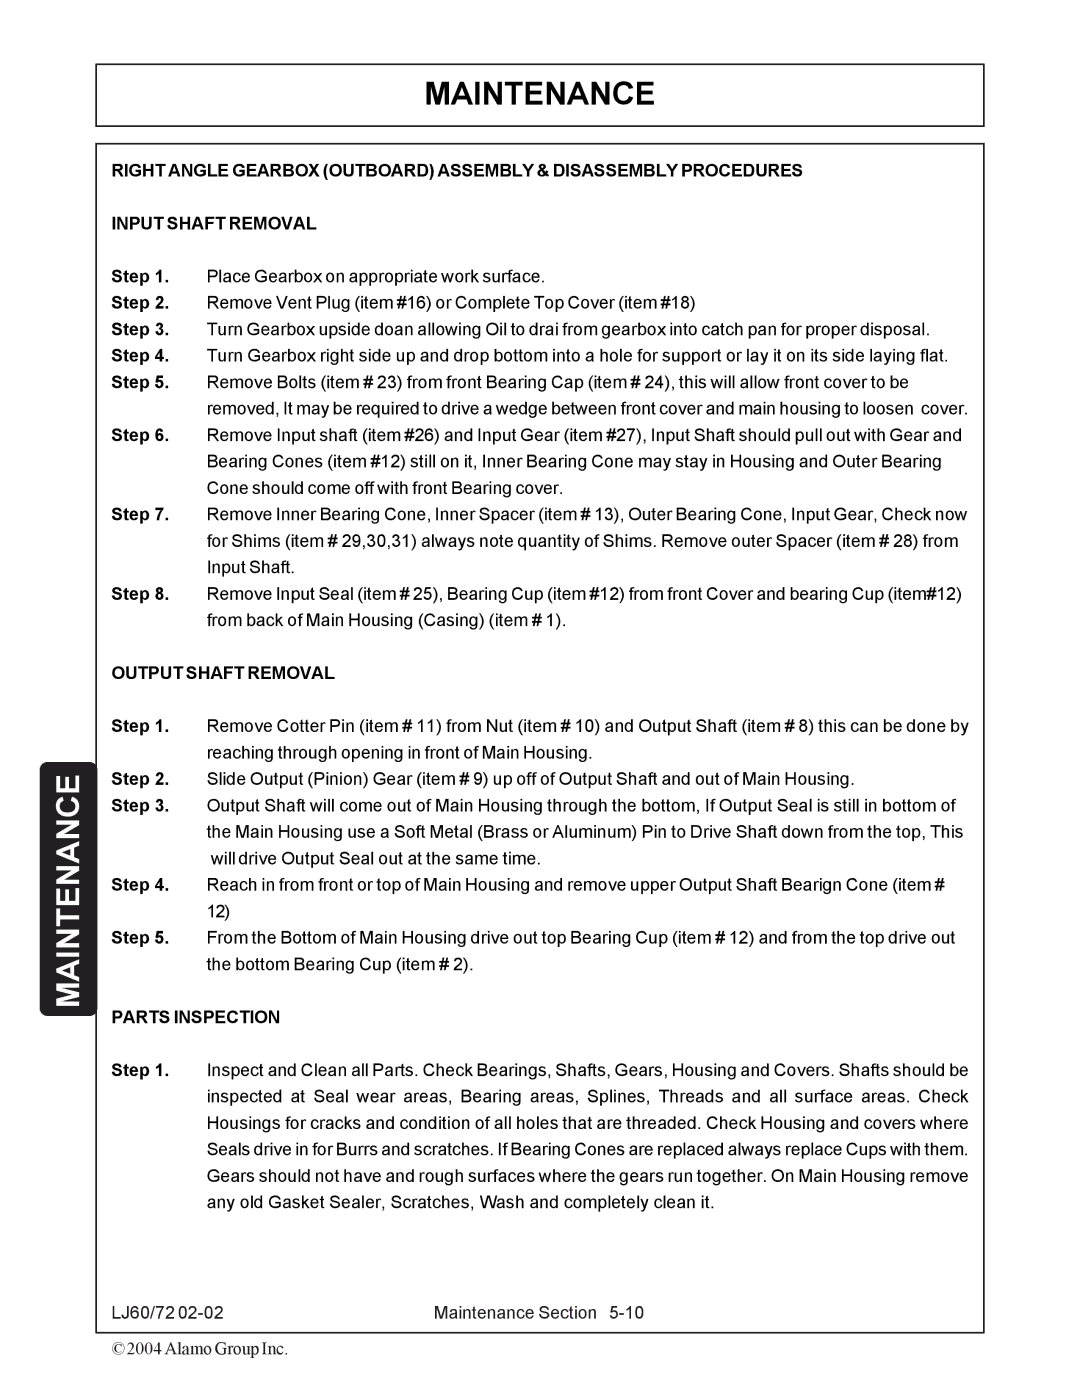
INPUT SHAFT REMOVAL

Step 1. Place Gearbox on appropriate work surface.

Step 2. Remove Vent Plug (item #16) or Complete Top Cover (item #18)

Step 3. Turn Gearbox upside doan allowing Oil to drai from gearbox into catch pan for proper disposal. Step 4. Turn Gearbox right side up and drop bottom into a hole for support or lay it on its side laying flat. Step 5. Remove Bolts (item # 23) from front Bearing Cap (item # 24), this will allow front cover to be

removed, It may be required to drive a wedge between front cover and main housing to loosen cover. Step 6. Remove Input shaft (item #26) and Input Gear (item #27), Input Shaft should pull out with Gear and

Bearing Cones (item #12) still on it, Inner Bearing Cone may stay in Housing and Outer Bearing Cone should come off with front Bearing cover.

Step 7. Remove Inner Bearing Cone, Inner Spacer (item # 13), Outer Bearing Cone, Input Gear, Check now for Shims (item # 29,30,31) always note quantity of Shims. Remove outer Spacer (item # 28) from Input Shaft.

Step 8. Remove Input Seal (item # 25), Bearing Cup (item #12) from front Cover and bearing Cup (item#12) from back of Main Housing (Casing) (item # 1).

OUTPUT SHAFT REMOVAL

Step 1. Remove Cotter Pin (item # 11) from Nut (item # 10) and Output Shaft (item # 8) this can be done by reaching through opening in front of Main Housing.

Step 2. Slide Output (Pinion) Gear (item # 9) up off of Output Shaft and out of Main Housing.

Step 3. Output Shaft will come out of Main Housing through the bottom, If Output Seal is still in bottom of the Main Housing use a Soft Metal (Brass or Aluminum) Pin to Drive Shaft down from the top, This will drive Output Seal out at the same time.

Step 4. Reach in from front or top of Main Housing and remove upper Output Shaft Bearign Cone (item # 12)

Step 5. From the Bottom of Main Housing drive out top Bearing Cup (item # 12) and from the top drive out the bottom Bearing Cup (item # 2).

PARTS INSPECTION

Step 1. Inspect and Clean all Parts. Check Bearings, Shafts, Gears, Housing and Covers. Shafts should be inspected at Seal wear areas, Bearing areas, Splines, Threads and all surface areas. Check Housings for cracks and condition of all holes that are threaded. Check Housing and covers where Seals drive in for Burrs and scratches. If Bearing Cones are replaced always replace Cups with them. Gears should not have and rough surfaces where the gears run together. On Main Housing remove any old Gasket Sealer, Scratches, Wash and completely clean it.

LJ60/72 02-02

Maintenance Section 5-10

© 2004 Alamo Group Inc.

Page 120
Image 120
Servis-Rhino 60/72 manual Output Shaft Removal, Parts Inspection

60/72 specifications

The Servis-Rhino 60/72 is a high-performance rotary mower designed to meet the demands of agricultural and landscape maintenance operations. With its robust construction and advanced features, this mower efficiently manages a variety of mowing tasks on different terrains.

One of the standout features of the Servis-Rhino 60/72 is its cutting width of 60 or 72 inches, allowing operators to cover large areas in less time while ensuring an even cut. The mower is equipped with a dual or triple blade system, ensuring that grass is cut cleanly and efficiently, resulting in a healthier lawn and improved aesthetic appeal.

The mower’s adjustable cutting height adds versatility, enabling users to select the desired grass length depending on the specific application or season. This feature allows for both high and low cuts, making it suitable for mowing thick grass in fields or maintaining lawns at a precise height.

In terms of technology, the Servis-Rhino 60/72 boasts a heavy-duty frame made from high-quality materials to withstand rigorous use. The construction is designed to absorb impacts and reduce wear, ensuring longevity and reliability in challenging environments. Additionally, the mower features a reinforced deck, preventing deformation and enhancing mowing performance even in rough conditions.

The mower's safety features include a quick-release safety latch that minimizes the risk of accidental engagement. It also includes a shielded design which protects the operator from debris and enhances operational safety.

The Servis-Rhino 60/72 is powered by either a tractor or an appropriate riding mower, offering flexibility in use. It is designed for easy attachment and detachment, allowing for seamless integration into existing equipment fleets. The mower can also be transported easily, thanks to its manageable weight and balanced design.

Maintenance of the Servis-Rhino 60/72 is straightforward, with easily accessible components for routine checks and repairs. This simplicity reduces downtime, ensuring that users can rely on their equipment for their mowing needs consistently.

In summary, the Servis-Rhino 60/72 combines robust construction, versatile performance, and advanced safety features, making it a top choice for agricultural professionals and landscape maintenance personnel alike. With its blend of technology and practical design, it offers a reliable solution for all mowing applications.