MAINTENANCE

BLADE REMOVAL/INSTALLATION

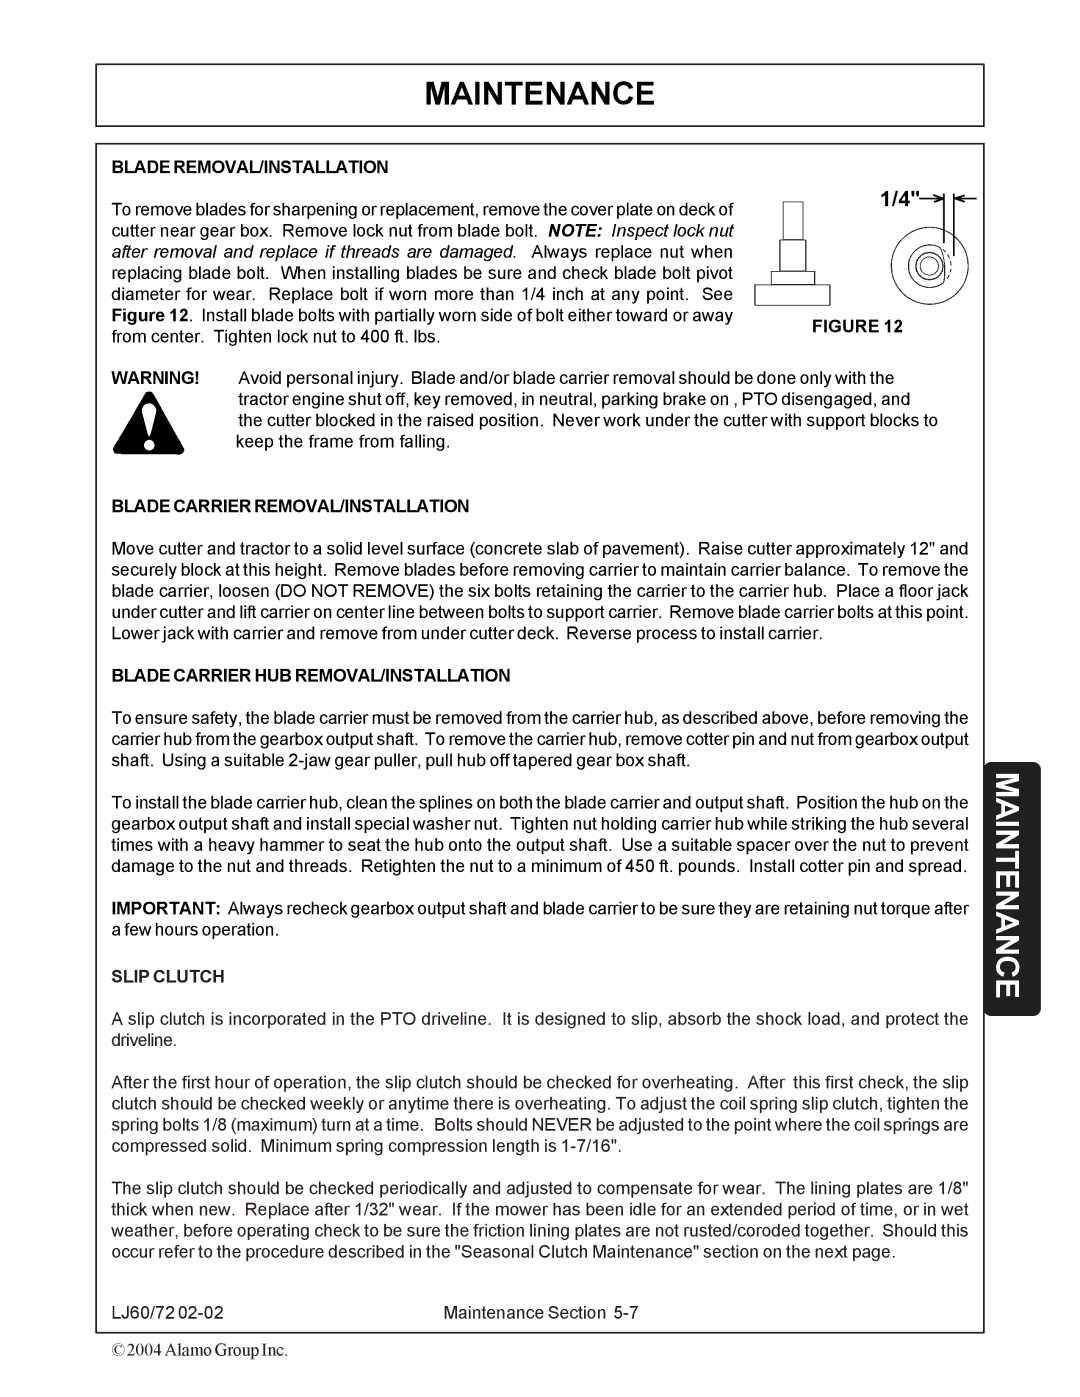
To remove blades for sharpening or replacement, remove the cover plate on deck of cutter near gear box. Remove lock nut from blade bolt. NOTE: Inspect lock nut after removal and replace if threads are damaged. Always replace nut when replacing blade bolt. When installing blades be sure and check blade bolt pivot diameter for wear. Replace bolt if worn more than 1/4 inch at any point. See Figure 12. Install blade bolts with partially worn side of bolt either toward or away from center. Tighten lock nut to 400 ft. lbs.

1/4"

FIGURE 12

WARNING! Avoid personal injury. Blade and/or blade carrier removal should be done only with the tractor engine shut off, key removed, in neutral, parking brake on , PTO disengaged, and the cutter blocked in the raised position. Never work under the cutter with support blocks to keep the frame from falling.

BLADE CARRIER REMOVAL/INSTALLATION

Move cutter and tractor to a solid level surface (concrete slab of pavement). Raise cutter approximately 12" and securely block at this height. Remove blades before removing carrier to maintain carrier balance. To remove the blade carrier, loosen (DO NOT REMOVE) the six bolts retaining the carrier to the carrier hub. Place a floor jack under cutter and lift carrier on center line between bolts to support carrier. Remove blade carrier bolts at this point. Lower jack with carrier and remove from under cutter deck. Reverse process to install carrier.

BLADE CARRIER HUB REMOVAL/INSTALLATION

To ensure safety, the blade carrier must be removed from the carrier hub, as described above, before removing the carrier hub from the gearbox output shaft. To remove the carrier hub, remove cotter pin and nut from gearbox output shaft. Using a suitable 2-jaw gear puller, pull hub off tapered gear box shaft.

To install the blade carrier hub, clean the splines on both the blade carrier and output shaft. Position the hub on the gearbox output shaft and install special washer nut. Tighten nut holding carrier hub while striking the hub several times with a heavy hammer to seat the hub onto the output shaft. Use a suitable spacer over the nut to prevent damage to the nut and threads. Retighten the nut to a minimum of 450 ft. pounds. Install cotter pin and spread.

IMPORTANT: Always recheck gearbox output shaft and blade carrier to be sure they are retaining nut torque after a few hours operation.

SLIP CLUTCH

A slip clutch is incorporated in the PTO driveline. It is designed to slip, absorb the shock load, and protect the driveline.

After the first hour of operation, the slip clutch should be checked for overheating. After this first check, the slip clutch should be checked weekly or anytime there is overheating. To adjust the coil spring slip clutch, tighten the spring bolts 1/8 (maximum) turn at a time. Bolts should NEVER be adjusted to the point where the coil springs are compressed solid. Minimum spring compression length is 1-7/16".

The slip clutch should be checked periodically and adjusted to compensate for wear. The lining plates are 1/8" thick when new. Replace after 1/32" wear. If the mower has been idle for an extended period of time, or in wet weather, before operating check to be sure the friction lining plates are not rusted/coroded together. Should this occur refer to the procedure described in the "Seasonal Clutch Maintenance" section on the next page.

LJ60/72 02-02

Maintenance Section 5-7

© 2004 Alamo Group Inc.

MAINTENANCE

Page 117
Image 117
Servis-Rhino 60/72 Blade REMOVAL/INSTALLATION, Blade Carrier REMOVAL/INSTALLATION, Blade Carrier HUB REMOVAL/INSTALLATION

60/72 specifications

The Servis-Rhino 60/72 is a high-performance rotary mower designed to meet the demands of agricultural and landscape maintenance operations. With its robust construction and advanced features, this mower efficiently manages a variety of mowing tasks on different terrains.

One of the standout features of the Servis-Rhino 60/72 is its cutting width of 60 or 72 inches, allowing operators to cover large areas in less time while ensuring an even cut. The mower is equipped with a dual or triple blade system, ensuring that grass is cut cleanly and efficiently, resulting in a healthier lawn and improved aesthetic appeal.

The mower’s adjustable cutting height adds versatility, enabling users to select the desired grass length depending on the specific application or season. This feature allows for both high and low cuts, making it suitable for mowing thick grass in fields or maintaining lawns at a precise height.

In terms of technology, the Servis-Rhino 60/72 boasts a heavy-duty frame made from high-quality materials to withstand rigorous use. The construction is designed to absorb impacts and reduce wear, ensuring longevity and reliability in challenging environments. Additionally, the mower features a reinforced deck, preventing deformation and enhancing mowing performance even in rough conditions.

The mower's safety features include a quick-release safety latch that minimizes the risk of accidental engagement. It also includes a shielded design which protects the operator from debris and enhances operational safety.

The Servis-Rhino 60/72 is powered by either a tractor or an appropriate riding mower, offering flexibility in use. It is designed for easy attachment and detachment, allowing for seamless integration into existing equipment fleets. The mower can also be transported easily, thanks to its manageable weight and balanced design.

Maintenance of the Servis-Rhino 60/72 is straightforward, with easily accessible components for routine checks and repairs. This simplicity reduces downtime, ensuring that users can rely on their equipment for their mowing needs consistently.

In summary, the Servis-Rhino 60/72 combines robust construction, versatile performance, and advanced safety features, making it a top choice for agricultural professionals and landscape maintenance personnel alike. With its blend of technology and practical design, it offers a reliable solution for all mowing applications.