NV350Q specifications
The Shark NV350Q is a versatile and powerful upright vacuum cleaner designed for home use, particularly effective on both carpets and hard floors. This model incorporates advanced features and technologies that enhance its performance and ease of use, making it a popular choice among consumers.One of the standout features of the Shark NV350Q is its Lift-Away technology. This innovation allows users to detach the canister from the upright vacuum, making it easy to clean stairs, furniture, and other hard-to-reach areas without struggling to maneuver the entire machine. The lightweight design of the detachable canister further enhances its portability and convenience.
The NV350Q is equipped with a powerful motor and advanced suction capabilities, ensuring that it effectively picks up dirt, dust, and debris from various surfaces. It features a TruePet motorized brush attachment designed specifically for pet owners. This brush is ideal for removing pet hair from carpets, upholstery, and other surfaces, ensuring a thorough clean every time.
Another important characteristic is the inclusion of a HEPA filter, which traps allergens and dust particles, making the vacuum an excellent choice for allergy sufferers. The filter is washable and reusable, which not only contributes to the longevity of the machine but also supports more environmentally friendly practices by reducing waste.
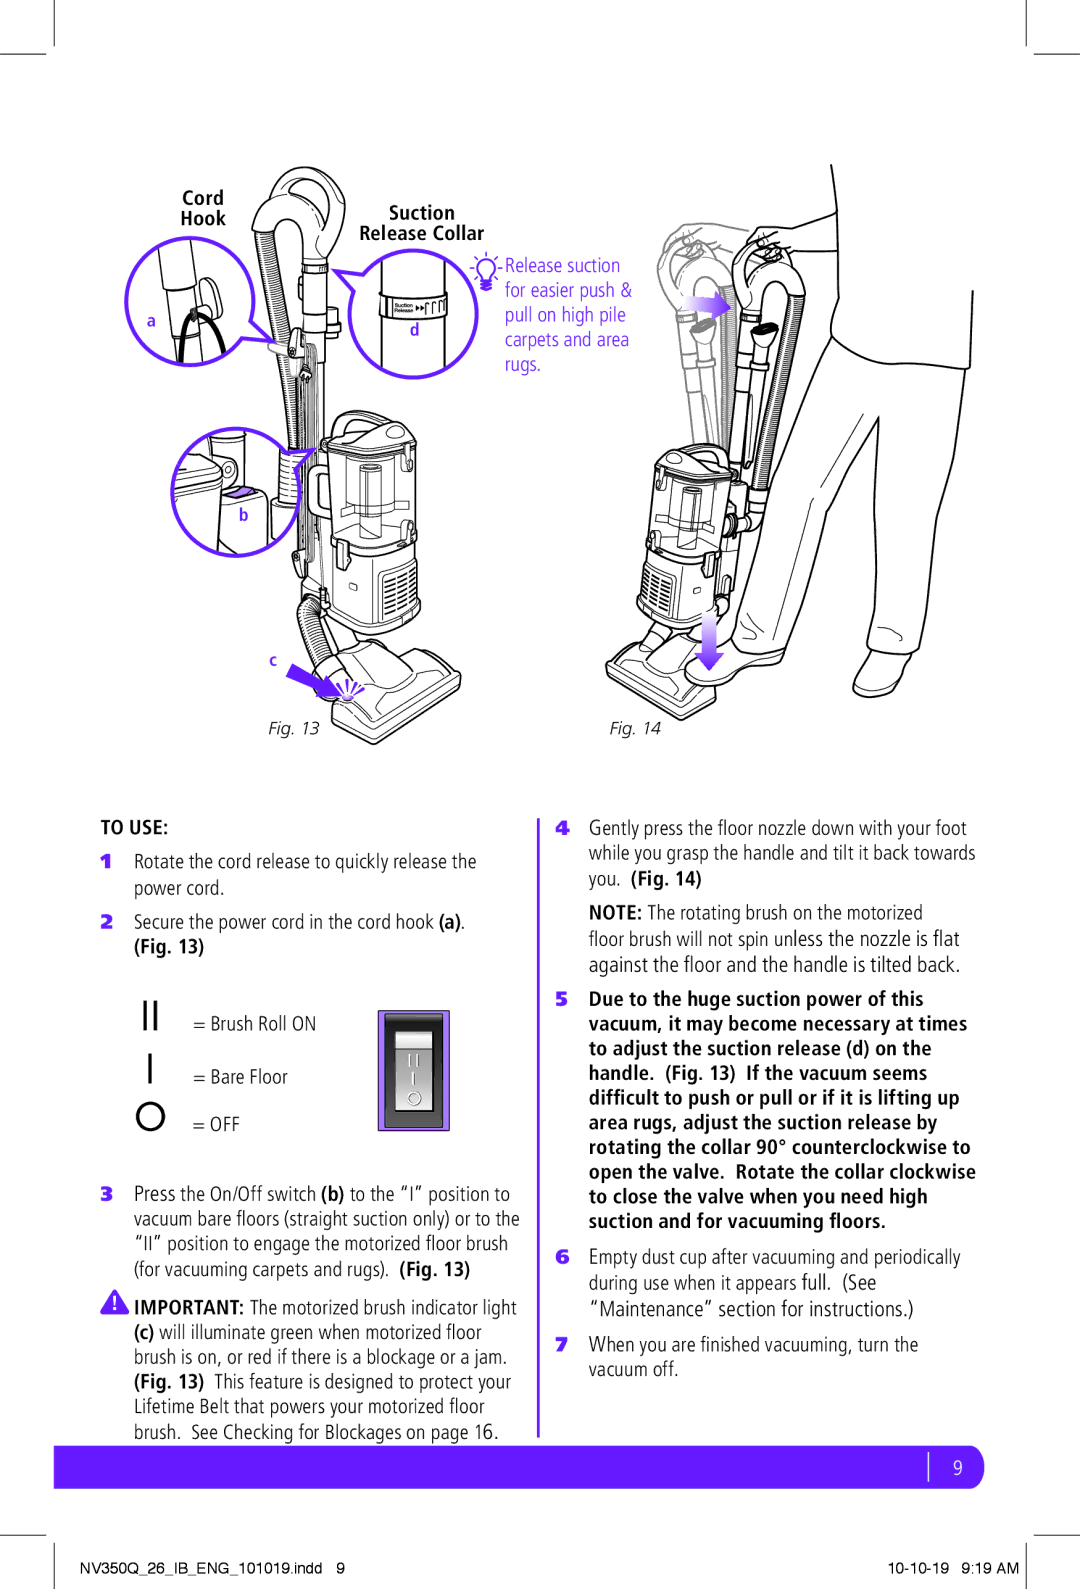
The advanced brush roll technology incorporated into the NV350Q provides versatility in cleaning. The brush roll can easily transition between carpet and hard floor modes, optimizing cleaning performance. Users can control the suction power with adjustable settings, allowing for a customized cleaning experience based on surface type and debris level.
Additionally, the NV350Q comes with a variety of accessories, including a crevice tool, dusting brush, and an upholstery tool, making it adaptable for different cleaning tasks. The vacuum's large capacity dust cup reduces the frequency of emptying, enhancing user convenience during extended cleaning sessions.
The Shark NV350Q stands out due to its combination of power, versatility, and innovative features, making it an excellent choice for anyone looking to maintain a clean and healthy home environment. With its thoughtful design and practical technologies, this vacuum effectively meets the diverse cleaning needs of today's households.

