3 Remote control battery installation
Use 2 “AA” size batteries
1 Open the battery cover.
2 Insert the batteries as shown.
3 Close the cover.
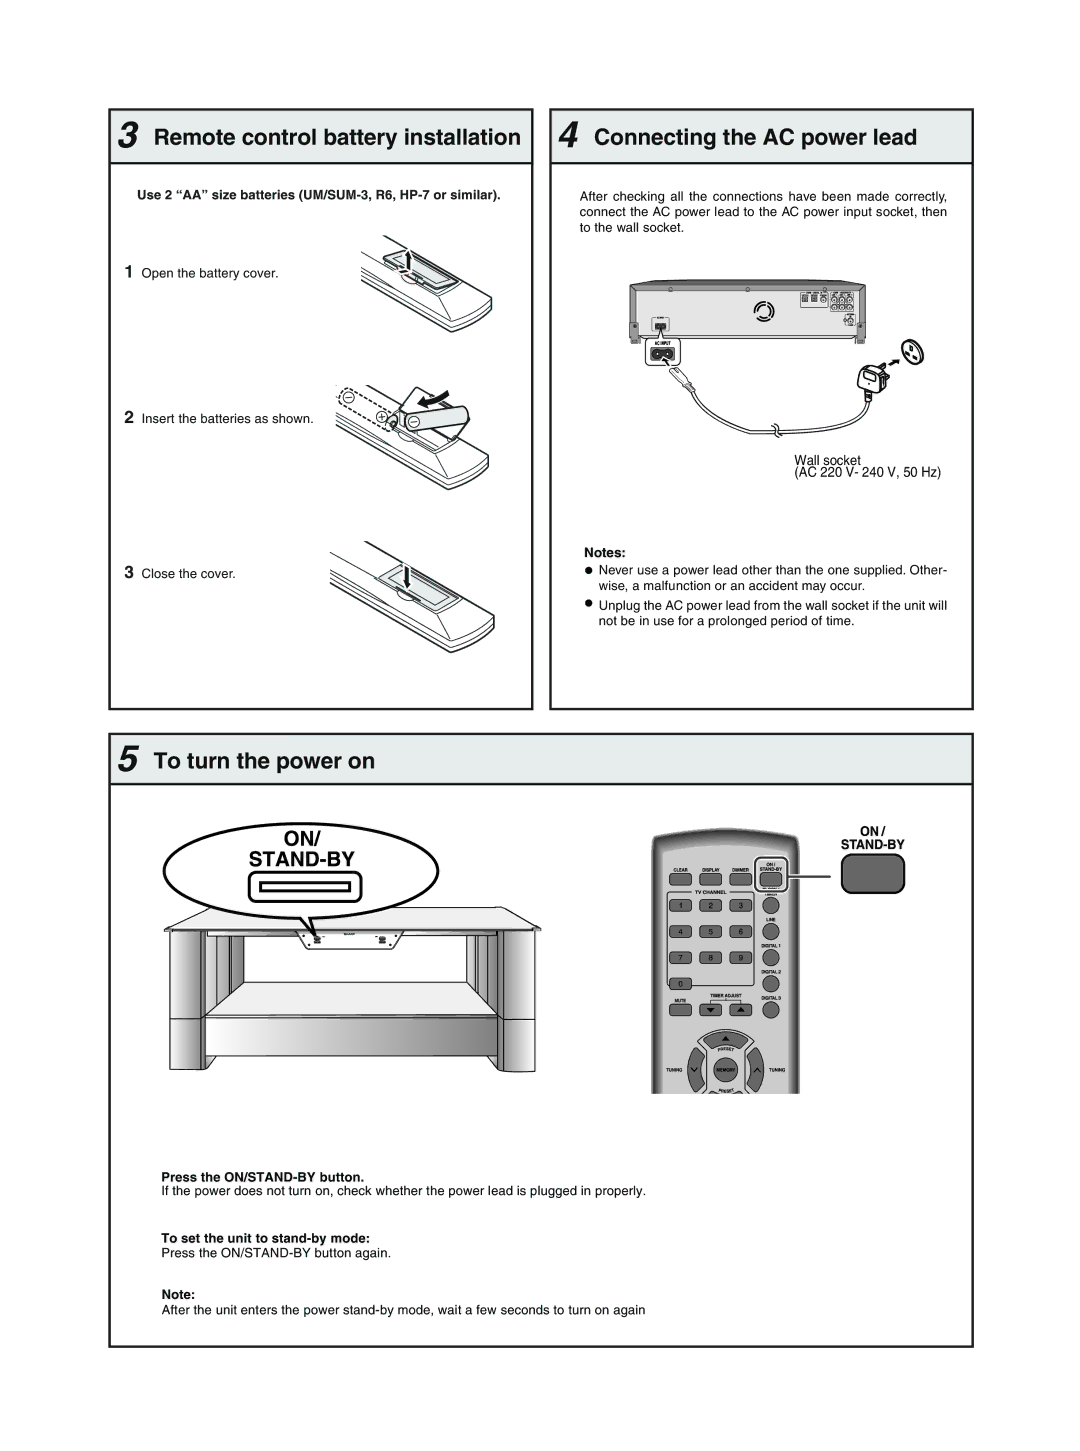
4 Connecting the AC power lead
After checking all the connections have been made correctly, connect the AC power lead to the AC power input socket, then to the wall socket.
Wall socket
(AC 220 V- 240 V, 50 Hz)
Notes:
![]() Never use a power lead other than the one supplied. Other- wise, a malfunction or an accident may occur.
Never use a power lead other than the one supplied. Other- wise, a malfunction or an accident may occur.
![]() Unplug the AC power lead from the wall socket if the unit will not be in use for a prolonged period of time.
Unplug the AC power lead from the wall socket if the unit will not be in use for a prolonged period of time.
5 To turn the power on
Press the
If the power does not turn on, check whether the power lead is plugged in properly.
To set the unit to stand-by mode:
Press the
Note:
After the unit enters the power