3 Scanning an Image from a TWAIN-Compliant Application (part 2)
| 4 | Open the scanner driver setup screen. |
Reference:"Scanner Driver Settings" (p.16) | ||
|
|
|
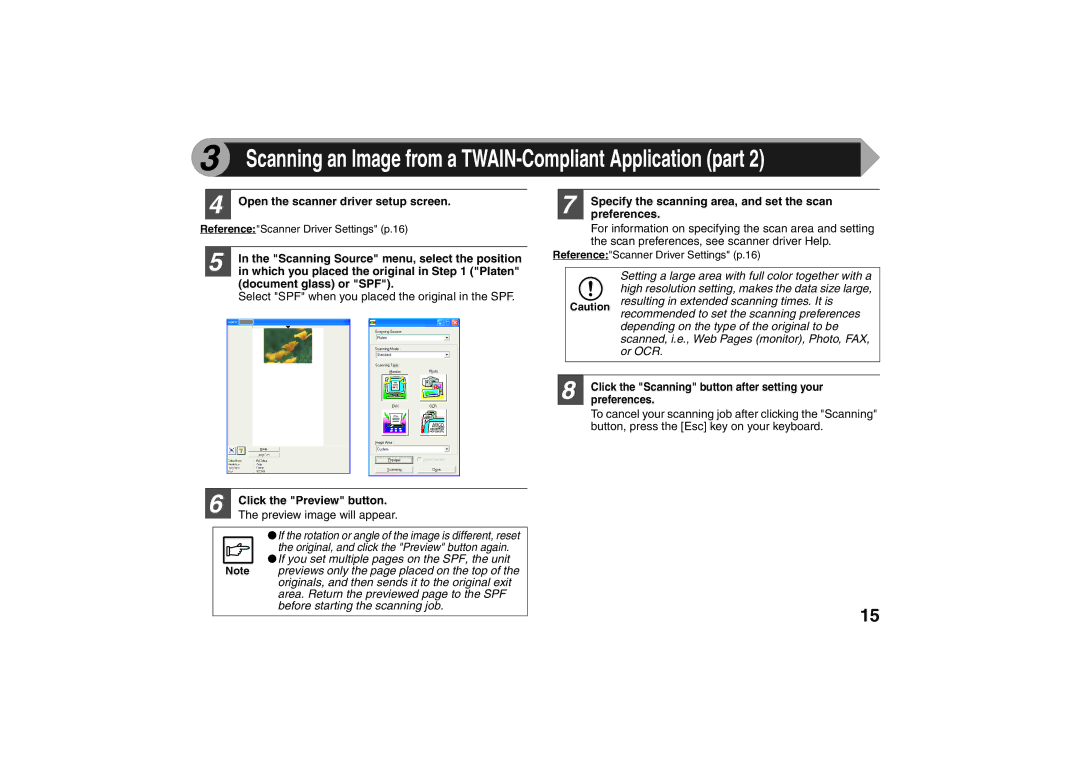
| 5 | In the "Scanning Source" menu, select the position |
| in which you placed the original in Step 1 ("Platen" | |
(document glass) or "SPF").
Select "SPF" when you placed the original in the SPF.
6 | Click the "Preview" button. |
| The preview image will appear. |
|
●If the rotation or angle of the image is different, reset
the original, and click the "Preview" button again.
●If you set multiple pages on the SPF, the unit
Note previews only the page placed on the top of the originals, and then sends it to the original exit area. Return the previewed page to the SPF before starting the scanning job.
7 | Specify the scanning area, and set the scan |
preferences. |
For information on specifying the scan area and setting the scan preferences, see scanner driver Help.
Reference:"Scanner Driver Settings" (p.16)
|
|
| Setting a large area with full color together with a |
|
|
| high resolution setting, makes the data size large, |
| Caution | resulting in extended scanning times. It is | |
|
|
| recommended to set the scanning preferences |
|
|
| depending on the type of the original to be |
|
|
| scanned, i.e., Web Pages (monitor), Photo, FAX, |
|
|
| or OCR. |
|
|
| |
|
|
|
|
8 | Click the "Scanning" button after setting your | ||
preferences. | |||
To cancel your scanning job after clicking the "Scanning" button, press the [Esc] key on your keyboard.
15