
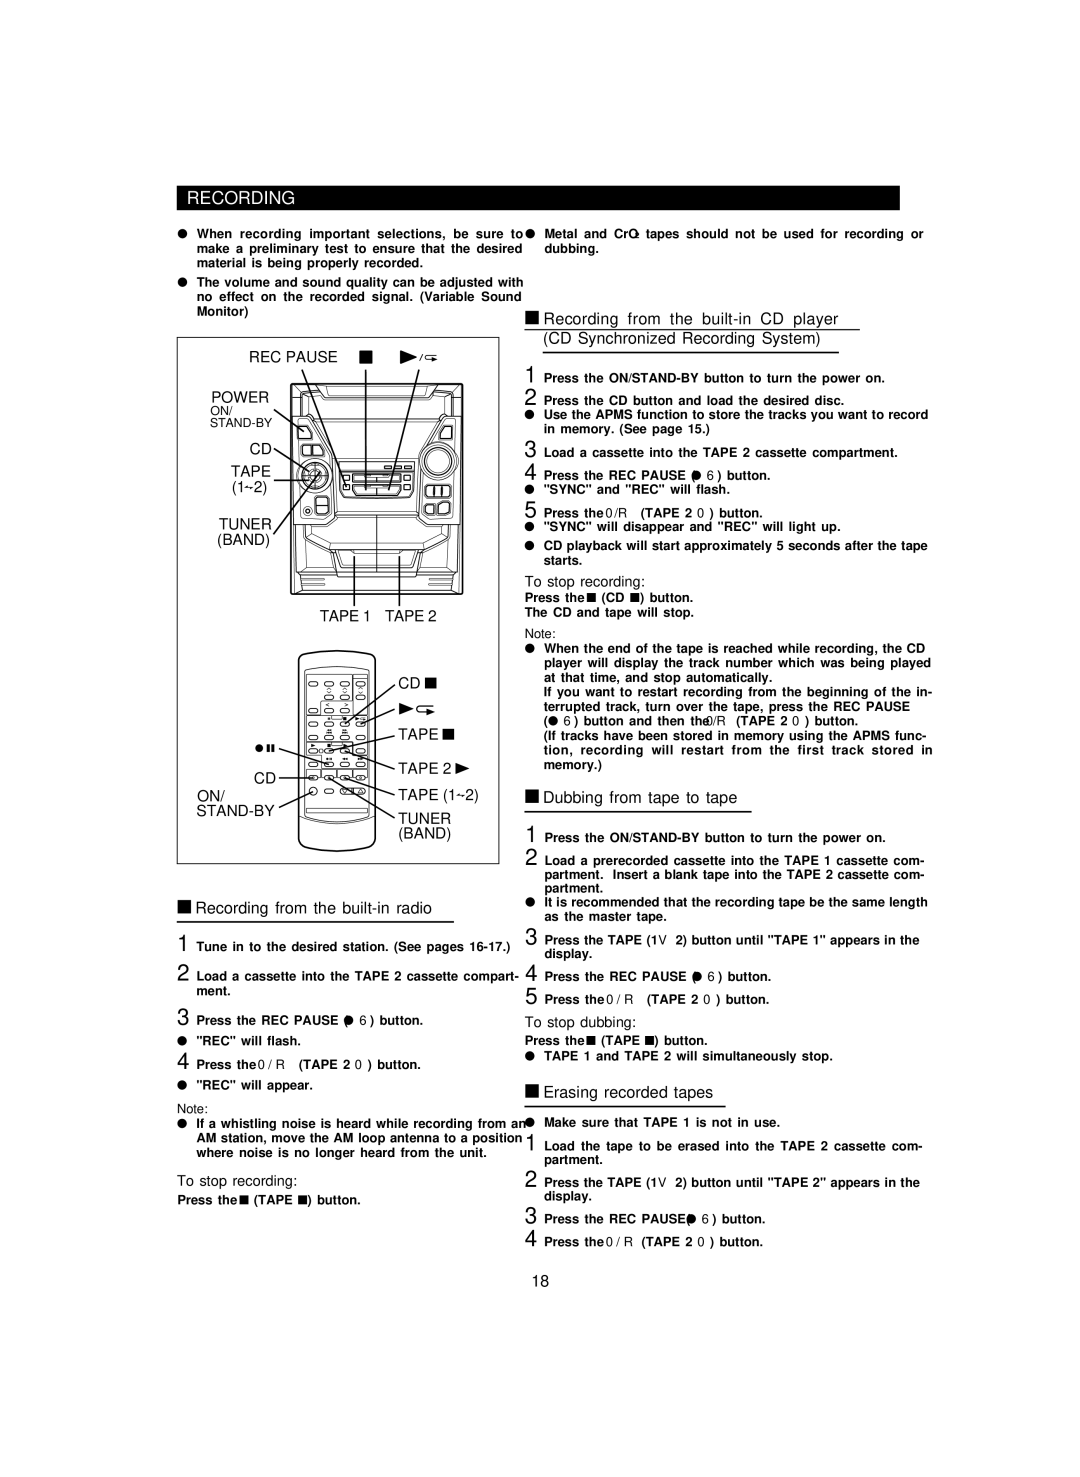
CD-PC3500 specifications
The Sharp CD-PC3500 is a compact and versatile mini stereo system that delivers powerful audio performance with modern features. Compact in design, this unit is an excellent addition to any living space, whether you are using it in your home, office, or even in a small party setting.At the heart of the CD-PC3500 is its advanced audio technology. Equipped with a high-quality CD player, it supports various CD formats, ensuring compatibility with a wide range of music collections. Additionally, the device features AM/FM radio tuners, allowing users to enjoy their favorite radio stations with crystal-clear sound.
One of the standout features of the CD-PC3500 is its Bluetooth connectivity, which allows users to wirelessly stream music from their smartphones, tablets, or other Bluetooth-enabled devices. This gives users the freedom to listen to their playlists without being tethered to the stereo, making it perfect for gatherings or casual listening. The unit also supports USB playback, enabling the user to enjoy tracks from flash drives, which is incredibly convenient for those who have a vast digital library.
The design of the CD-PC3500 is user-friendly, featuring an intuitive control panel along with a remote control that makes it easy to navigate through various functions from a distance. It comes with built-in speakers that produce robust sound quality with rich bass and clear highs, making it suitable for various music genres.
Amplifying the audio experience is the system's equalizer settings, allowing users to adjust sound profiles according to their preferences. Whether you enjoy pop, rock, jazz, or classical, the CD-PC3500's customizable settings let you optimize your listening experience.
Furthermore, the Sharp CD-PC3500 is built with durability in mind. Its compact size does not compromise the build quality, appealing to consumers looking for a reliable stereo system. Its sleek, modern aesthetic fits seamlessly into contemporary home decor.
Overall, the Sharp CD-PC3500 offers a comprehensive audio solution with its combination of traditional media playback and modern connectivity features. Ideal for music enthusiasts who appreciate sound quality and versatility, this mini stereo system is a worthy addition to anyone's audio setup.