Sharp PN-TPC2W7A, PNTPC2W7A manual Rear Connector Layout con’t

Models: PNTPC2W7A PN-TPC2W7A

1 12
Download 12 pages 11.89 Kb
Page 10
Image 10
Rear Connector Layout (con’t)

Installation

Rear Connector Layout (con’t)

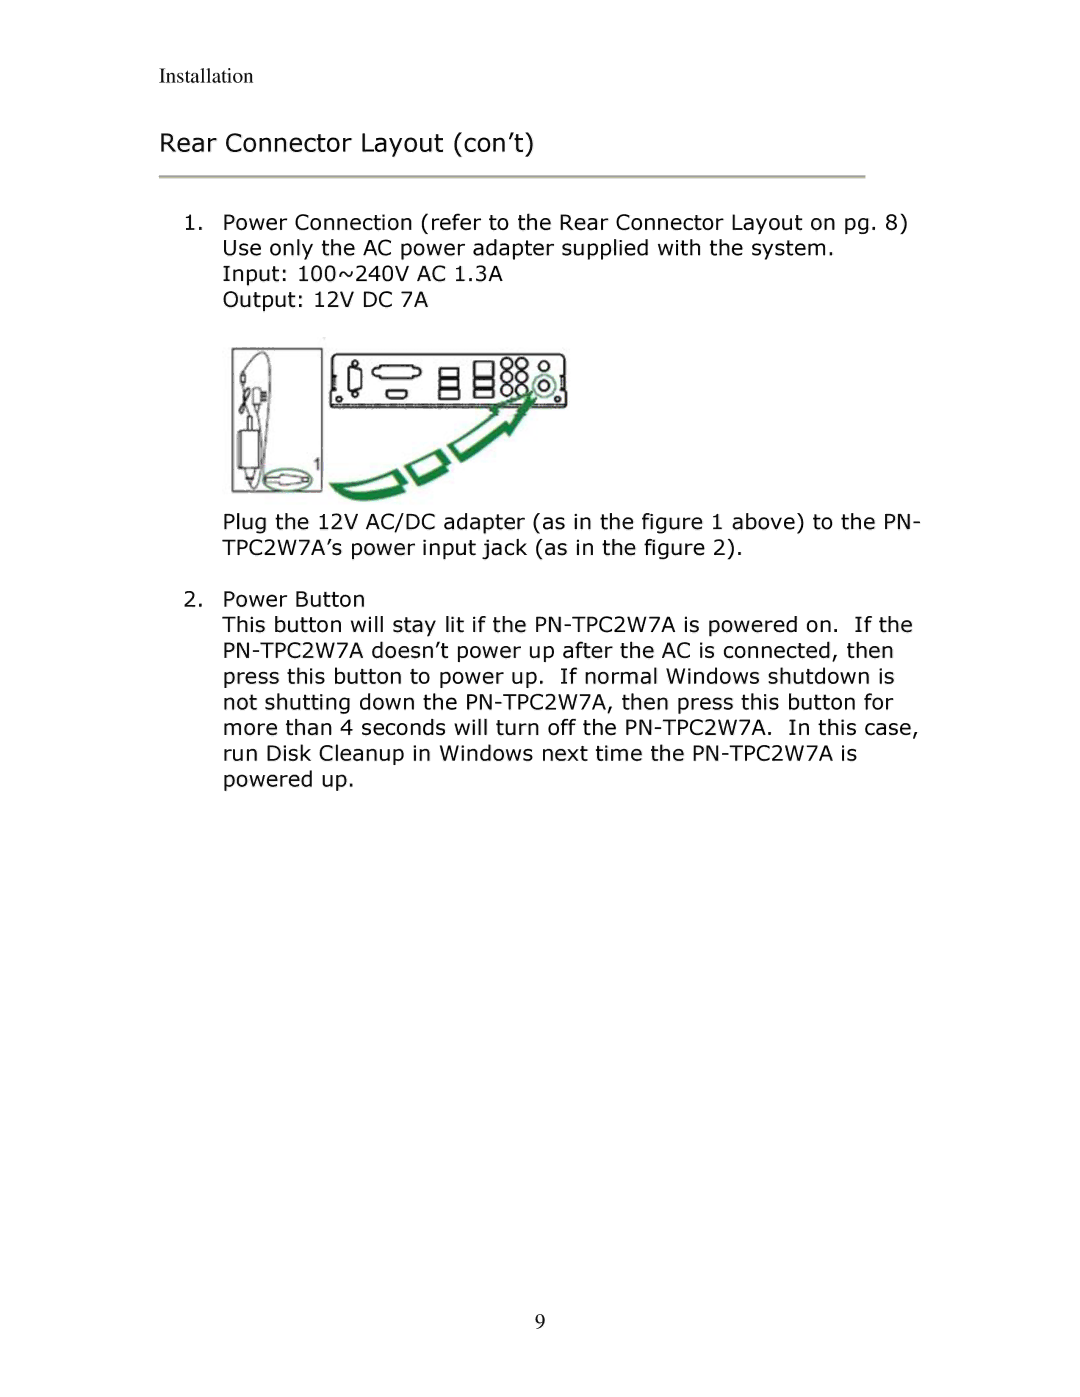
1.Power Connection (refer to the Rear Connector Layout on pg. 8) Use only the AC power adapter supplied with the system. Input: 100~240V AC 1.3A

Output: 12V DC 7A

Plug the 12V AC/DC adapter (as in the figure 1 above) to the PN- TPC2W7A’s power input jack (as in the figure 2).

2.Power Button

This button will stay lit if the PN-TPC2W7A is powered on. If the PN-TPC2W7A doesn’t power up after the AC is connected, then press this button to power up. If normal Windows shutdown is not shutting down the PN-TPC2W7A, then press this button for more than 4 seconds will turn off the PN-TPC2W7A. In this case, run Disk Cleanup in Windows next time the PN-TPC2W7A is powered up.

9

Page 10
Image 10
Sharp PN-TPC2W7A, PNTPC2W7A manual Rear Connector Layout con’t