Menu Items
nEnlarge
•You can align several monitors and integrate them into a single large screen to display.
•Up to five monitors can be aligned in both the horizontal and vertical directions.
•Each monitor displays enlarged views of separated images.
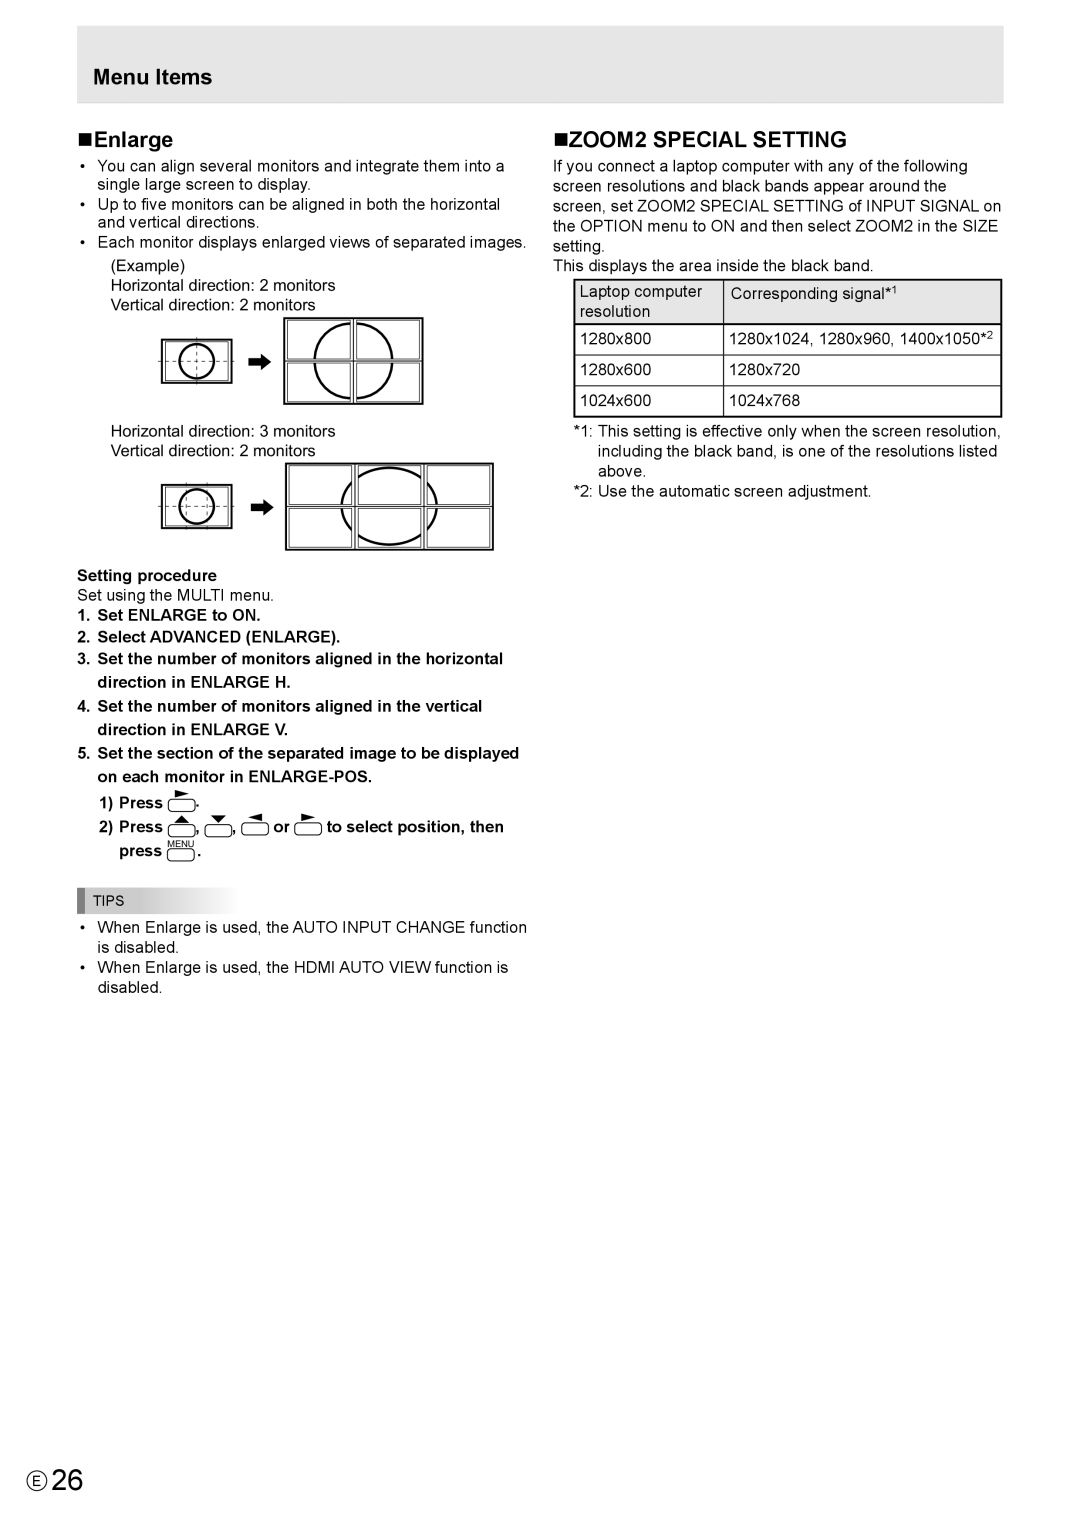
(Example)
Horizontal direction: 2 monitors
Vertical direction: 2 monitors
Horizontal direction: 3 monitors
Vertical direction: 2 monitors
Setting procedure
Set using the MULTI menu.
1.Set ENLARGE to ON.
2.Select ADVANCED (ENLARGE).
3.Set the number of monitors aligned in the horizontal direction in ENLARGE H.
4.Set the number of monitors aligned in the vertical direction in ENLARGE V.
5.Set the section of the separated image to be displayed on each monitor in
1)Press ![]() .
.
2)Press ![]() ,
, ![]() ,
, ![]() or
or ![]() to select position, then press MENU .
to select position, then press MENU .
TIPS
•When Enlarge is used, the AUTO INPUT CHANGE function is disabled.
•When Enlarge is used, the HDMI AUTO VIEW function is disabled.
nZOOM2 SPECIAL SETTING
If you connect a laptop computer with any of the following screen resolutions and black bands appear around the
screen, set ZOOM2 SPECIAL SETTING of INPUT SIGNAL on the OPTION menu to ON and then select ZOOM2 in the SIZE
setting.
This displays the area inside the black band.
Laptop computer | Corresponding signal*1 |
resolution |
|
1280x800 | 1280x1024, 1280x960, 1400x1050*2 |
1280x600 | 1280x720 |
|
|
1024x600 | 1024x768 |
|
|
*1: This setting is effective only when the screen resolution,
including the black band, is one of the resolutions listed above.
*2: Use the automatic screen adjustment.
E26