
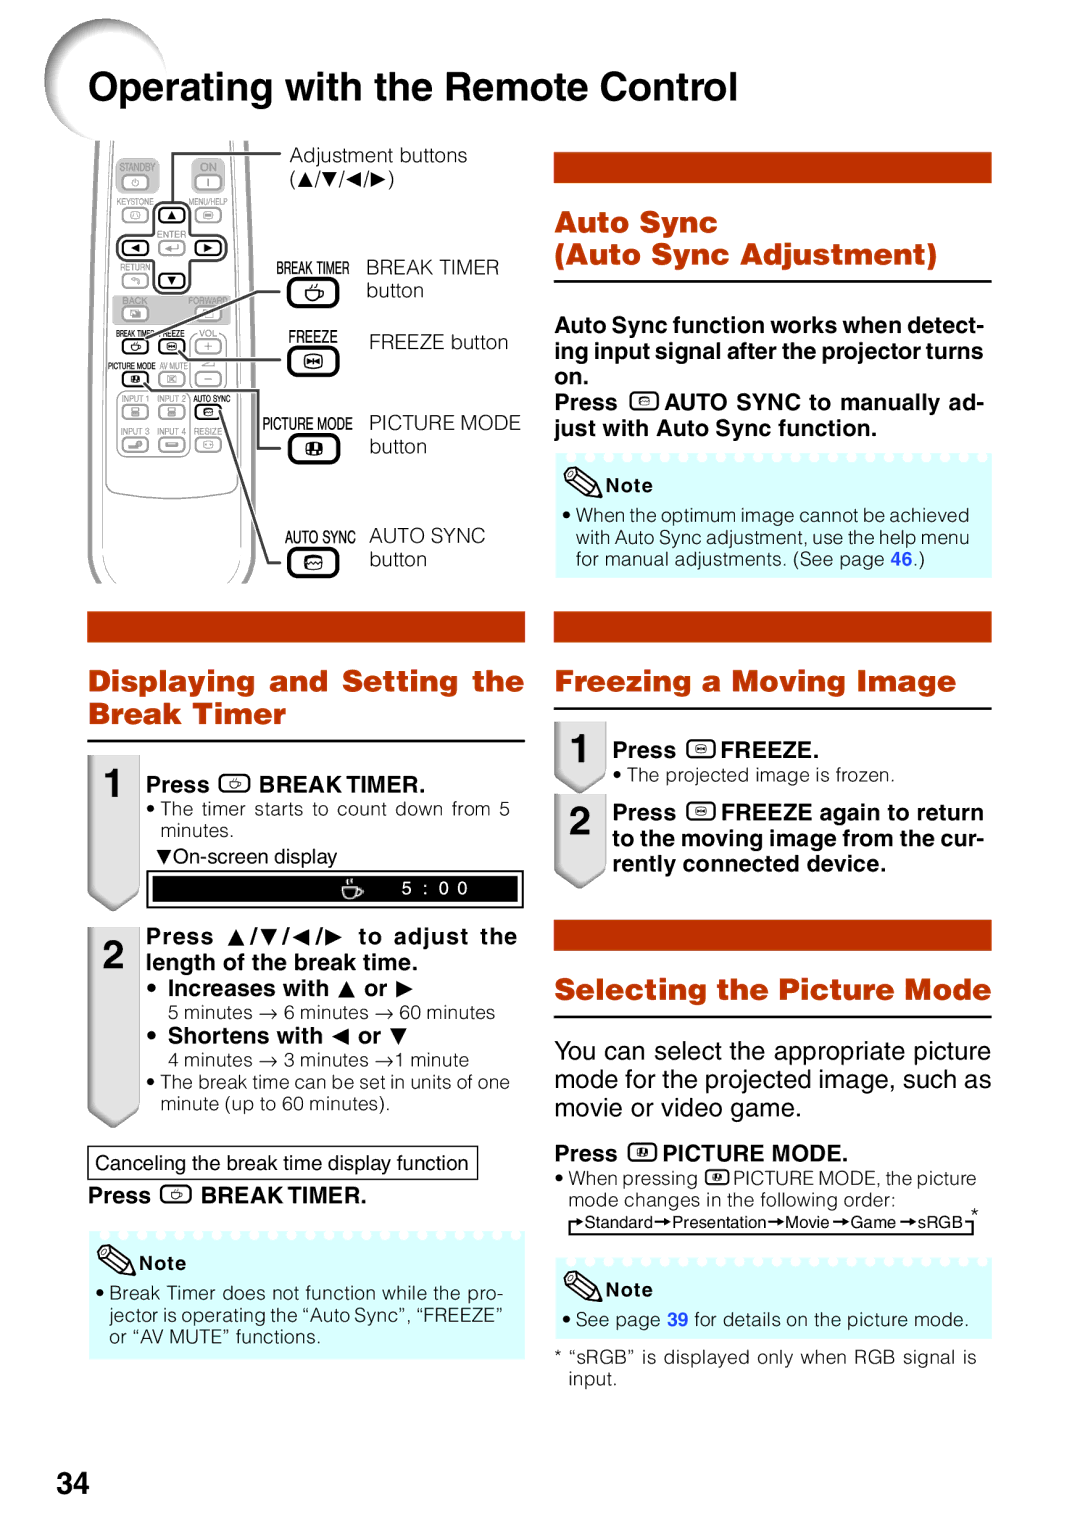
XG-MB55X-L, XG-MB65X-L, XG-MB55X-L, XR-10X-L, XR-10S-L, XG-MB65X-L specifications
Sharp has long been a recognized leader in display technology, and its latest offerings, including the Sharp XG-MB65X-L, XG-MB55X-L, XR-10X-L, and XR-10S-L, continue to set the standard for high-quality visual performance in a variety of settings. These models cater to diverse needs, from business presentations to educational environments and high-end home theaters.The Sharp XG-MB65X-L and XG-MB55X-L are standout models featuring a powerful blend of brightness and resolution. With vibrant colors and high contrast ratios, both projectors deliver stunning image quality, making them ideal for large audiences. Equipped with advanced DLP technology, these projectors ensure sharp, clear images even in well-lit environments. The 65-inch and 55-inch screen sizes respectively cater to different room sizes and audience requirements, without compromising on visual clarity.
Incorporating the latest in connectivity options, these models support various inputs, including HDMI, USB, and wireless capabilities, offering flexibility in how content is presented. This means that users can easily connect laptops, tablets, and even smartphones to stream presentations or videos seamlessly. Furthermore, the XG-MB series is designed with an eco-friendly mindset, featuring energy-saving modes that don't sacrifice performance.
On the other hand, the XR-10X-L and XR-10S-L are designed with portability in mind, making them perfect for on-the-go presentations. These models feature lightweight constructions and compact designs, allowing professionals to transport them easily. Despite their smaller sizes, they boast impressive brightness levels and image quality, ensuring that presentations remain impactful in various lighting conditions. The XR-10 series also benefits from user-friendly interfaces, simplifying the setup process and enabling quick adjustments.
Both series prioritize longevity and reliability, featuring extended lamp life and built-in maintenance alerts. This ensures minimal downtime and maximizes productivity, whether in corporate meetings or educational classrooms. Additionally, Sharp’s commitment to sound technology is evident, with each model equipped with built-in speakers that deliver clear audio to complement the exceptional visuals.
Overall, the Sharp XG-MB65X-L, XG-MB55X-L, XR-10X-L, and XR-10S-L projectors represent the pinnacle of Sharp's innovation in display technology. Their unique features, advanced technologies, and versatile characteristics make them suitable for a wide range of applications, ensuring that users can deliver their best presentations with confidence and ease.