4. Turn the video equipment on and start playback
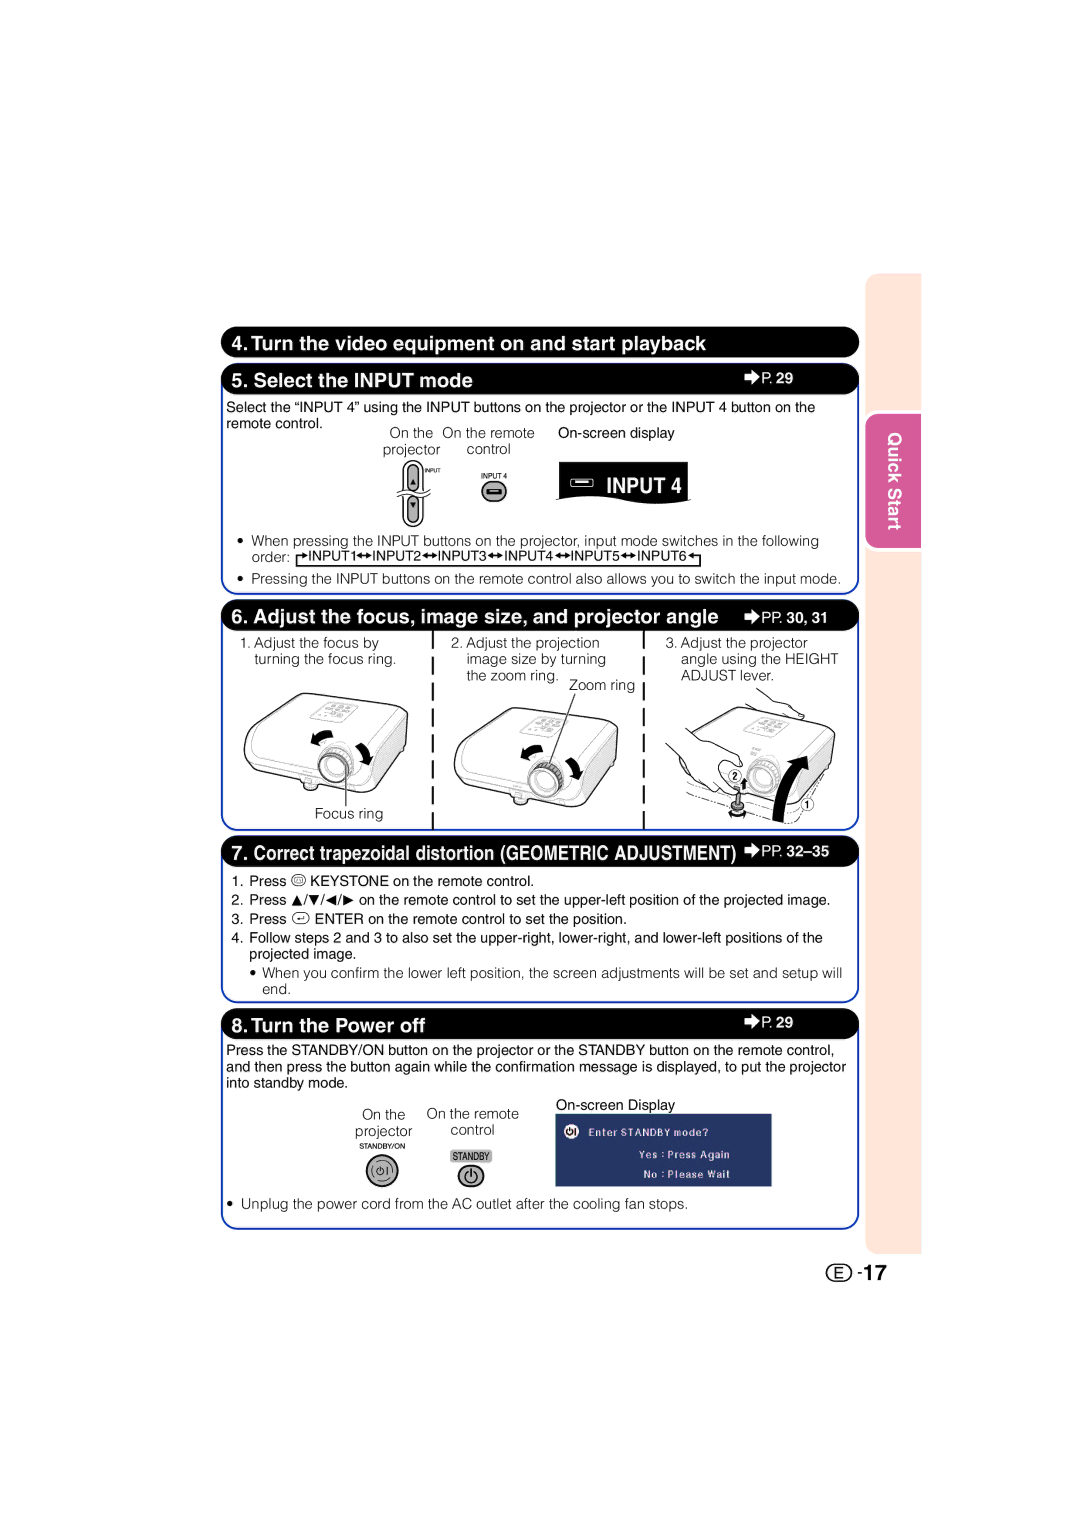
5. Select the INPUT mode | _P. 29 |
Select the “INPUT 4” using the INPUT buttons on the projector or the INPUT 4 button on the
remote control.
On the On the remote projector control
•When pressing the INPUT buttons on the projector, input mode switches in the following order: ![]()
![]() INPUT1
INPUT1![]() INPUT2
INPUT2![]()
![]() INPUT3
INPUT3![]()
![]() INPUT4
INPUT4![]()
![]() INPUT5
INPUT5![]()
![]() INPUT6
INPUT6![]()
![]()
•Pressing the INPUT buttons on the remote control also allows you to switch the input mode.
6. Adjust the focus, image size, and projector angle _PP. 30, 31
1. Adjust the focus by |
| 2. Adjust the projection |
| 3. Adjust the projector |
turning the focus ring. |
| image size by turning |
| angle using the HEIGHT |
|
| |||
|
| the zoom ring. |
| ADJUST lever. |
|
|
|
Focus ring
7. Correct trapezoidal distortion (GEOMETRIC ADJUSTMENT) _PP. 32–35
1.Press c KEYSTONE on the remote control.
2.Press P/R/O/Q on the remote control to set the
3.Press i ENTER on the remote control to set the position.
4.Follow steps 2 and 3 to also set the
•When you confirm the lower left position, the screen adjustments will be set and setup will end.
8. Turn the Power off | _P. 29 |
Press the STANDBY/ON button on the projector or the STANDBY button on the remote control, and then press the button again while the confirmation message is displayed, to put the projector into standby mode.
On the | On the remote | |
| ||
projector | control |
|
• Unplug the power cord from the AC outlet after the cooling fan stops.
Quick Start
![]()
![]() 17
17