R-903R, R-903 specifications
The Sherwood R-903 and R-903R are distinguished models in the realm of audio receivers, showcasing a blend of classic design and cutting-edge technology. These receivers are engineered for both audiophiles and casual listeners, providing a versatile and powerful home audio experience.The R-903 features a robust 100 watts per channel output, ensuring that even the most demanding audio applications are handled with ease. Its power output makes it suitable for driving a variety of speaker configurations, enabling rich and immersive sound quality. The R-903R enhances this experience with refinements that include upgraded circuitry and improved performance metrics, delivering even cleaner audio fidelity.
One of the standout characteristics of these models is their extensive connectivity options. Both the R-903 and R-903R are equipped with multiple HDMI inputs, allowing seamless integration with modern devices such as Blu-ray players, gaming consoles, and streaming media players. This facilitates an all-in-one entertainment hub, perfect for enjoying movies, music, and gaming with minimal hassle.
The receivers boast advanced audio decoding technologies, including support for Dolby TrueHD and DTS-HD Master Audio. This ensures that users can experience high-resolution audio formats with stunning clarity, making every listening session captivating. Furthermore, they incorporate digital signal processing (DSP), which optimizes sound output based on the acoustics of the listening environment, providing a custom-tailored audio experience.
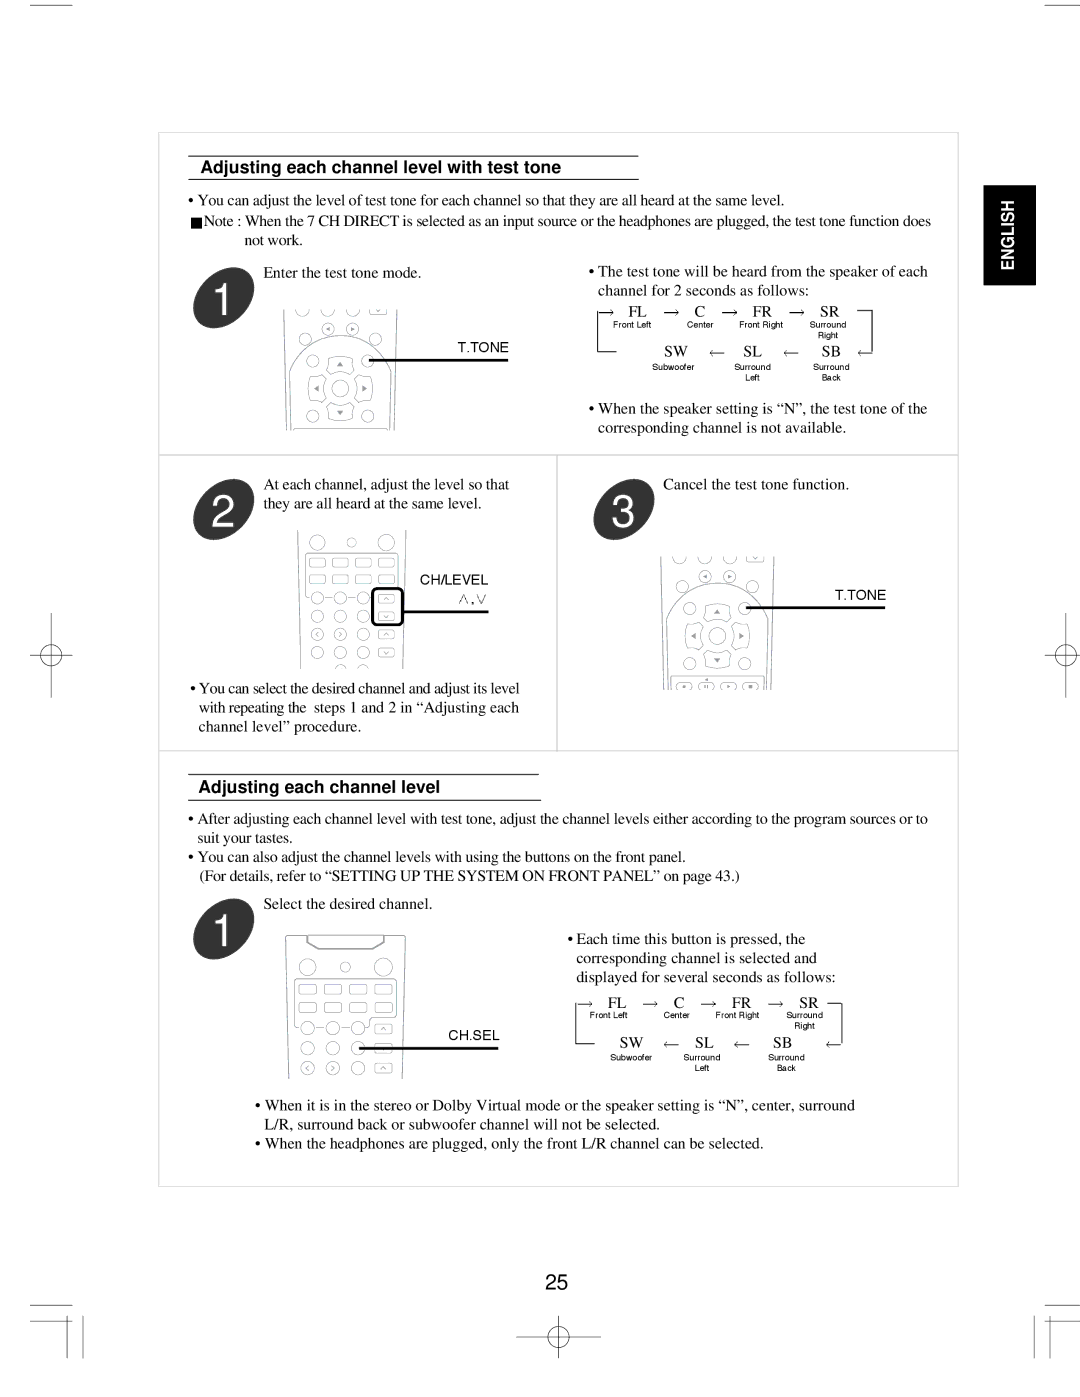
In terms of user interface, both models feature an intuitive on-screen setup that simplifies installation and configuration. The remote control is thoughtfully designed, giving users easy access to a variety of features, including preset audio modes, equalizer settings, and source selection, making it user-friendly for individuals of all technical backgrounds.
Additionally, both the R-903 and R-903R come with Bluetooth connectivity, granting users the ability to wirelessly stream music from smartphones, tablets, and other compatible devices. This modern feature enhances convenience while preserving the high-fidelity sound that Sherwood is known for.
In summary, the Sherwood R-903 and R-903R are exemplars of modern audio receivers, merging traditional strengths with innovative technologies. Their powerful output, extensive connectivity, and advanced audio processing capabilities make them ideal choices for anyone looking to elevate their sound experience in home entertainment. Whether for music, movies, or gaming, these receivers deliver unmatched performance and versatility.

