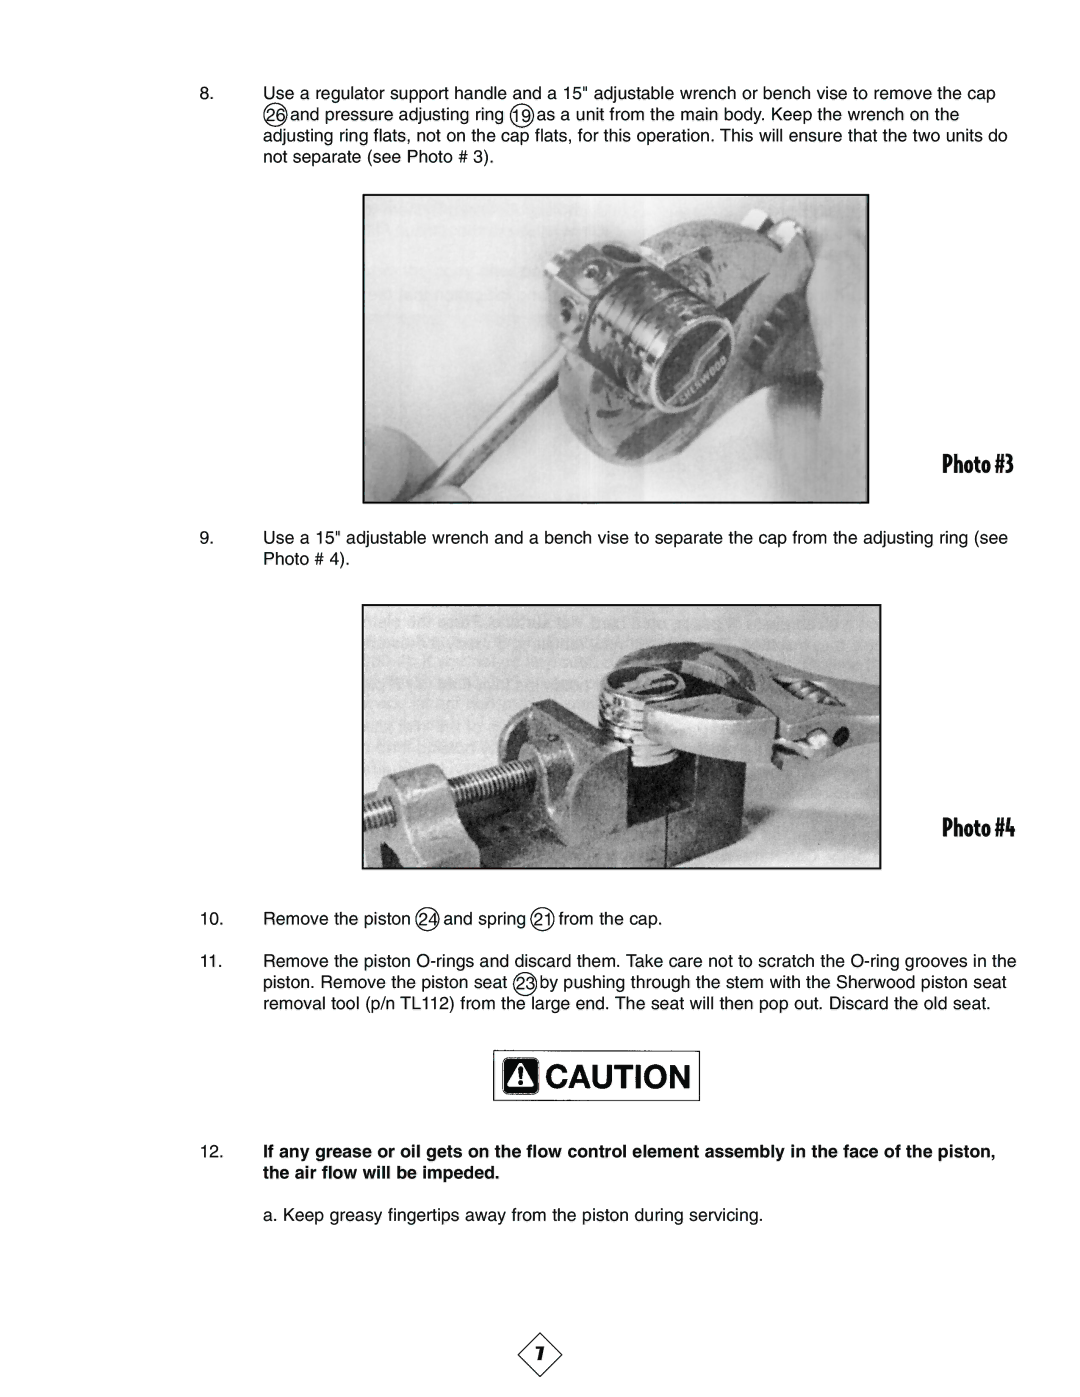
8.Use a regulator support handle and a 15" adjustable wrench or bench vise to remove the cap 26 and pressure adjusting ring 19 as a unit from the main body. Keep the wrench on the adjusting ring flats, not on the cap flats, for this operation. This will ensure that the two units do not separate (see Photo # 3).
Photo #3
9.Use a 15" adjustable wrench and a bench vise to separate the cap from the adjusting ring (see Photo # 4).
Photo #4
10.Remove the piston 24 and spring 21 from the cap.
11.Remove the piston
12.If any grease or oil gets on the flow control element assembly in the face of the piston, the air flow will be impeded.
a. Keep greasy fingertips away from the piston during servicing.
7