b. Use a clean, dry cloth to wipe the piston surface if it needs cleaning.
c. Do not put the piston in a cleaning solution or ultrasonic cleaner. If there is any oil on the surface, it will coat the piston.
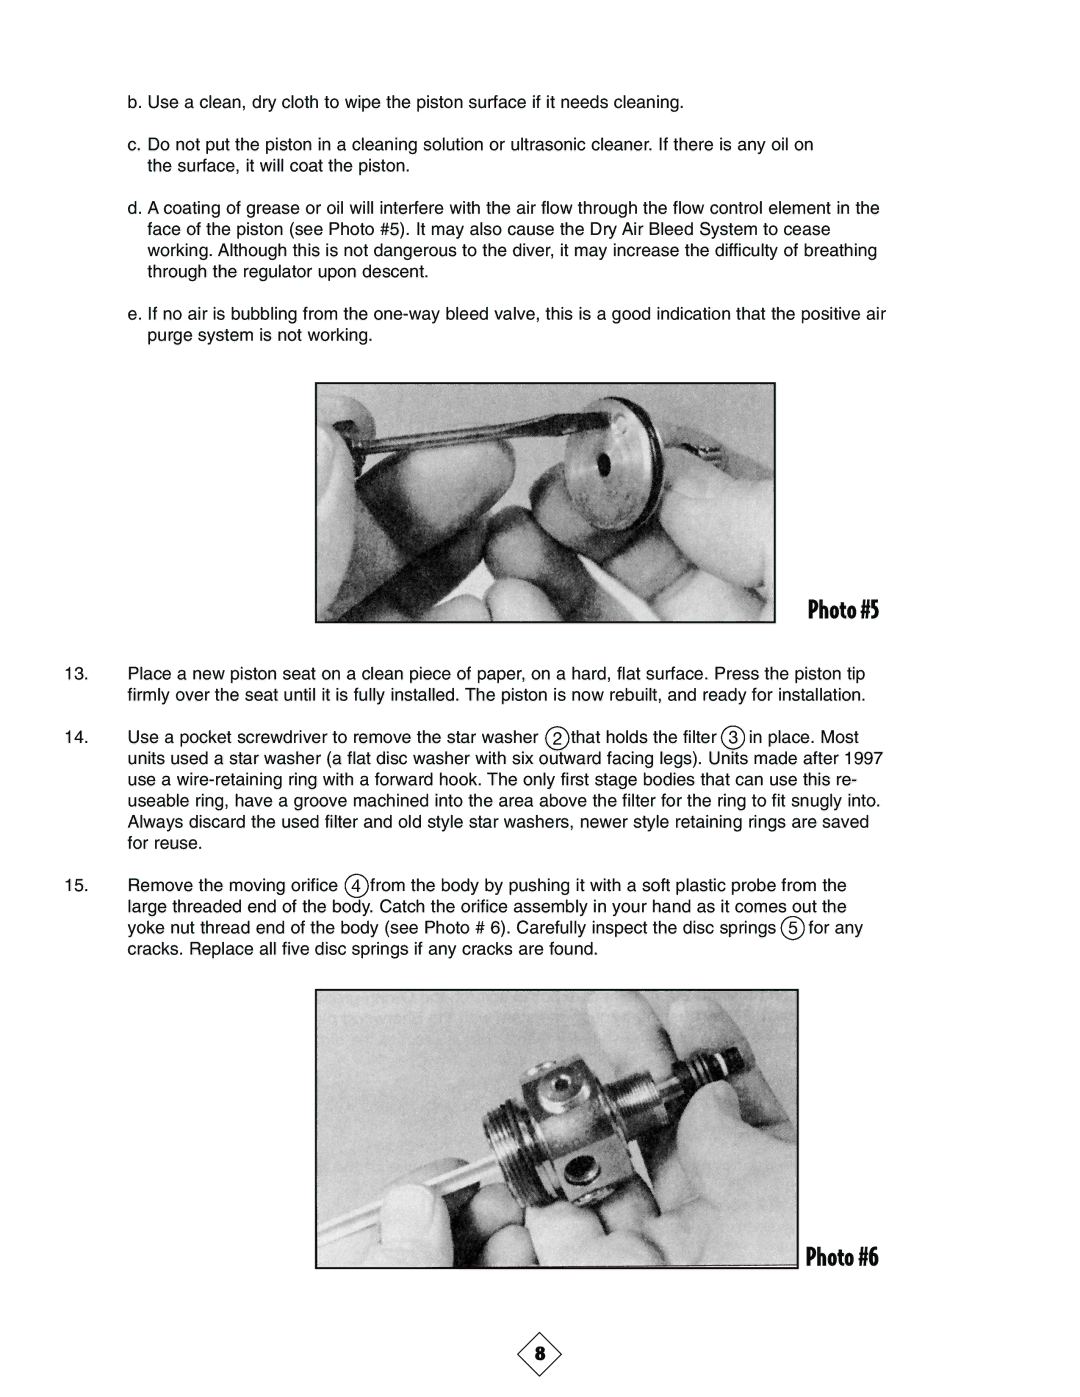
d. A coating of grease or oil will interfere with the air flow through the flow control element in the face of the piston (see Photo #5). It may also cause the Dry Air Bleed System to cease working. Although this is not dangerous to the diver, it may increase the difficulty of breathing through the regulator upon descent.
e. If no air is bubbling from the
Photo #5
13.Place a new piston seat on a clean piece of paper, on a hard, flat surface. Press the piston tip firmly over the seat until it is fully installed. The piston is now rebuilt, and ready for installation.
14.Use a pocket screwdriver to remove the star washer 2 that holds the filter 3 in place. Most units used a star washer (a flat disc washer with six outward facing legs). Units made after 1997 use a
15.Remove the moving orifice 4 from the body by pushing it with a soft plastic probe from the large threaded end of the body. Catch the orifice assembly in your hand as it comes out the yoke nut thread end of the body (see Photo # 6). Carefully inspect the disc springs 5 for any cracks. Replace all five disc springs if any cracks are found.
Photo #6
8