PROC3
6 SWITCHING THE PROJECTOR ON AND OFF
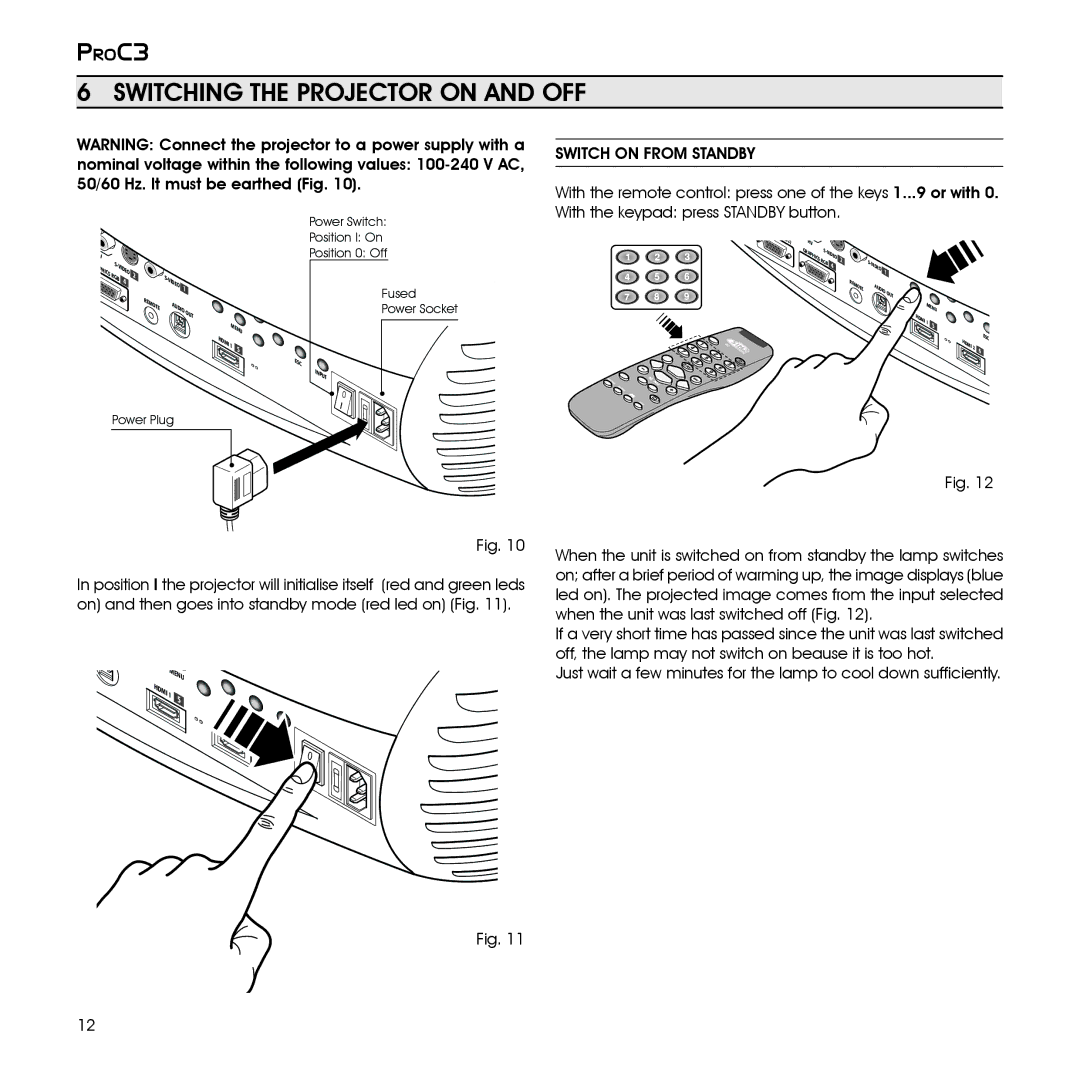
WARNING: Connect the projector to a power supply with a
nominal voltage within the following values:
Switch on from standby
With the remote control: press one of the keys 1...9 or with 0.
HV |
|
|
PHICS | S- |
|
VIDEO | ||
| RGB | 4 |
2
| S- |
|
| VIDEO |
|
| 1 | |
REMOTE | AUDIO | OUT |
|
| |
Power Switch:
Position I: On
Position 0: Off
Fused
Power Socket
MENU | |
HDMI1 | 5 |
| |
ESC
INPUT
0
I
With the keypad: press STANDBY button.
2) |
| HV |
|
|
|
|
|
| |
3 |
|
|
|
|
|
|
|
|
|
| G |
|
|
| S |
|
|
|
|
| R |
|
|
|
|
| |||
|
| AP |
|
| IDEO |
|
|
| |
|
|
| HI |
| 2 |
|
| ||
|
|
|
| CS | RGB | 4 | S- |
| |
|
|
|
|
|
|
| V | ||
|
|
|
|
|
|
|
|
| IDEO |
|
|
|
|
|
|
|
|
| 1 |
|
|
|
|
|
|
| RE |
|
|
|
|
|
|
|
|
| MO |
| AUD |
|
|
|
|
|
|
| TE |
| |
|
|
|
|
|
|
|
|
| IOO |
|
|
|
|
|
|
|
|
| UT |
ME | |
| NU |
H |
|
DMI1 | 5 |
| |
H | ESC |
| |
DMI2 | 6 |
Power Plug
Fig. 12
Fig. 10
In position I the projector will initialise itself (red and green leds on) and then goes into standby mode (red led on) (Fig. 11).
ME | |
| N |
| U |
H |
|
DMI |
|
1 | 5 |
| |
0 I
When the unit is switched on from standby the lamp switches on; after a brief period of warming up, the image displays (blue led on). The projected image comes from the input selected when the unit was last switched off (Fig. 12).
If a very short time has passed since the unit was last switched off, the lamp may not switch on beause it is too hot.
Just wait a few minutes for the lamp to cool down sufficiently.
Fig. 11
12