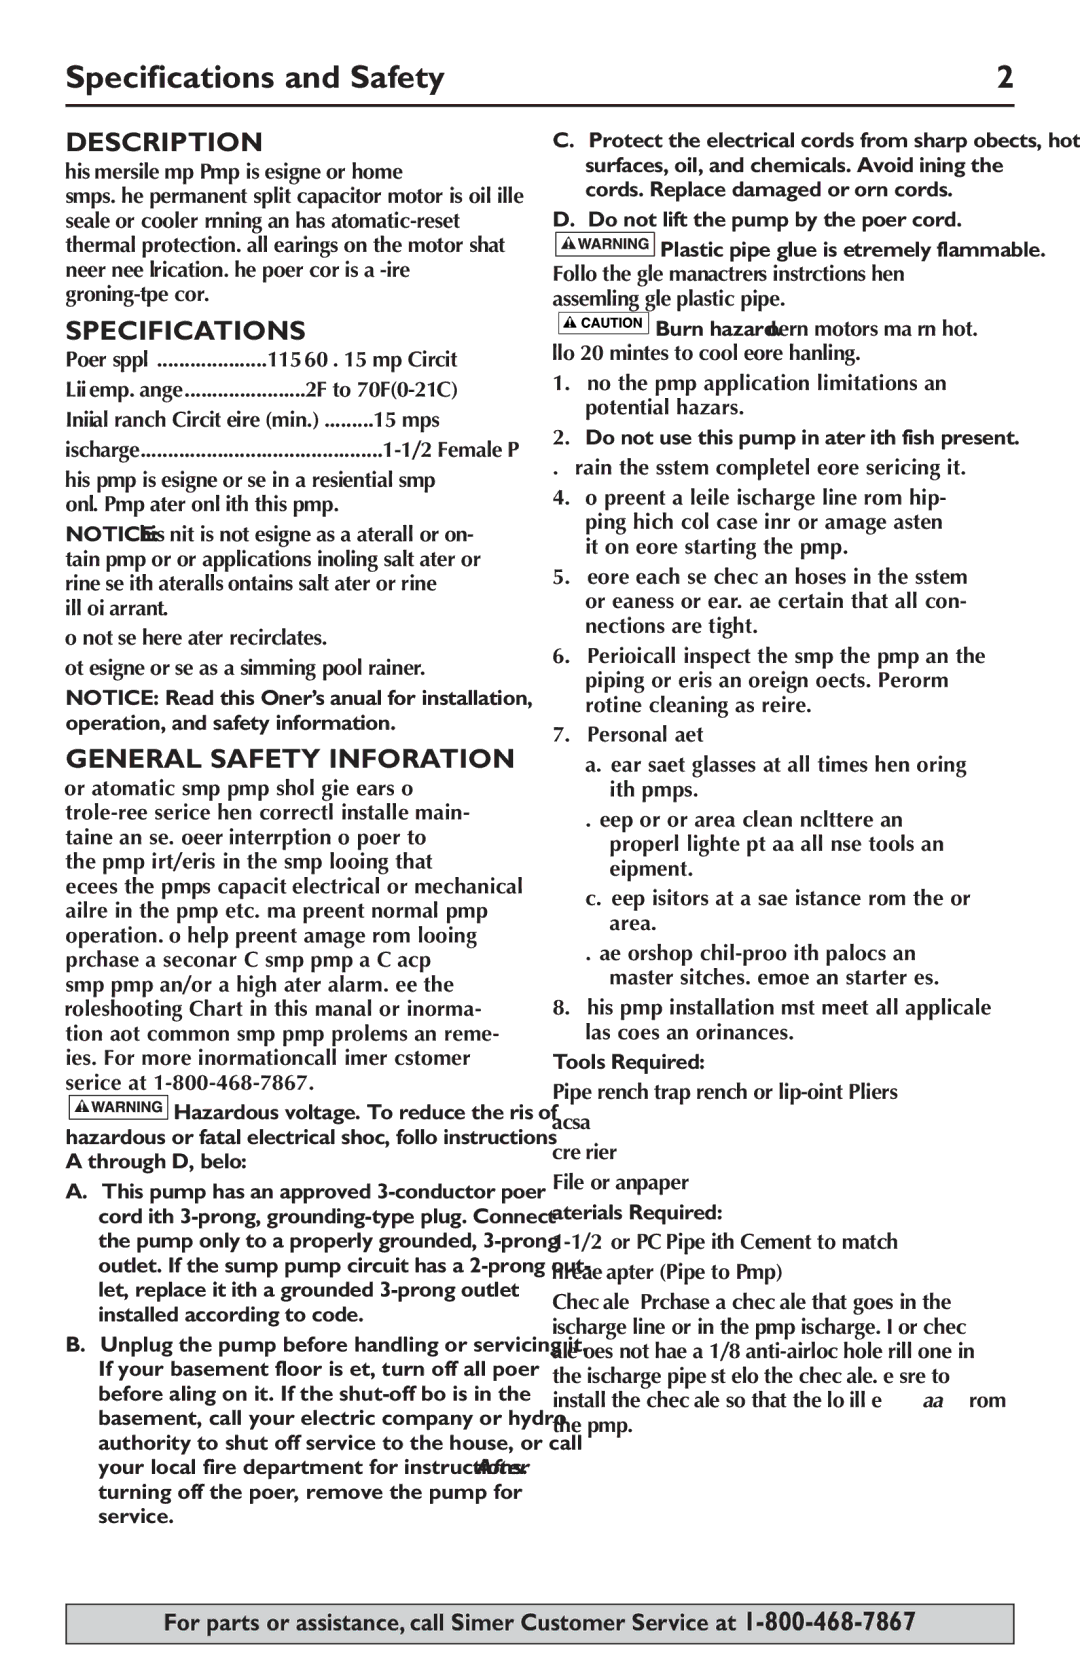
3984, 3988, 3985, 3986, 3983 specifications
Simer Pumps, a brand renowned for quality and performance, has a variety of models that cater to different needs within the pumping industry. Among these, the models 3983, 3986, 3985, 3988, and 3984 stand out due to their unique features and innovative technologies.The Simer 3983 is designed for efficiency and reliability, tailored for residential and light commercial applications. It boasts a robust thermoplastic construction, ensuring durability in even the most demanding environments. With a powerful motor capable of delivering impressive flow rates, the 3983 is ideal for general water transfer, drainage, and irrigation tasks. Its energy-efficient design not only reduces operational costs but also minimizes environmental impact.
The Simer 3986 is a versatile pump that excels in both submerged and above-ground applications. This model features a built-in float switch that allows for automatic operation, making it perfect for areas prone to flooding. Its corrosion-resistant materials ensure a long lifespan, while the quiet operation is an added advantage for residential settings. This model is frequently chosen for basement water removal and protecting properties from water damage.
The Simer 3985, on the other hand, is engineered specifically for heavy-duty tasks. This pump features an intensive-duty motor and is capable of handling larger volumes of water efficiently. Equipped with a durable cast iron construction, the 3985 is built to withstand tough conditions. It is particularly suitable for construction sites, dewatering tasks, and other industrial applications where performance is crucial.
The Simer 3988 is an advanced model that integrates smart technologies for enhanced functionality. Its digital control panel allows users to customize settings according to their specific needs, making it versatile for various applications. This model is also known for its low noise pollution and energy-saving capabilities, appealing to eco-conscious users. Its automatic shut-off feature prevents dry running, protecting the pump from damage.
Lastly, the Simer 3984 is designed with the homeowner in mind. This residential pump features a compact design that allows for easy installation in tight spaces. With its user-friendly interface and reliable performance, it is perfect for handling standby water removal during heavy rain or for irrigation purposes. Additionally, its lightweight frame facilitates easy transport and setup.
In summary, Simer Pumps offers a comprehensive selection of models like the 3983, 3986, 3985, 3988, and 3984, each tailored to meet specific needs ranging from residential to industrial applications. These pumps combine durability, advanced technology, and user-friendly features, making them an excellent choice for effective water management.

