MOUNTING
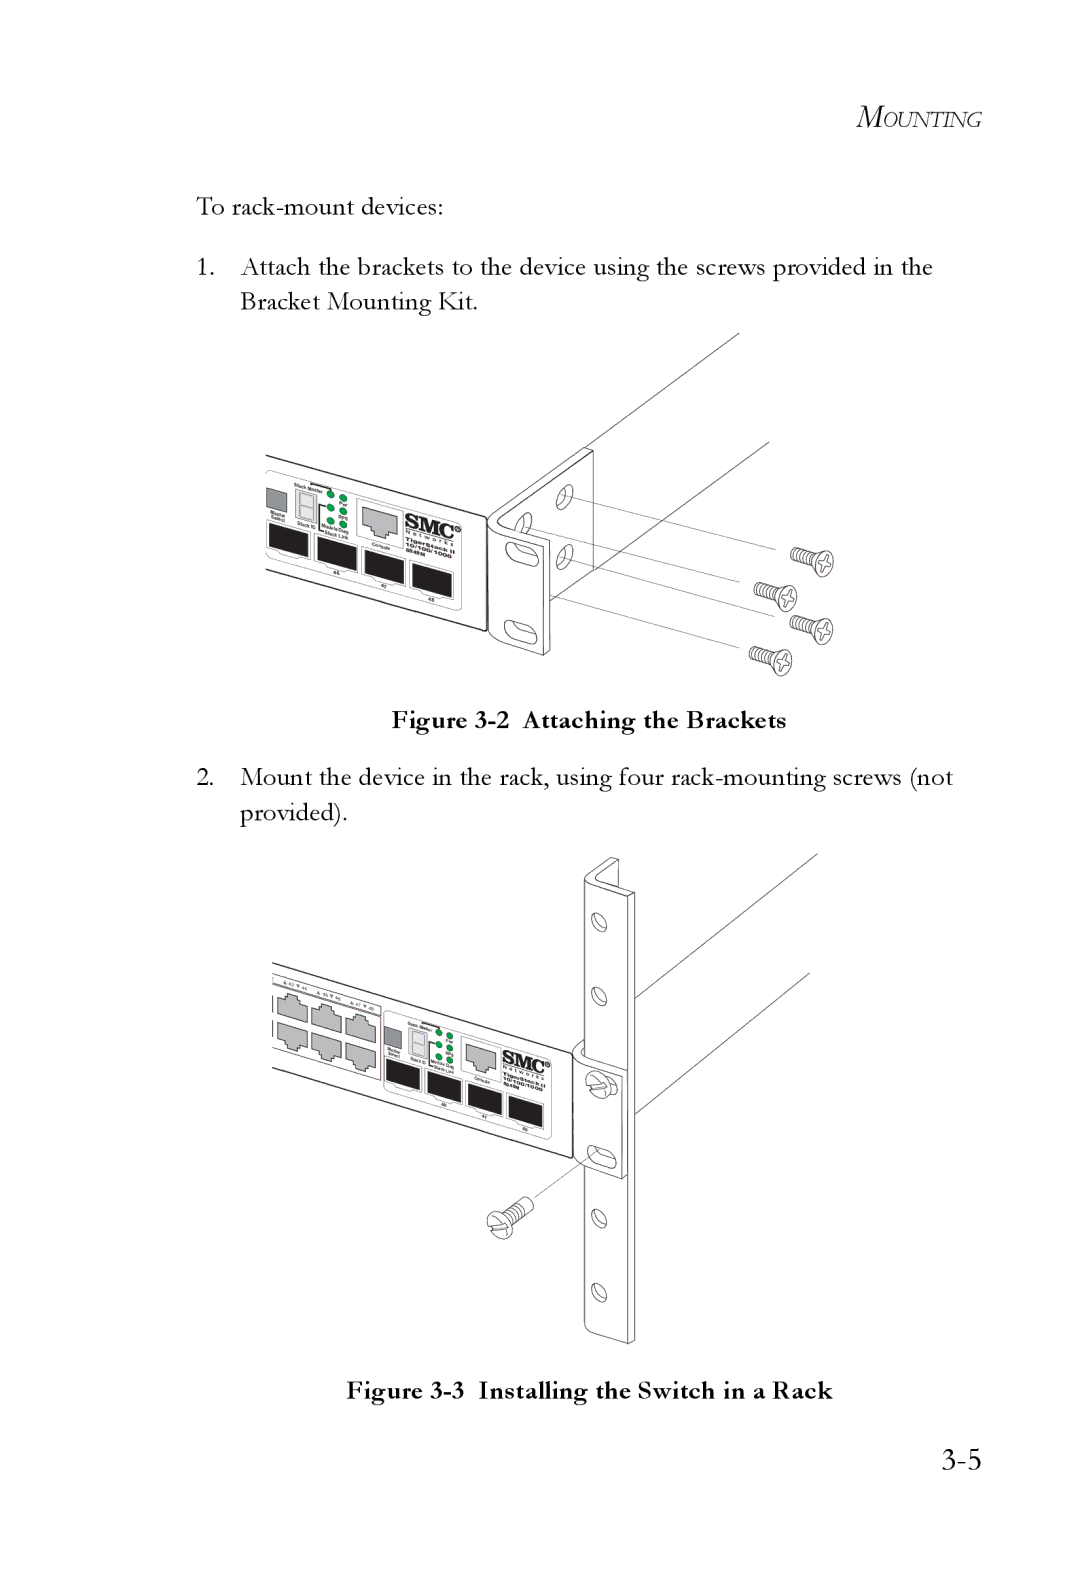
To
1.Attach the brackets to the device using the screws provided in the Bracket Mounting Kit.
| Stack |
|
| Master | |
|
| Pwr |
Master |
| RPS |
Select | Stack | |
| Module | |
| ID | |
|
| Diag |
|
| Stack |
|
| Link |
|
| Console |
| 45 |
|
|
| 46 |
|
| 47 |
TigerStac 10/100/10008848M k II
48
Figure 3-2 Attaching the Brackets
2.Mount the device in the rack, using four
2
43 | 44 |
|
|
|
|
| |
| 45 | 46 |
|
|
|
| |
|
| 47 | 48 |
|
|
|
| Stack | Master |
|
| |
|
|
|
| ||
|
|
|
| Pwr | |
Master |
|
|
| RPS | |
Select | Stack ID | Modu | |||
|
|
| |||
|
|
| le Dia | g | |
|
|
| Stack |
| |
|
|
|
| Link | |
|
|
|
|
| Console |
| 45 |
|
|
|
|
|
|
| 46 |
| |
|
|
|
|
| 47 |
Tiger |
|
10/10Stack II | |
8848M | 0/1000 |
| 48 |
