Troubleshooting, Adjustments, & Service
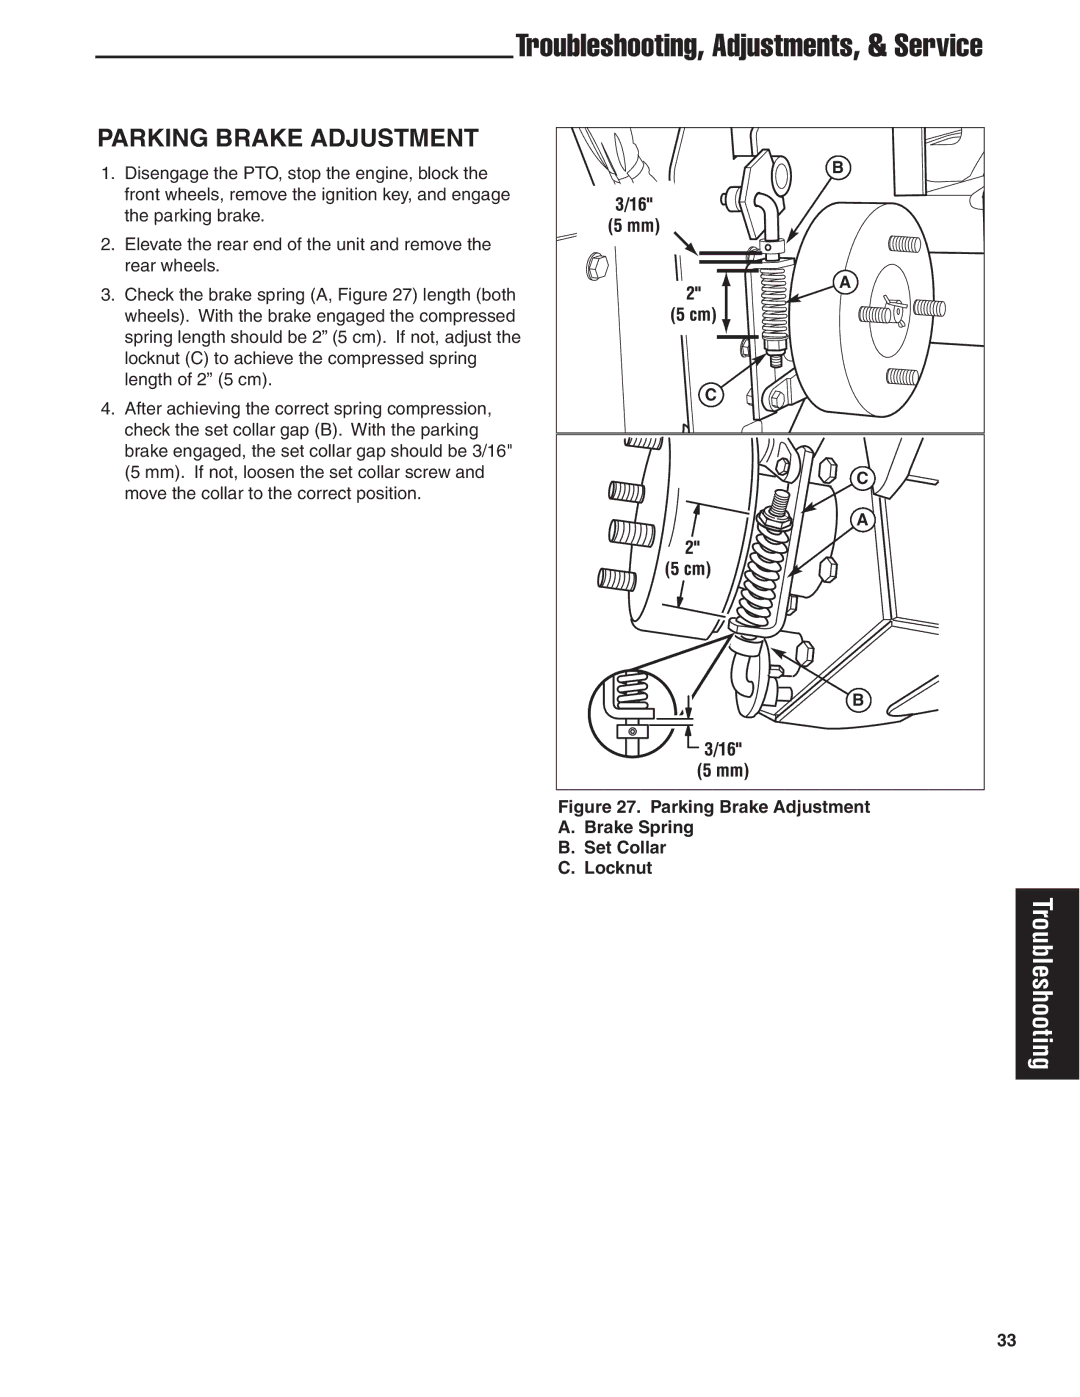
PARKING BRAKE ADJUSTMENT |
| |
1. Disengage the PTO, stop the engine, block the | B | |
| ||
front wheels, remove the ignition key, and engage |
| |
the parking brake. |
| |
2. Elevate the rear end of the unit and remove the |
| |
rear wheels. | A | |
3. Check the brake spring (A, Figure 27) length (both | ||
| ||
wheels). With the brake engaged the compressed |
| |
spring length should be 2” (5 cm). If not, adjust the |
| |
locknut (C) to achieve the compressed spring |
| |
length of 2” (5 cm). | C | |
4. After achieving the correct spring compression, | ||
| ||
check the set collar gap (B). With the parking |
| |
brake engaged, the set collar gap should be 3/16" |
| |
(5 mm). If not, loosen the set collar screw and | C | |
move the collar to the correct position. | ||
| ||
| A | |
| B | |
| Figure 27. Parking Brake Adjustment |
A.Brake Spring
B.Set Collar
C.Locknut
Troubleshooting
33