Section 2 - OPERATING INSTRUCTIONS
2.4STOPPING
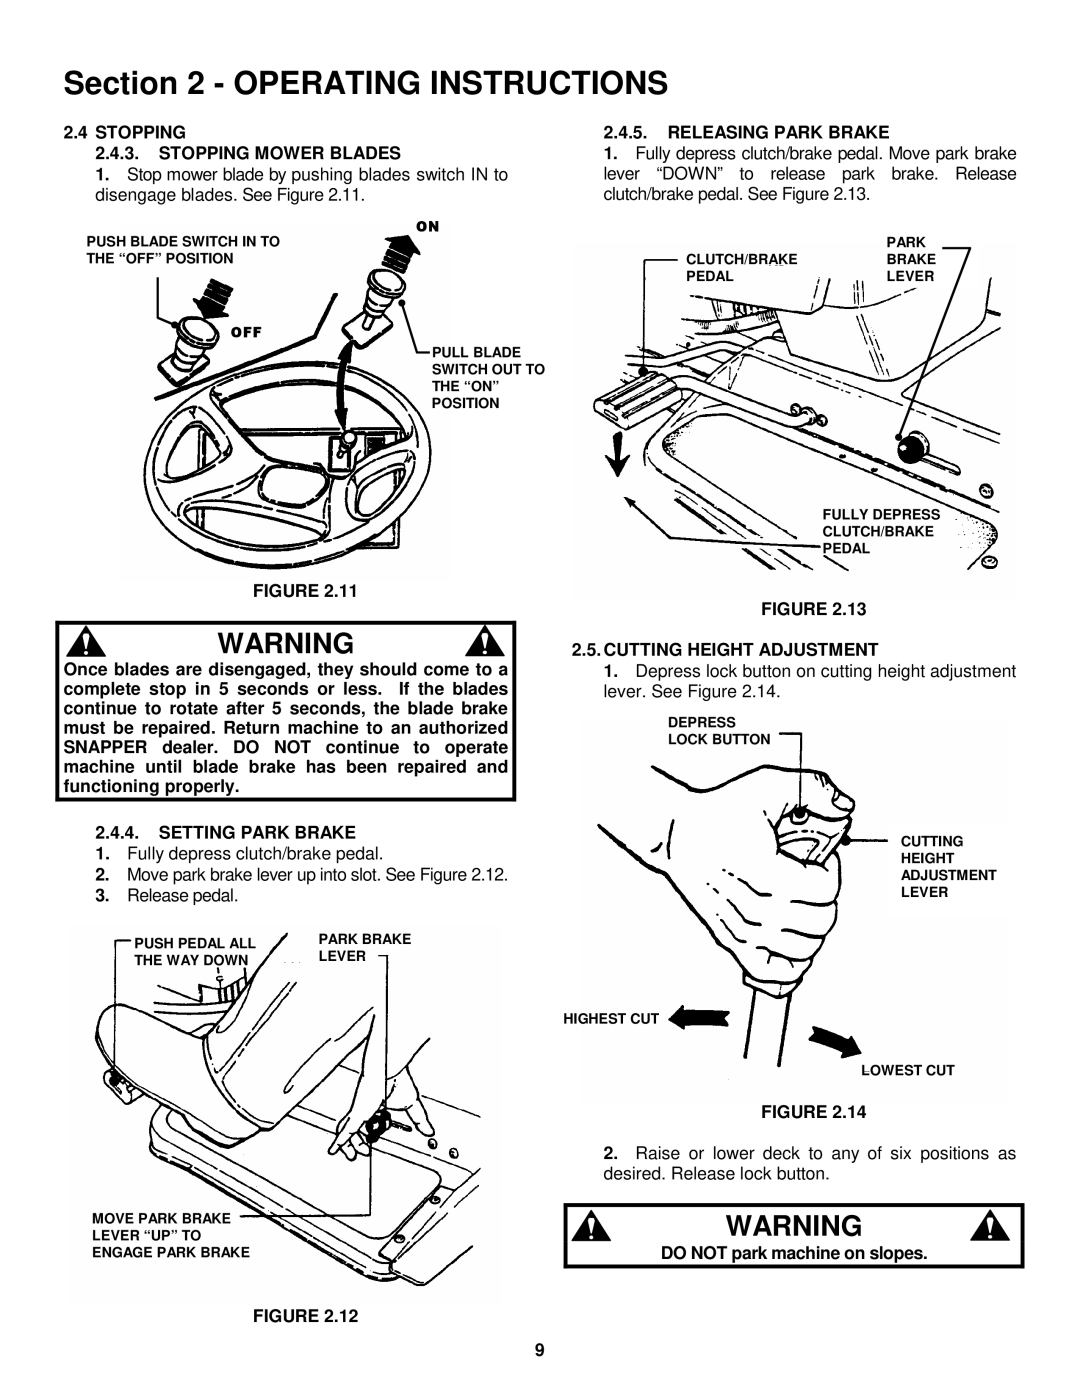
2.4.3. STOPPING MOWER BLADES
1.Stop mower blade by pushing blades switch IN to disengage blades. See Figure 2.11.
ON
PUSH BLADE SWITCH IN TO
THE “OFF” POSITION
OFF
PULL BLADE
SWITCH OUT TO
THE “ON”
POSITION
FIGURE 2.11
WARNING
Once blades are disengaged, they should come to a complete stop in 5 seconds or less. If the blades continue to rotate after 5 seconds, the blade brake must be repaired. Return machine to an authorized SNAPPER dealer. DO NOT continue to operate machine until blade brake has been repaired and functioning properly.
2.4.4.SETTING PARK BRAKE
1.Fully depress clutch/brake pedal.
2.Move park brake lever up into slot. See Figure 2.12.
3.Release pedal.
PUSH PEDAL ALL | PARK BRAKE |
THE WAY DOWN | LEVER |
MOVE PARK BRAKE
LEVER “UP” TO
ENGAGE PARK BRAKE
2.4.5.RELEASING PARK BRAKE
1.Fully depress clutch/brake pedal. Move park brake lever “DOWN” to release park brake. Release clutch/brake pedal. See Figure 2.13.
| PARK |
CLUTCH/BRAKE | BRAKE |
PEDAL | LEVER |
|
|
FULLY DEPRESS
CLUTCH/BRAKE
PEDAL
FIGURE 2.13
2.5.CUTTING HEIGHT ADJUSTMENT
1. Depress lock button on cutting height adjustment lever. See Figure 2.14.
DEPRESS
LOCK BUTTON
CUTTING
HEIGHT
ADJUSTMENT
LEVER
HIGHEST CUT
LOWEST CUT
FIGURE 2.14
2.Raise or lower deck to any of six positions as desired. Release lock button.
WARNING
DO NOT park machine on slopes.
FIGURE 2.12
9