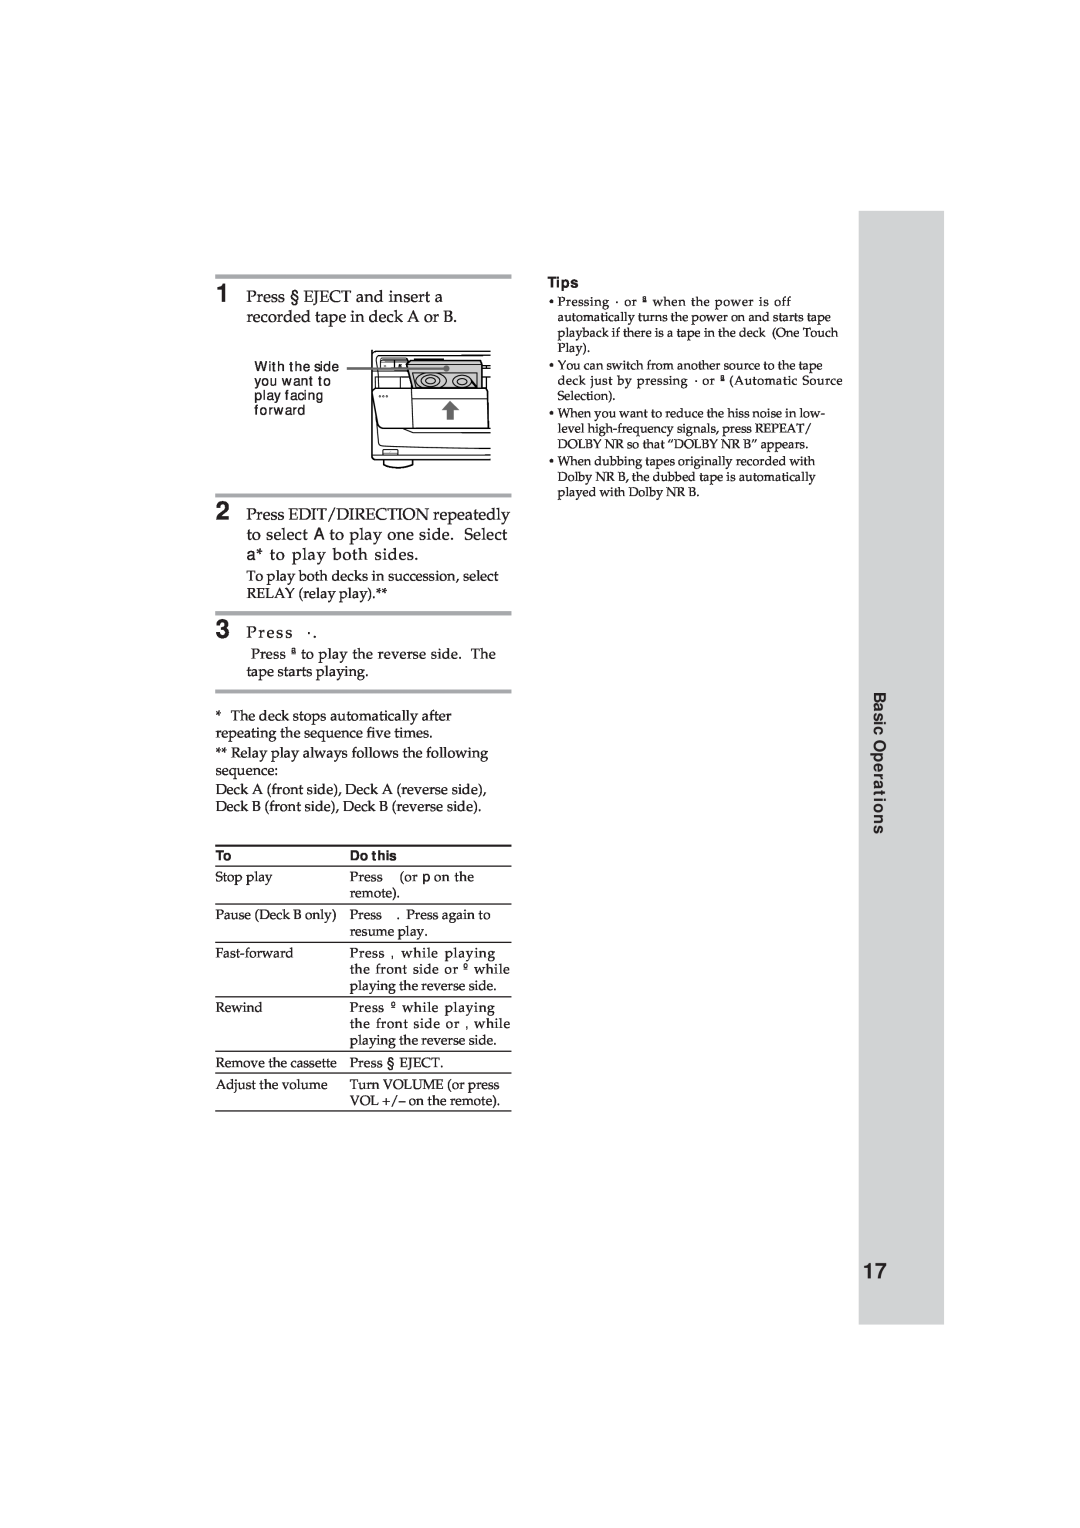
1 Press § EJECT and insert a recorded tape in deck A or B.
With the side | » | Æ |
you want to |
| � |
play facing |
|
|
forward |
|
|
|
| ⁄ |
2 Press EDIT/DIRECTION repeatedly to select A to play one side. Select a* to play both sides.
To play both decks in succession, select RELAY (relay play).**
3 Press · .
Press ª to play the reverse side. The tape starts playing.
*The deck stops automatically after repeating the sequence five times.
**Relay play always follows the following sequence:
Deck A (front side), Deck A (reverse side), Deck B (front side), Deck B (reverse side).
To | Do this |
|
Stop play | Press | (or p on the |
| remote). | |
|
|
|
Pause (Deck B only) | Press | . Press again to |
| resume play. | |
|
|
|
Press ‚ | while playing | |
| the front side or º while | |
| playing the reverse side. | |
|
|
|
Rewind | Press º | while playing |
| the front side or ‚ while | |
| playing the reverse side. | |
|
| |
Remove the cassette | Press § EJECT. | |
Adjust the volume | Turn VOLUME (or press | |
| VOL +/– on the remote). | |
Tips
•Pressing · or ª when the power is off automatically turns the power on and starts tape playback if there is a tape in the deck (One Touch Play).
•You can switch from another source to the tape deck just by pressing · or ª (Automatic Source Selection).
•When you want to reduce the hiss noise in low- level
•When dubbing tapes originally recorded with Dolby NR B, the dubbed tape is automatically played with Dolby NR B.
Basic Operations
17
